Manx Side Pods Install
-
Scott-Drolet
- Posts: 400
- Joined: Mon Mar 01, 2010 6:00 am
Manx Side Pods Install
Hi! I'm finally concentrating on getting my Manx back into action after having it parked for almost five years. I'm completely tearing it down and rebuilding it for the second time in it's life. Stupid question . . but I've never put my side pods on it and have decided to add them this time around. What do they bolt to? The fiberglass body? the pan? Would I be better off 'glassing them in? The few times I've seen them on other cars I've never stopped to really look at them . . but I KNOW I've never seen any bolts along the top end of the pod where it meets the downward turn of the body, nor along the bottom at the pan rail. Any pics or explanations would be greatly appreciated. Thanks, and I hope to see you at a run soon! Scott Drolet
Scott Drolet
MC Vice President
MC 47, DSB, RBC, Long Haul League, '64 Monocoque, '67 Manx, '73 Manxter, '64 Stainless Burro, '64 Corvair Burro, '65 Corvair Burro
http://www.ManxClub.com" onclick="window.open(this.href);return false;
http://www.SeaToSeaSafari.com" onclick="window.open(this.href);return false;
http://www.BurroBuggies.com" onclick="window.open(this.href);return false;
Scott, I used two bolt/washer/nut assemblies at the front and two bolt/washer/nut assemblies at the back. I didn't use anything along the top or the bottom. There is a flange at the front of each pod where the bolts can go through. You have to drill holes into the body to attach them. The back of each pod wraps around to follow the contour of the body. The two back bolts go there. Again, you have to drill holes into the body. I also had to grind some material away to clear the roll bar mount. I put some closed cell weatherstrip on the body mounting nuts so they wouldn't make noise against the bottom flanges of the pods. I also put some weatherstrip along the underside of the body's lip where the pod goes under it to keep it from making noise. It is best to use a floor jack to hold the pod in position before drilling the mounting holes. If you need detailed photos, let me know and I will take some.
-
Scott-Drolet
- Posts: 400
- Joined: Mon Mar 01, 2010 6:00 am
So, four bolts per pod will do it? I'll check out the areas you're talking about on my buggy when I get home tonight. I think I know what you mean, though! Thanks for the help, Lee! Scott
Scott Drolet
MC Vice President
MC 47, DSB, RBC, Long Haul League, '64 Monocoque, '67 Manx, '73 Manxter, '64 Stainless Burro, '64 Corvair Burro, '65 Corvair Burro
http://www.ManxClub.com" onclick="window.open(this.href);return false;
http://www.SeaToSeaSafari.com" onclick="window.open(this.href);return false;
http://www.BurroBuggies.com" onclick="window.open(this.href);return false;
MC Vice President
MC 47, DSB, RBC, Long Haul League, '64 Monocoque, '67 Manx, '73 Manxter, '64 Stainless Burro, '64 Corvair Burro, '65 Corvair Burro
http://www.ManxClub.com" onclick="window.open(this.href);return false;
http://www.SeaToSeaSafari.com" onclick="window.open(this.href);return false;
http://www.BurroBuggies.com" onclick="window.open(this.href);return false;
side pods
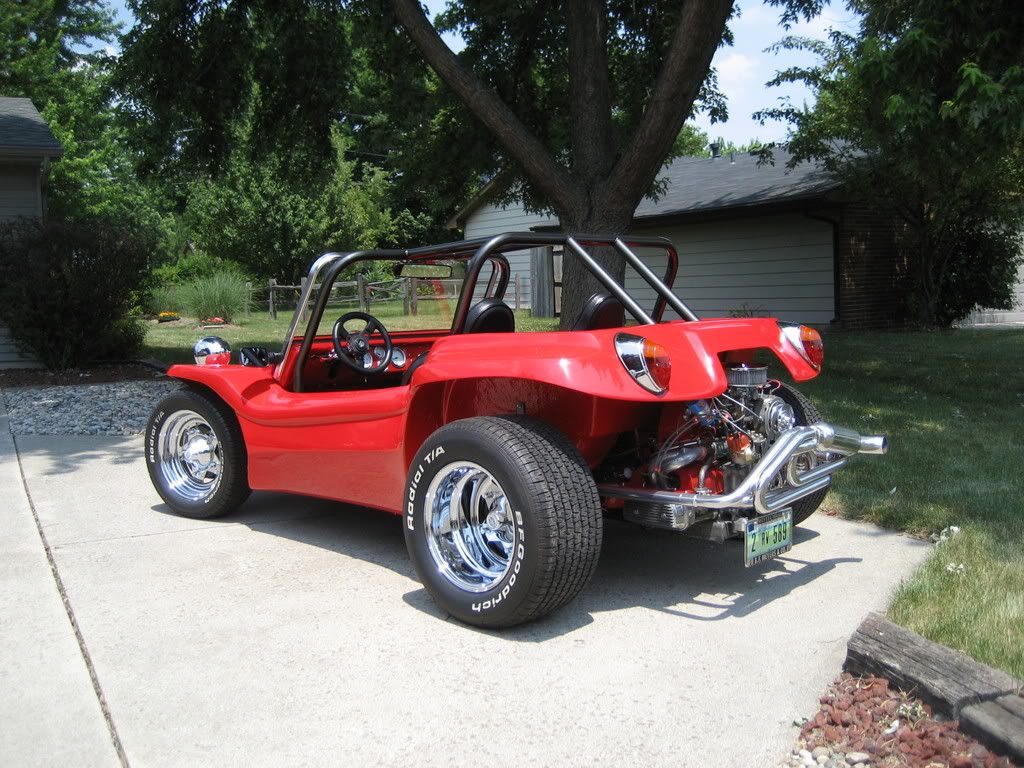 Since mine fit so bad I decided to glass them but still leave the edge along the body.I used the bonding agent used on Corvettes to secure them in position after many,many hours of fitting and grinding.Had to build up the pods to match the body contours at the ends and then resin and mat to blend them in on the wheel well areas.If you use this method you have to trim the bottom edge of the pods to fit the pan when the body is mounted.I also used 4 bolts to hold them and then filled the holes.Either method involves alot of work but the pods look good and accent the body lines whether bolted or glassed.
 Dave, That is by far the cleanest side pod install job I have ever seen! Taking the time to blend them into the wheel wells really makes them look like part of the car. I especially like the way you kept the body lines. I have seen them glassed in where they eliminate that edge, and I don't really care for the look. Excellent work! The rest of the buggy looks beautiful too!!! 
II went totally overboard and foamed and glassed them in. I also ran some 1" flexible conduit along side the strengthening tube using wall moly's so it would be easier to run my wires forward to aft for added protection and environmental protection. I did quite a bit of surgery on the pods to get them to match my clone body and then used 2 part foam to fill the voids. I then glassed the Crap out of it using kitty cloth and mesh with a thicker TAP Isophthalic High-Strength Resin with a filler like cabosil seems to have worked and it looks clean, but boy what a lot of work. Below are some picts I took a few years back Im just now doing the finishing up and prep for paint. And yes, adding even more fiberglass to make sure things are smoothed out. 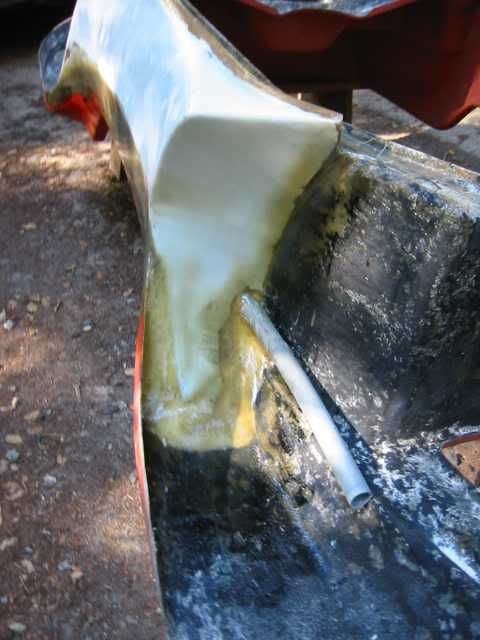
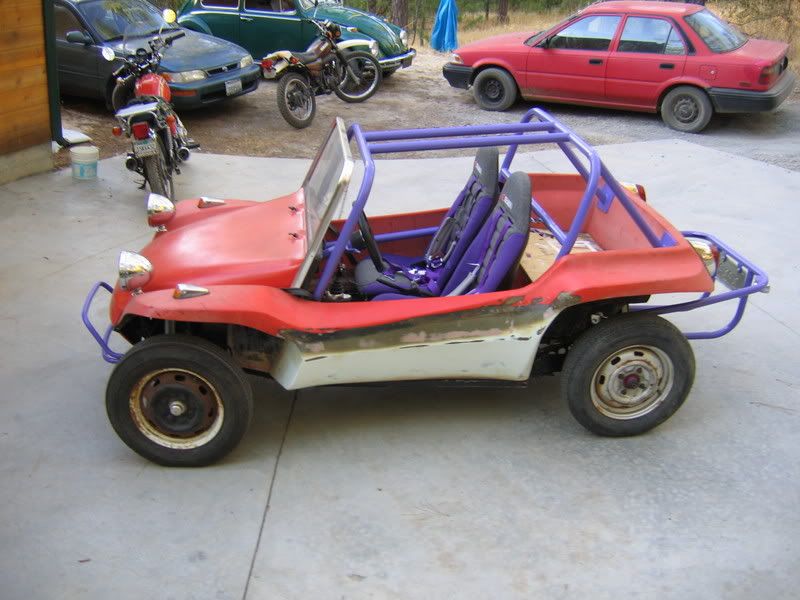 Good luck either way. If you want some more picts, or info let me know. My way was defiantly not the only, or best way, but hey!!! Carlton
Good luck either way. If you want some more picts, or info let me know. My way was defiantly not the only, or best way, but hey!!! Carltonmanx side pods
Thanks for the compliment,Lee.You've been doing it a lot longer than I have so positive comments from you means alot.