Page 2 of 3
Re: Scarlett Gets A Makeover!
Posted: Fri Apr 22, 2016 4:51 pm
by abgiles
joem32380 wrote:whats with the standstill. You have missed about 3 weekends of updates.
--we want Scarlett!!
Joe,
Sorry for the delay, but there's really not been much done. I take forever and a day (see Loretta's current update) to do anything, and took a full day to get just the zerk fittings into the new beam due to some over zealous powdercoating, and of course my honey-do list each weekend when I get home. I work 250 miles from home, and come home most weekends, but it's a fine balance of buggy vs. family time (even though it is her buggy).
My paint/body guy is out proudly serving this great nation of ours on a submarine submerged somewhere out in the Atlantic Ocean, and the roll cage builder is next in line. Scheduled to drop the body and chassis off with him next weekend.
I've changed my mind on the pan swap, as the one I already have is in excellent shape, and is already totally together. It makes more sense to do it that way to me. I'm always changing my mind about what and how I'm going to do.
Once I get it back from the cage manufacturer, I'll be ready to drop the rear seats and deck cover off for restoring after I modify them to fit with the cage.
Wesley (paint/body guy) will get it shortly after he returns towards the end of next month sometime.
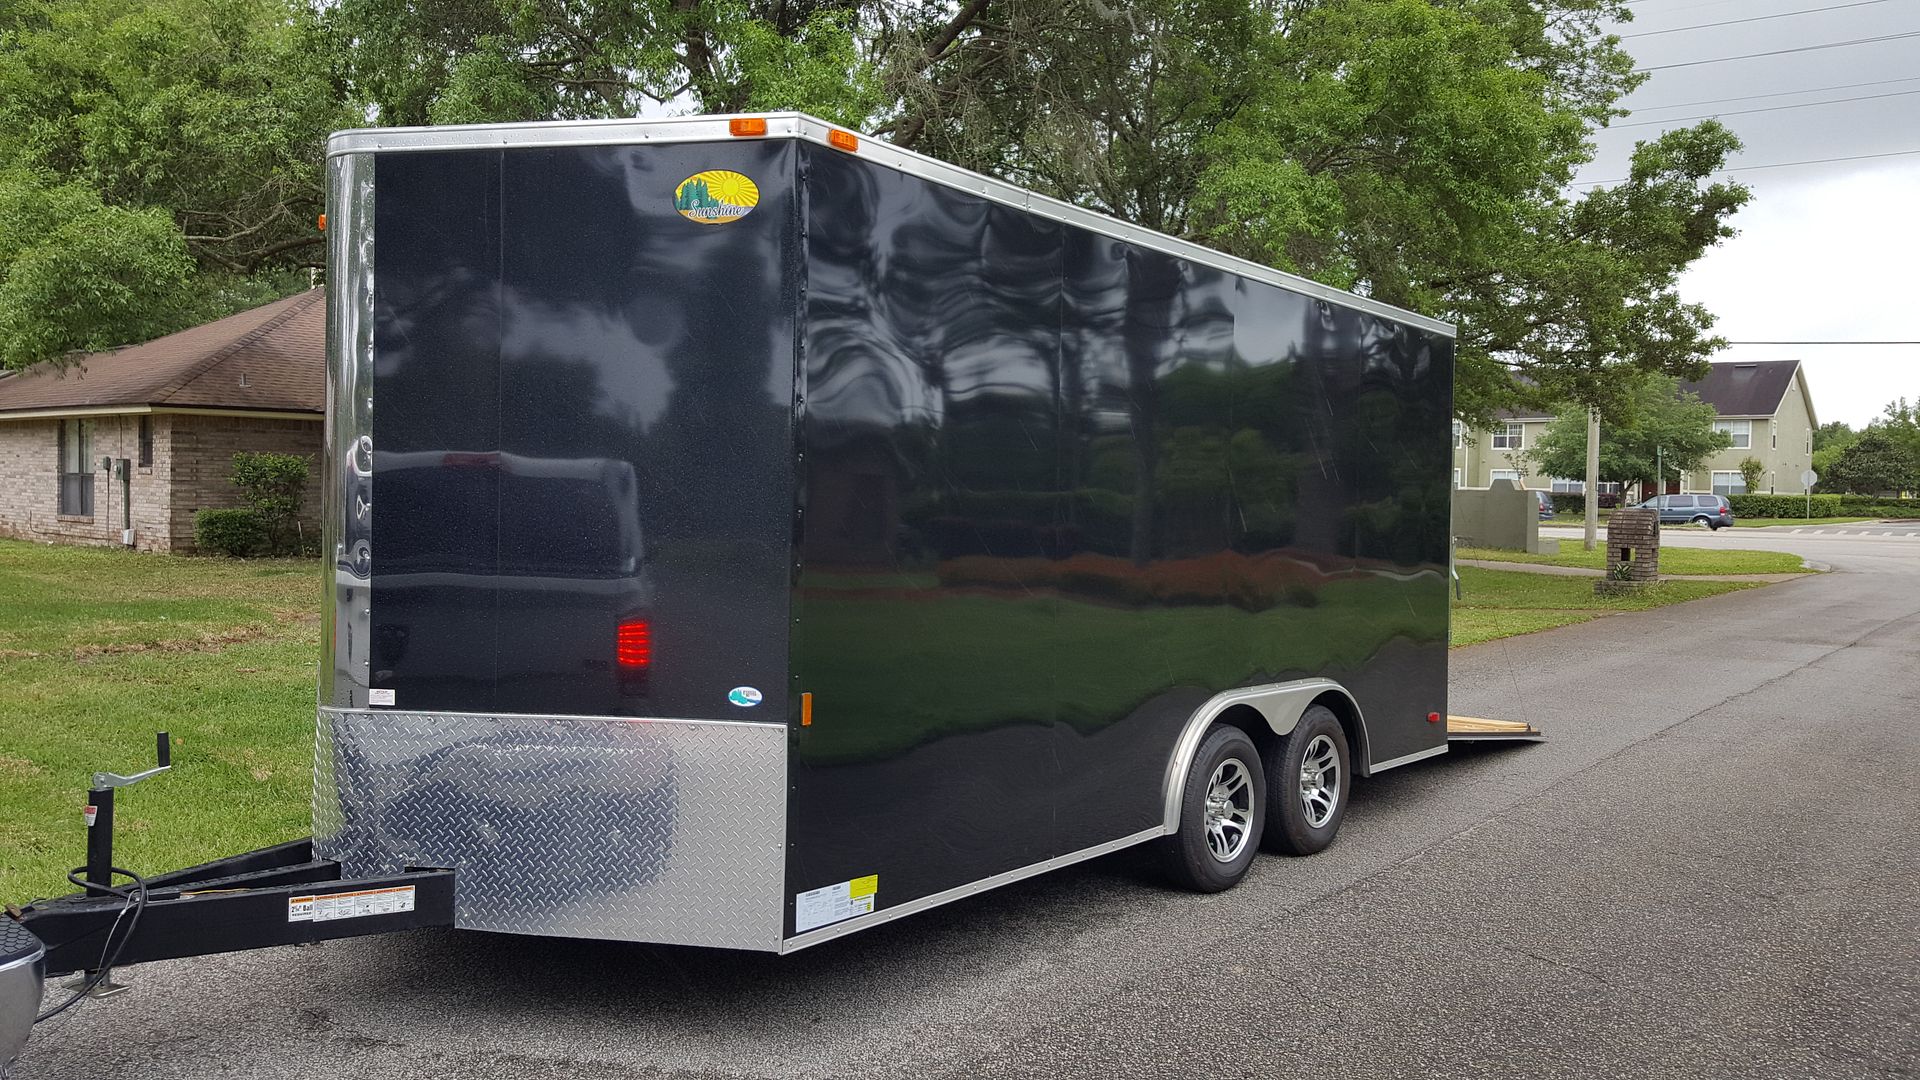
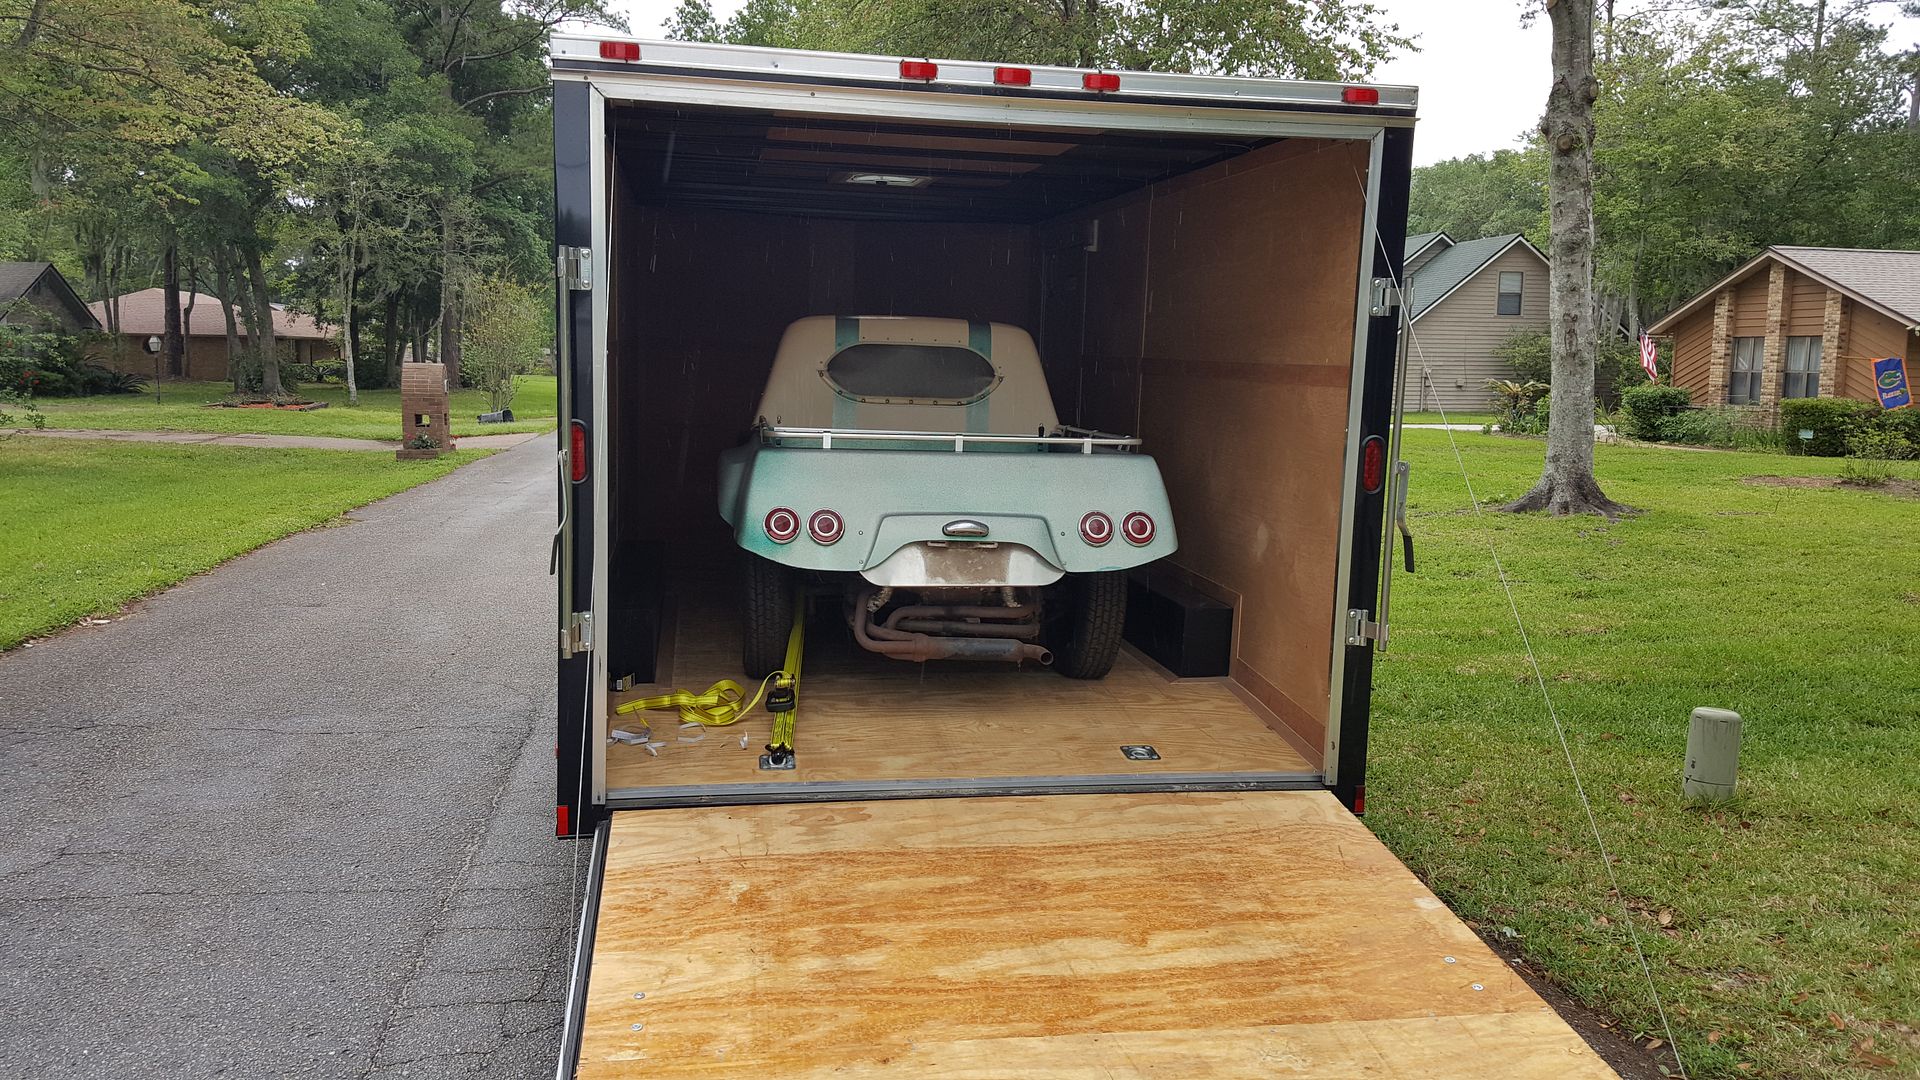
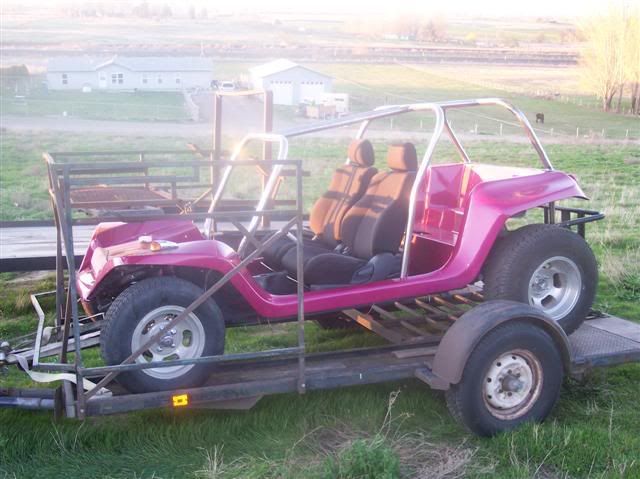
And lastly, I have been a little busy making deals on a new buggy hauler for when I want to take a buggy to a show AND take a bunch of parts. And when I picked it up, I also made a deal on another buggy to add to the herd.
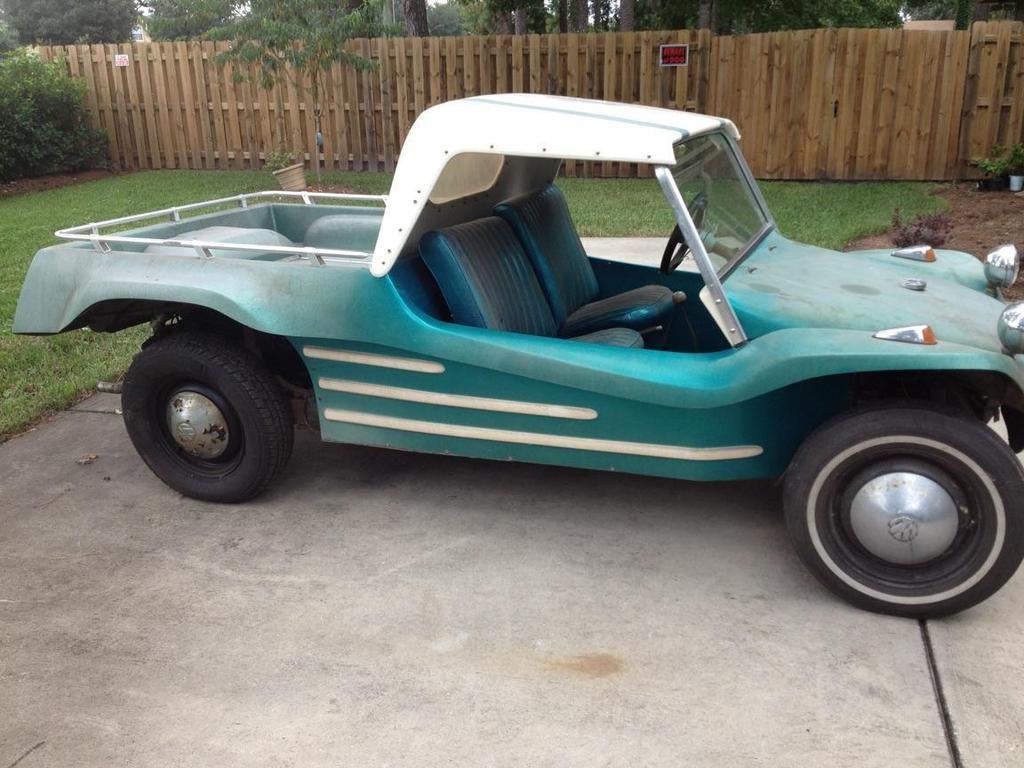
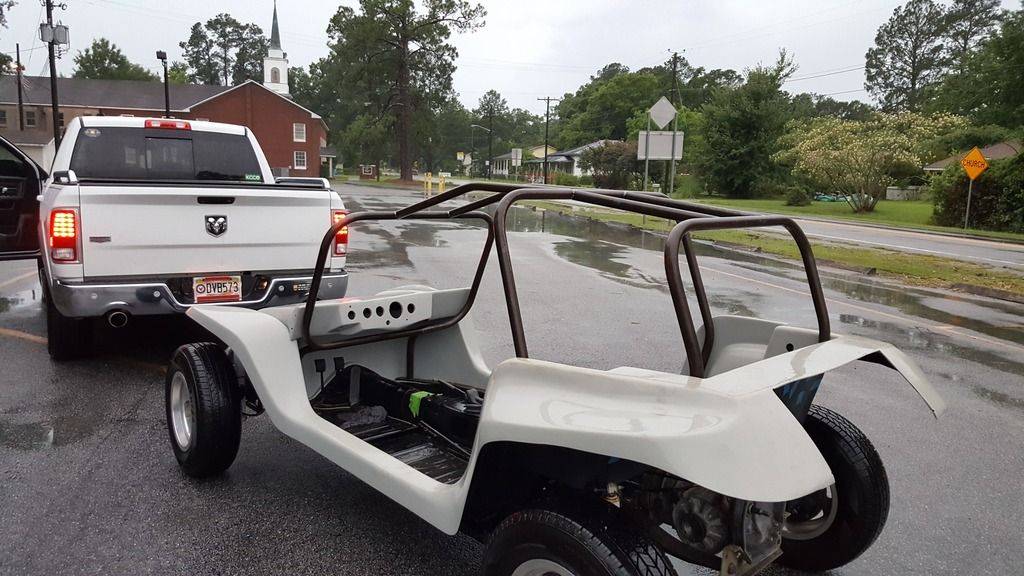
It's a Sand Flea Pickup, originally produced by the National Glas-Car Company, out of Oldsmar, FL.
Re: Scarlett Gets A Makeover!
Posted: Fri Apr 22, 2016 4:53 pm
by abgiles
And before you ask, I have absolutely no idea of why I purchased it, except that it appealed to me in a big way. For now, it resides in the trailer, as there is absolutely zero room anywhere else for it.
Re: Scarlett Gets A Makeover!
Posted: Wed Apr 27, 2016 1:37 pm
by abgiles
Finally firmed up a date with the cage builder. Right now, she's supposed to get dropped off on May 8th, but it's our third attempt at scheduling. He's an avid rail buggy builder, who has a full machine shop at his house, and I've seen a bunch of his work. He actually bought the 4 seater sandrail I used to own, modified the heck out of it, and put in a 300hp modified Honda V-6 in it. He does great work on them, and has seen a number of pictures of what we want, so we're excited to get it done. Love the one in my buggy, but my WV builder seems a little busy these days, and I don't think he has an opening until somewhere in late 2017/2018.
Re: Scarlett Gets A Makeover!
Posted: Fri Jun 17, 2016 6:34 pm
by abgiles
So, after several months of waiting, the roll cage is complete. I'll be picking it up tonight, and can't wait to see how it looks. I'll share some pictures tomorrow.
Re: Scarlett Gets A Makeover!
Posted: Thu Jul 21, 2016 7:31 pm
by abgiles
So, she came back a few weeks ago from getting her roll cage built. It was an average quality build, with a few welds to grind down. I wouldn't use the same guy again. He does great work on sandrails, and I believe he thought this would be a lot easier than it was, as he didn't pay that much attention to a few things. I've got to clean it up quite a bit, but nothing horrible. Certainly not the quality build I got on Loretta from Joe. A one week turnaround deal turned into over 2 months since he didn't work on it until after 7 weeks I told him I was picking it up the following weekend regardless of what he had done. You can tell he rushed through it. The welds are good, but not pretty, like the ones he does on his own rail, and he said he wouldn't do another one again.
Overall, I like the shape, but am considering having the front bars replaced with straight ones (as per my original plans/discussions with him) by somebody else to allow me to use the hard top if I want to. As is, the hard top won't fit. The front hoop is even with the top of the windshield, so at least that's correct.
Re: Scarlett Gets A Makeover!
Posted: Thu Jul 21, 2016 7:35 pm
by abgiles
Now on the fuel system. I made a find of a bunch of NOS parts a while back, and offered them at a discount to club members, and Joe bought quite a bit of them from me. Part of the deal was for him to modify the gas tank to make it similar to ones he's done for his buggies, Loretta, and for Bud (among a few others). So today I took a bunch of pictures that don't really matter to most of you, but will help Joe on the modification.
Here's a link to them, so I don't clutter this page with a bunch of bland pictures for most of you:
http://s665.photobucket.com/user/abgile ... t=2&page=1
Re: Scarlett Gets A Makeover!
Posted: Sat Jul 23, 2016 6:08 am
by FulsGld
It's nice to finally have a rollbar. I went with the straight bars so I could use the stock roof. I had to put a 3" lift on the body so the straight bars would clear my head and give me a better view out the windshield. The front loop on my rollbar comes just to the top of the windshield also. Keep the pictures coming. I built this rollbar to follow the angle of the seats so the grandkids could get into the back seat...
Re: Scarlett Gets A Makeover!
Posted: Sun Jul 24, 2016 12:19 pm
by abgiles
I really like that! I'm seriously considering having those bars changed. I doubt I'll be using the hard top ever, but I'd like the option.
Re: Scarlett Gets A Makeover!
Posted: Sun Jul 24, 2016 5:17 pm
by 5150bossman
You can always have a soft top made. Works well, easy to put on or take off, and easy to store.
Re: Scarlett Gets A Makeover!
Posted: Sun Dec 11, 2016 4:10 am
by joescoolcustoms
Some progress on Scarlet this evening, in West Virginia.
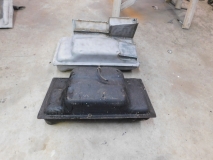
Fuel Tank Modifications. Started by cleaning the inside of the Tank a few month's ago, then let sit out in the sun to help off-gas any remaining fuel residual. Sandblasted the top and most of the bottom of the tank.
Next step is to set up a Manx on a chassis to tank measurements and mark the tank for cutting. (I am modifying 2 other fuel tanks at the same time for 2 of my projects). Mark the tank, cut out the bottom fuel tap to be used later, then cut out the bottom that will get enlarged. Shooting for 11 gallon final capacity with 99% usable capacity.
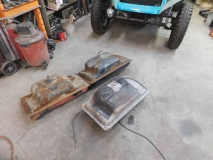
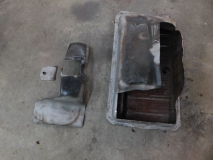
Tomorrow while the tank is cut open, it will get sand blasted on the inside and completely blasted on the outside. Then the modified bottom will get welded in.
Re: Scarlett Gets A Makeover!
Posted: Sun Dec 11, 2016 6:59 pm
by hillmotorsports
You have me curious Joe....
How big a hammer is used to drive that orange nail???
Or is that a remnant of the John Henry exhibit you showed us?
Re: Scarlett Gets A Makeover!
Posted: Sun Dec 11, 2016 9:03 pm
by joescoolcustoms
hillmotorsports wrote:You have me curious Joe....
How big a hammer is used to drive that orange nail???
Or is that a remnant of the John Henry exhibit you showed us?
The John Henry Historical Society commissioned me to restore John Henry's original Tooth pick, so you got a sneak peak before the final reveal this summer during John Henry Days in Talcott WV.
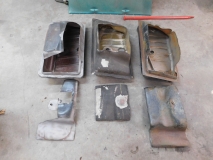
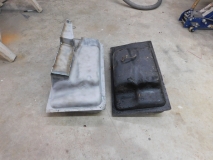
It was a pretty day here today, (47* F) and just right to perform some sandblasting. Unfortunately, I ran out of sand before getting all three tanks done, but Scarlets is now blasted inside and out, and ready for welding. The Viper's tank is blasted inside and around where I will weld, so I can work on it too. I bet I run out of shield gas or welding wire this evening.
Re: Scarlett Gets A Makeover!
Posted: Mon Dec 12, 2016 1:47 am
by hillmotorsports
So being a legendary buggy builder gets you work from other legends....

I'll see if I can get president Vincent to line up a king size hat for your ever growing reputation.
Thank you for all your building tips we all enjoy seeing. Your projects and those from Turnkey Manx give us all something to strive toward!
Re: Scarlett Gets A Makeover!
Posted: Sun Dec 18, 2016 7:27 pm
by joescoolcustoms
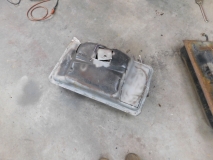
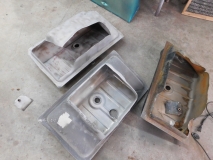
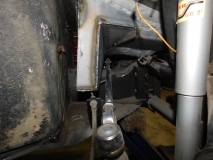
Basic Fabrication work is done on the fuel tank. A sizable additional capacity has been added to the tank and the fuel tap is relocated to the lowest point and slightly dropped to get the as close to 99% of the tank's volume to the engine. It should make Scarlet a long hauling buggy for sure. Looks a little rough, just off of the fab bench, but a flapper wheel will be put to use on it and one more sand blast before the final coatings.

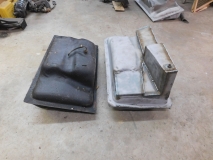
I took great care to make sure the rear wall of the tank was spaced out far enough from the forward body firewall so Brian can keep the lifting block in place on the body. There is also just enough room for Brian to fill the brake reservoir with a remote funnel and hose.
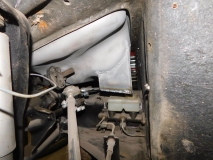
It is very close to both the brake line and the tie rod, but got the maximum for fuel capacity.
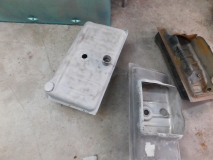
After I finish the two more tanks I am working on for my Viper buggy and my Sand Flea, all three will get internal coating that is Ethanol compatible. The exterior bottom half will get a exterior fuel tank coating and the tops will get gloss black painted. I will up date with pictures of the finished product in a couple weeks, then off it gets shipped to Brian for Scarlet.
Re: Scarlett Gets A Makeover!
Posted: Sun Dec 18, 2016 9:51 pm
by abgiles
Looks well thought out and a work of art as usual! Can't wait to get the painting done in February!


