Page 1 of 4
Manx SR2 Build
Posted: Fri Sep 11, 2015 8:24 pm
by MyManx
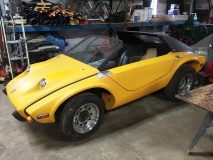
Starting a new build (or finishing an old build) on a SR2 Body I purchased this summer. The body is just setting on a rusty old pan. The fiberglass has never been drilled for mounting. It is a "virgin" car.
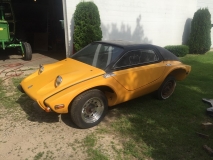
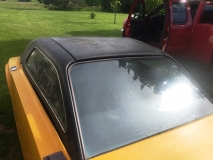
Has the original Targa Top that needs fitted.
Re: Manx SR2 Build
Posted: Fri Sep 11, 2015 9:25 pm
by hillmotorsports
Every time I see a pic I shake my head at not bidding against you!
(We spoke about it at Buffalo....)
Keep us posted please!
Re: Manx SR2 Build
Posted: Sat Sep 12, 2015 12:10 am
by MyManx
Manx SR2 Build
Posted: Thu Oct 01, 2015 2:38 am
by MyManx
Re: Manx SR2 Build
Posted: Sun Oct 04, 2015 8:11 pm
by MyManx
Re: Manx SR2 Build
Posted: Sun Oct 04, 2015 9:46 pm
by jsturtlebuggy
Looks like a great winter project you have. Always wanted a SR when I was younger.
Please don't compare all replacement floor pans as junk. Yes there are crap pans that everyone sell except for the Wolfsburg West one. They are the best. As thick as the original VW factory ones. I know this as I found it out myself. I bought the cheap ones that were suppose to be the good ones and found out how bad they were on my own buggy restoration. The Wolfsburg West ones have the factory stampings making them stronger then just flat sheet metal, plus they have the step down which helps lower the seating position. And they are lighter in weight then sheet metal. You don't have to add stiffeners to keep them from flexing. I have my seat tracks (aftermarket) mounted directly to the pans without any flexing problems.
The other thing I did to the pan halves was add 1-1/4in .065" wall square tubing in channel at pan edge. This helps with cars used off road and also made a place where I could attach my side pods.
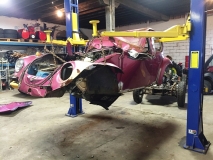
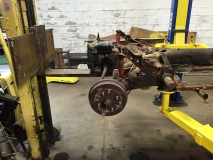
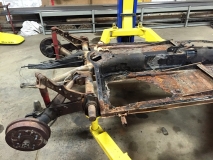
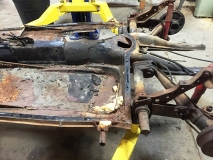
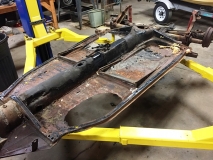
Manx SR2 Build
Posted: Thu Oct 08, 2015 2:09 am
by MyManx
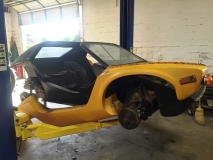
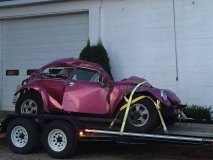
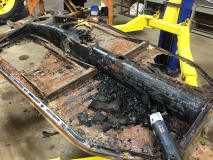
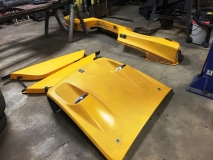
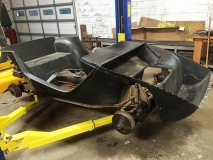
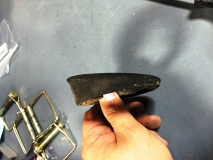
I have to completely disassemble the body to remove it from this old swingaxle pan. The bodysides wrap underneath the outside rail, preventing me from simply lifting it straight off.
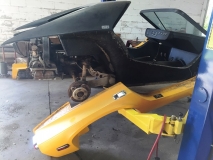
All the bolts are rusty. They will be replaced with stainless steel on final assembly.
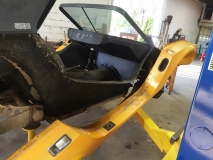
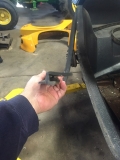
Had to drill out dozens of aluminum pop rivets to separate the body panels. It surprised me how the aluminum rivets oxidized over time. If I squeeze the backside with a pliers they crumble. They all will be replaced with stainless pop rivets.
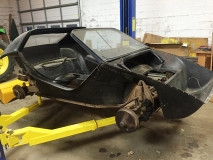
Its hard to think of this as forward progress
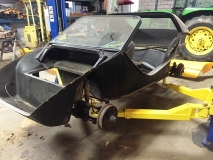
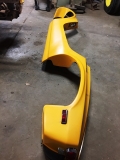
The body side is a lot longer than it looked on the car.
Re: Manx SR2 Build
Posted: Thu Oct 08, 2015 7:41 am
by parmaynu
Thanks for those pictures. Never seen one stripped back like that. It looks really well designed. No surprise there!
Re: Manx SR2 Build
Posted: Thu Oct 08, 2015 7:35 pm
by Sparkster
Now that you have the body almost completely taken apart, here's an idea. If you remove the canopy from the tub and make it a removable part with nuts and bolts around the engine bay plus some latches for inside the rear seat area, you can make the car configurable as an open roadster type or a coupe.
I've done that with my SR and as you can imagine, it's a fun and completely different driving experience either way.

Re: Manx SR2 Build
Posted: Fri Oct 09, 2015 2:59 am
by MyManx
That's a great idea. I would love to see some pictures of that. I, however, will probably leave the top as originally designed. I want this car to be a little warmer ride than my classic buggy with the option to close it up with the targa top if the weather goes south. I absolutely love my classic buggy and believe that a top does not belong on her.

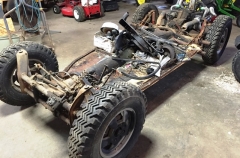
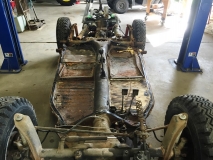
Manx SR2 Build
Posted: Tue Oct 13, 2015 1:42 am
by MyManx
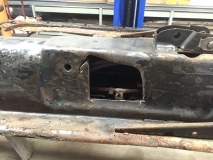
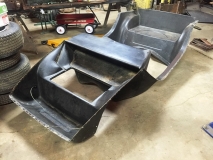
Final pieces removed.
I am going to leave the dash panel installed. There is really no reason for me to remove it. I will, however, replace all the rusty screws with stainless fasteners.
I think I am finally at a turning point. It's time to start the cleanup and reassembly.
If anyone knows where I could find new rubber moldings for the doors as well as the rubber turn signal light mounts, please let me know. I can clean and reuse the old ones if I have to, but they are weathered a bit and new ones will make it look much nicer.
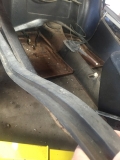
Door moldings, kind of an "h" cross section a couple of inches wide.
Front turn signal mounts.
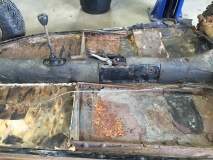
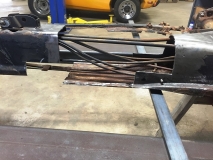
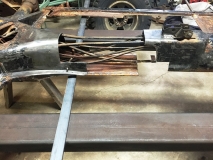
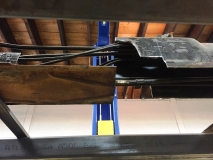
Manx SR2 Build
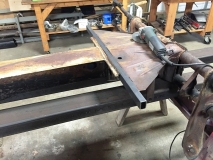
Posted: Sun Nov 15, 2015 9:57 pm
by MyManx
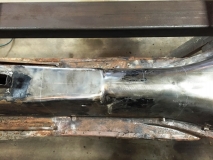
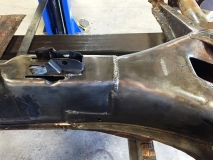
Finally getting around to shortening the pan. Used the tub to get the length just right.

Across the top and down the sides I had about a 1/8" gap. I stitch welded it closed and then added strapping over the seams to strengthen everything up.
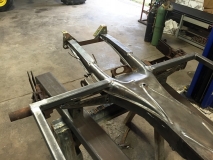
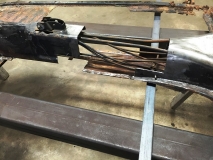
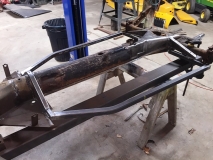
Manx SR2 Build
Posted: Sat Nov 28, 2015 2:36 pm
by MyManx
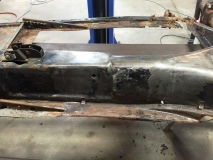
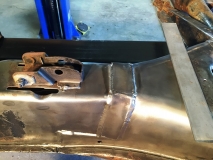
Added a cross-member under the top hat.
Tied in new outside rails using the body as a template.
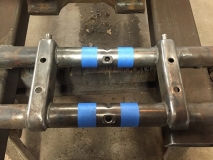
Manx SR2 Build
Posted: Sun Nov 29, 2015 3:50 pm
by MyManx
Installed front beam adjusters.
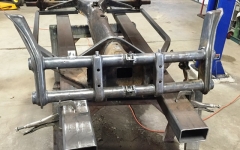
Manx SR2 Build
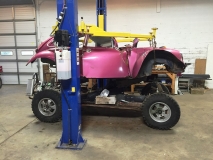
Posted: Sat Dec 12, 2015 10:49 pm
by MyManx
Aligned and reinforced the frame horns.
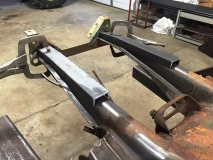
((Yes, I realize the engine cradle is up-side down.

Just used it for alignment.))