Page 2 of 2
Re: '66 Manx Period Build - Milo
Posted: Mon Mar 04, 2019 5:10 am
by calebmelvin
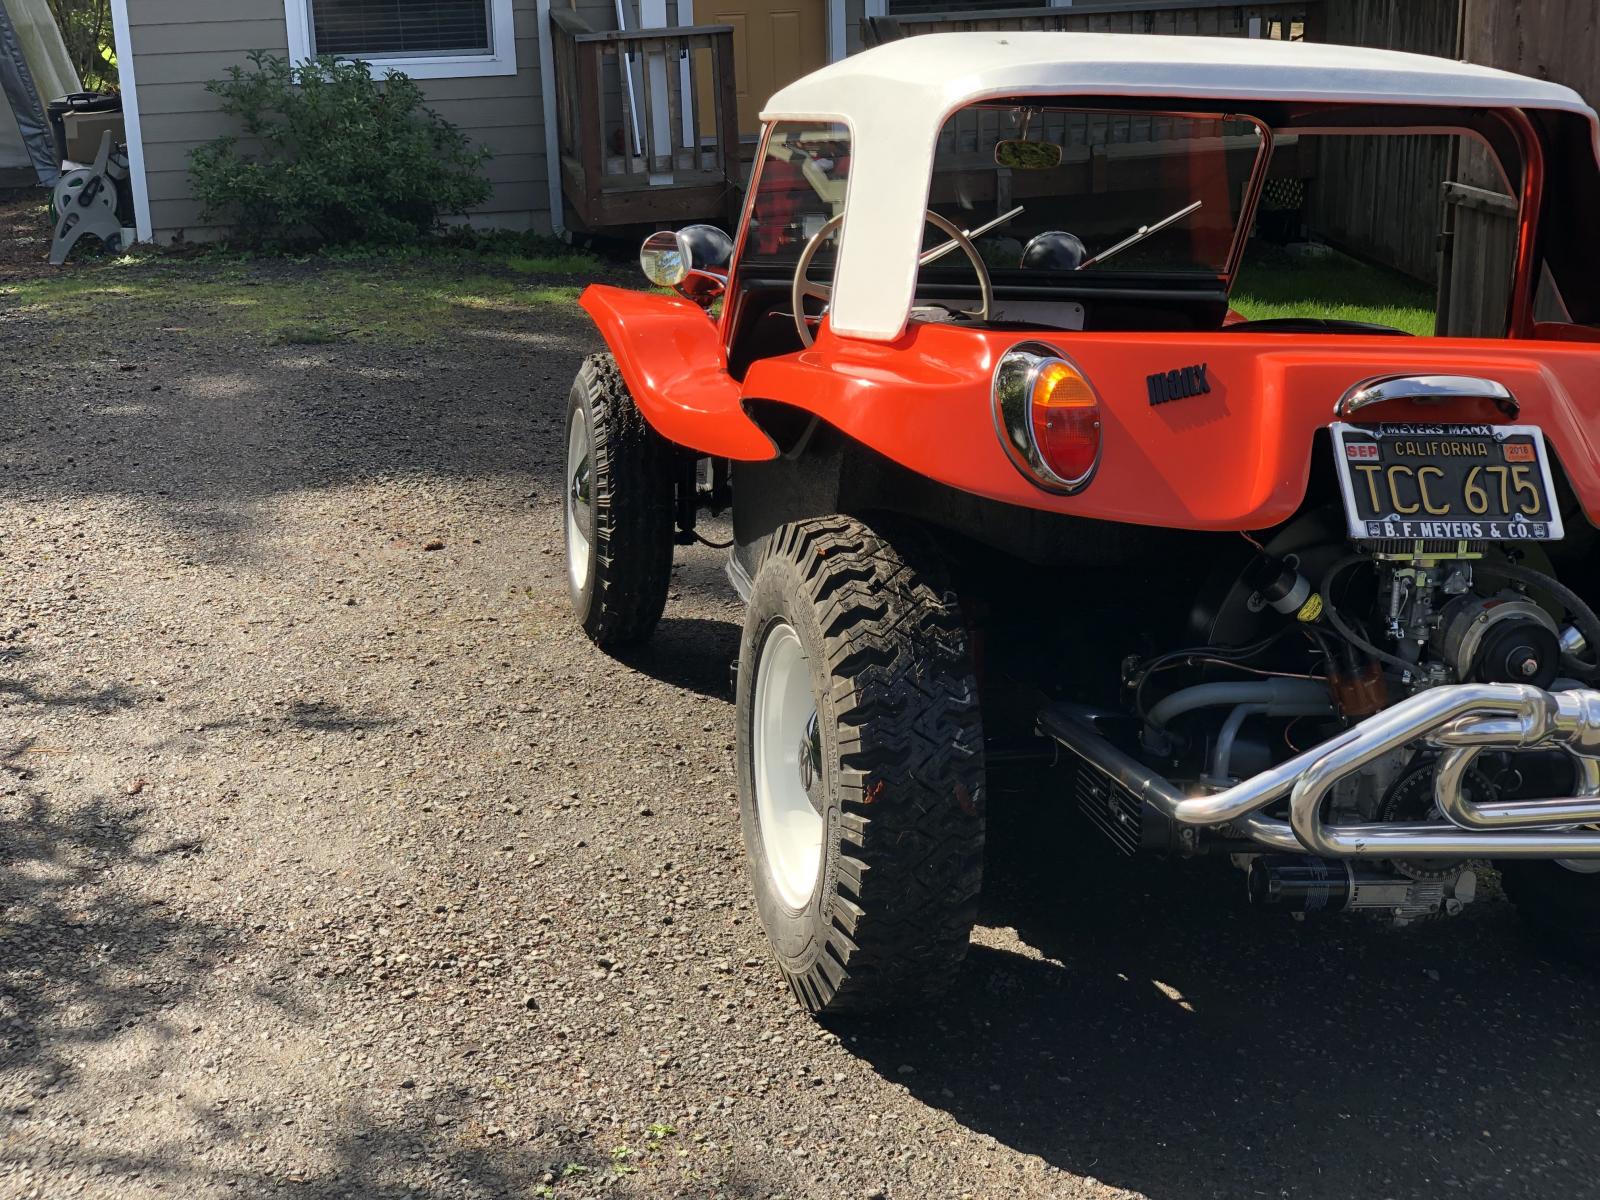
principiab wrote:What a beautiful build! Looks like an original black CA plate which you don't see too often. Hope to be able to see it in person at some point!
Hi Connie! Thank you so much for your kind message. They are the original black plates to the car, and a matching set too! I kept them from the donor buggy I bought for this build and they are in really nice shape. Pretty excited to have them.
Re: '66 Manx Period Build - Milo
Posted: Mon Mar 04, 2019 5:12 am
by calebmelvin
Re: '66 Manx Period Build - Milo
Posted: Mon Mar 04, 2019 6:53 am
by manxvair
Looks Awesome, great job
Sent from my iPhone using Tapatalk
Re: '66 Manx Period Build - Milo
Posted: Mon Mar 11, 2019 11:37 pm
by calebmelvin
manxvair wrote:Looks Awesome, great job
Sent from my iPhone using Tapatalk
Thanks Mike!!
Re: '66 Manx Period Build - Milo
Posted: Sun Mar 24, 2019 5:41 pm
by calebmelvin
Re: '66 Manx Period Build - Milo
Posted: Tue Mar 26, 2019 3:50 am
by manxvair
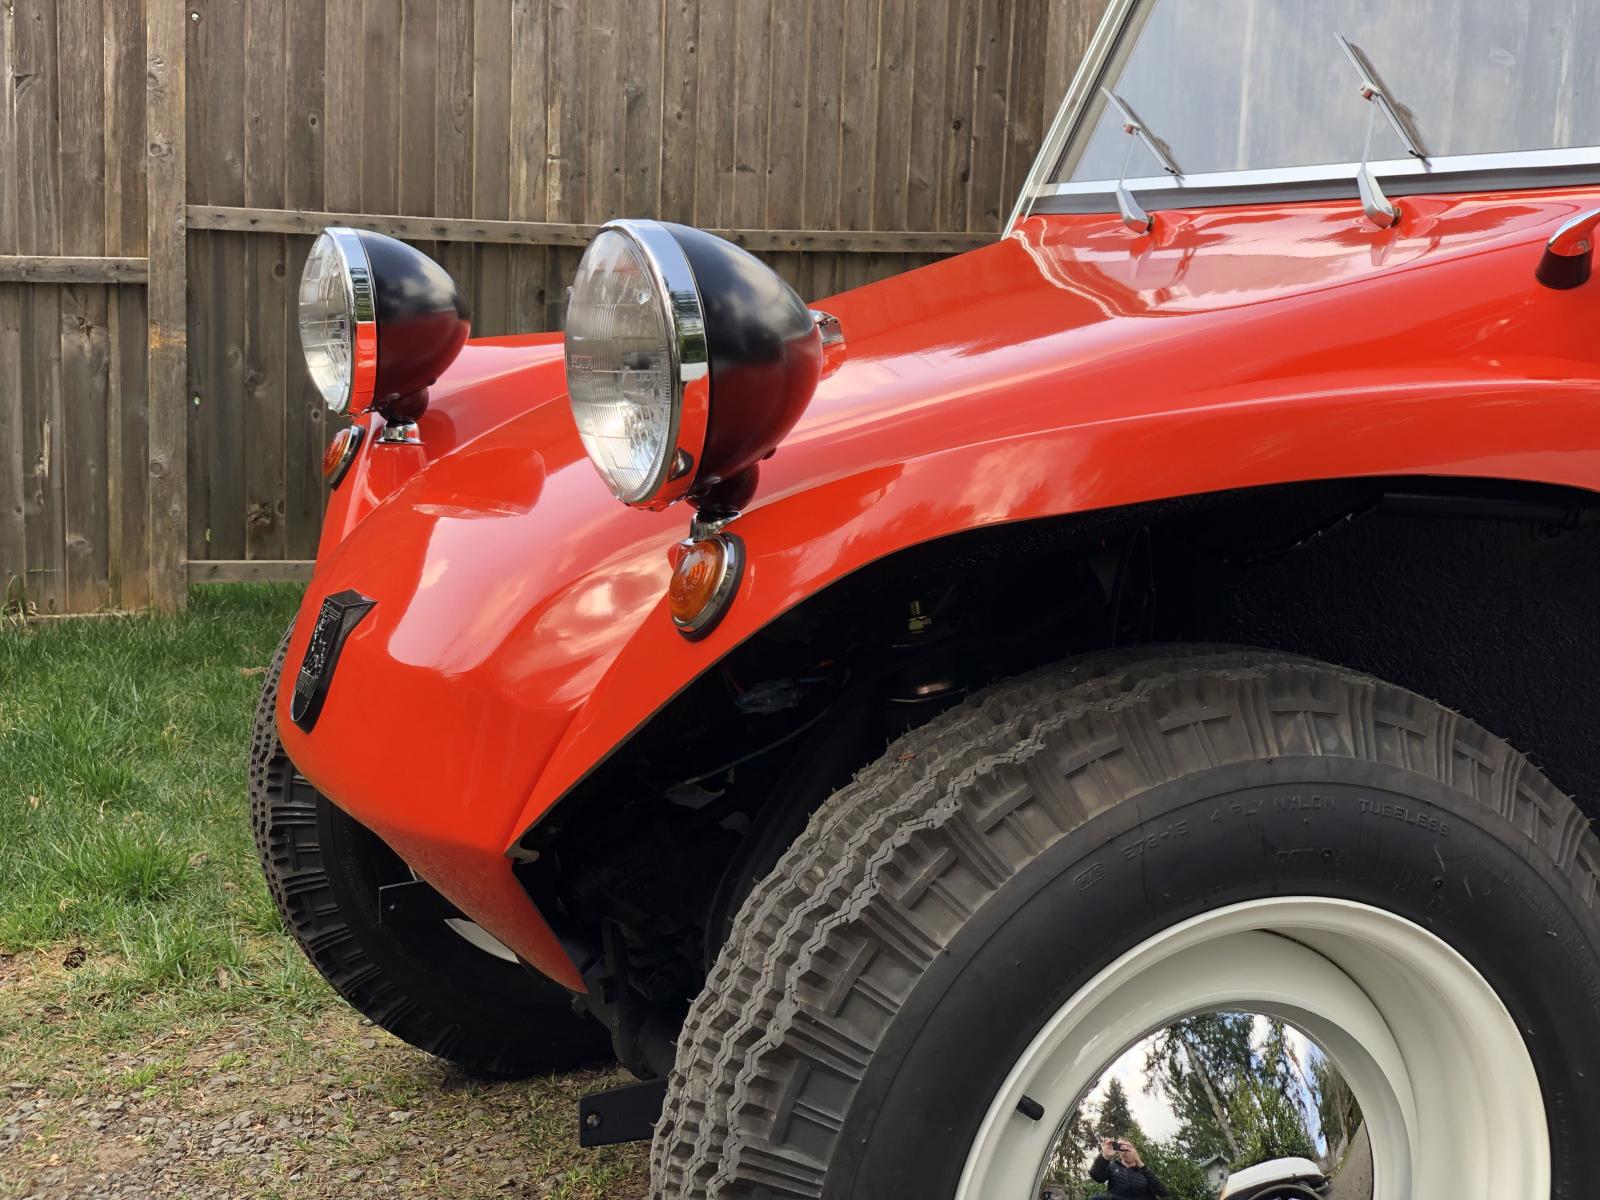
I like the black also, some day I'm going to redo the headlights and tail-lights on my Manxvair to black.
Re: '66 Manx Period Build - Milo
Posted: Wed Mar 27, 2019 4:05 am
by calebmelvin
Re: '66 Manx Period Build - Milo
Posted: Wed Mar 27, 2019 7:38 pm
by Sparkster
I also started working on the top attachment. I have it attached to the roll bar now and have an idea for the front, but am waiting for parts. I'll post an update when I get it done.
I'm interested in what you are thinking about the front top attachment. What are the parts you plan to use?
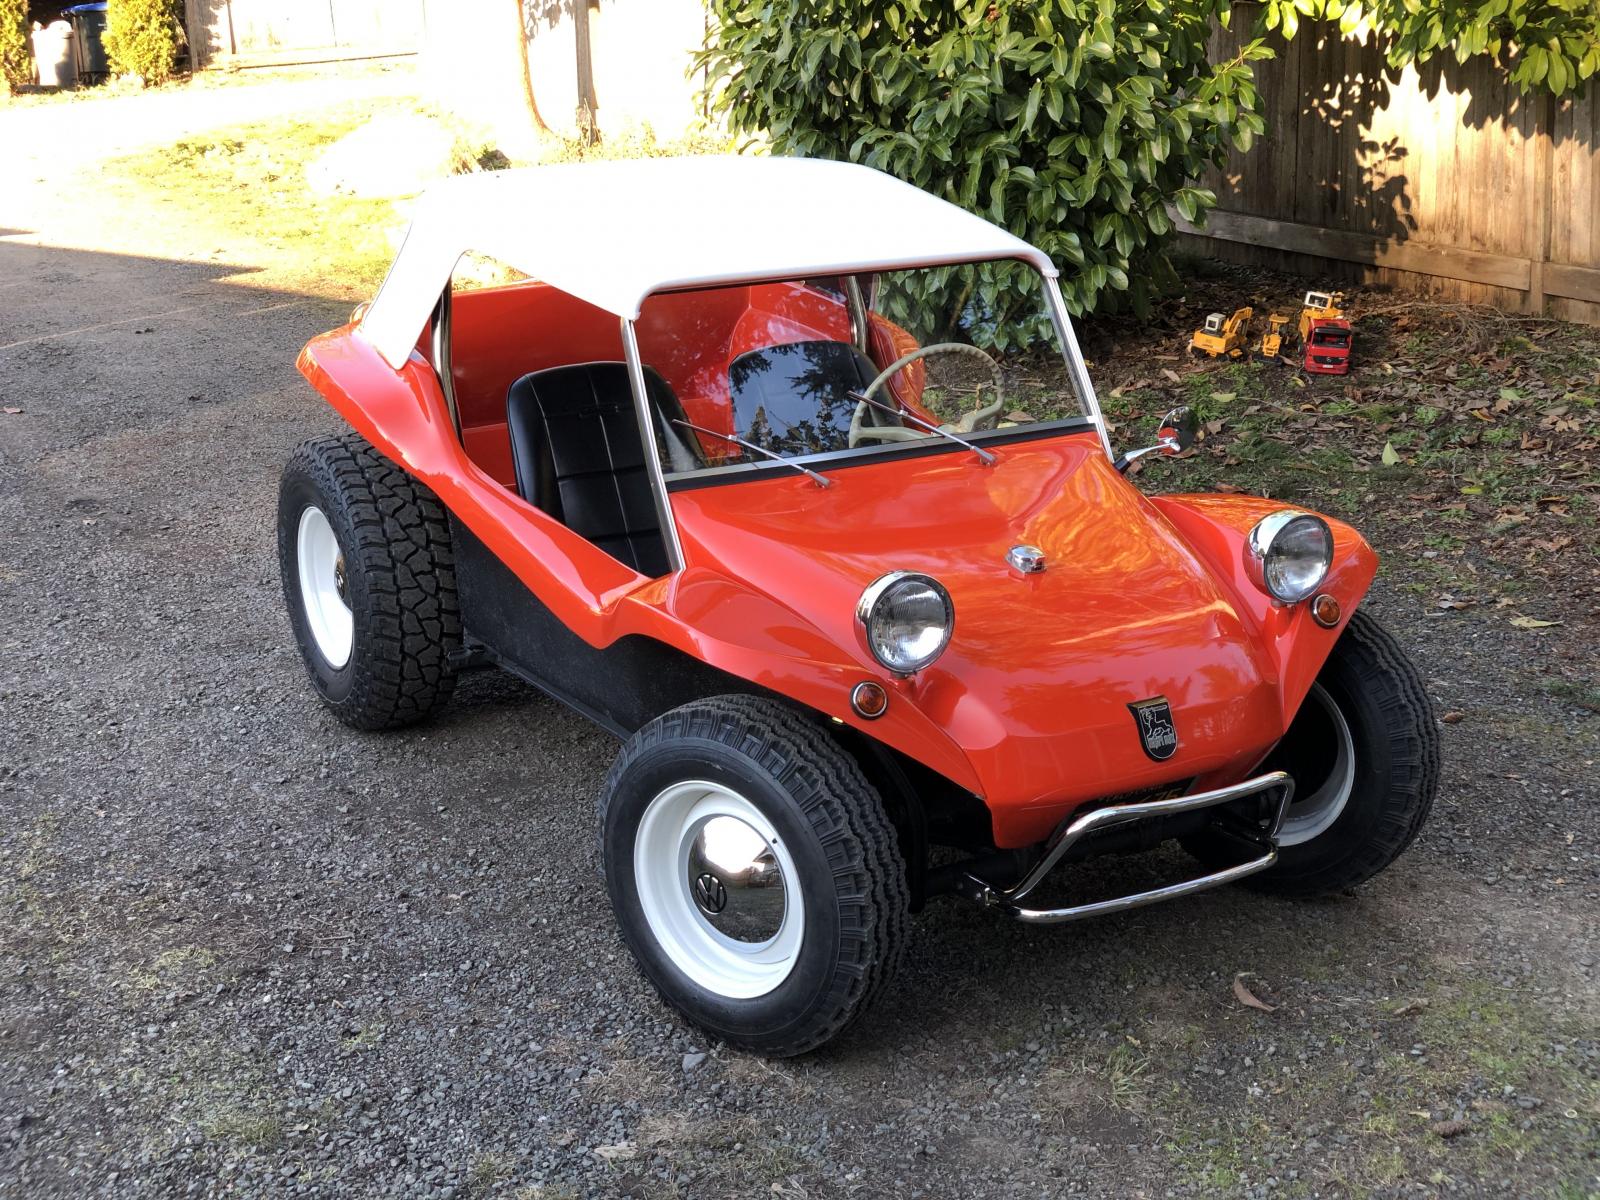
Cool looking Manx!
Re: '66 Manx Period Build - Milo
Posted: Fri Mar 29, 2019 5:48 pm
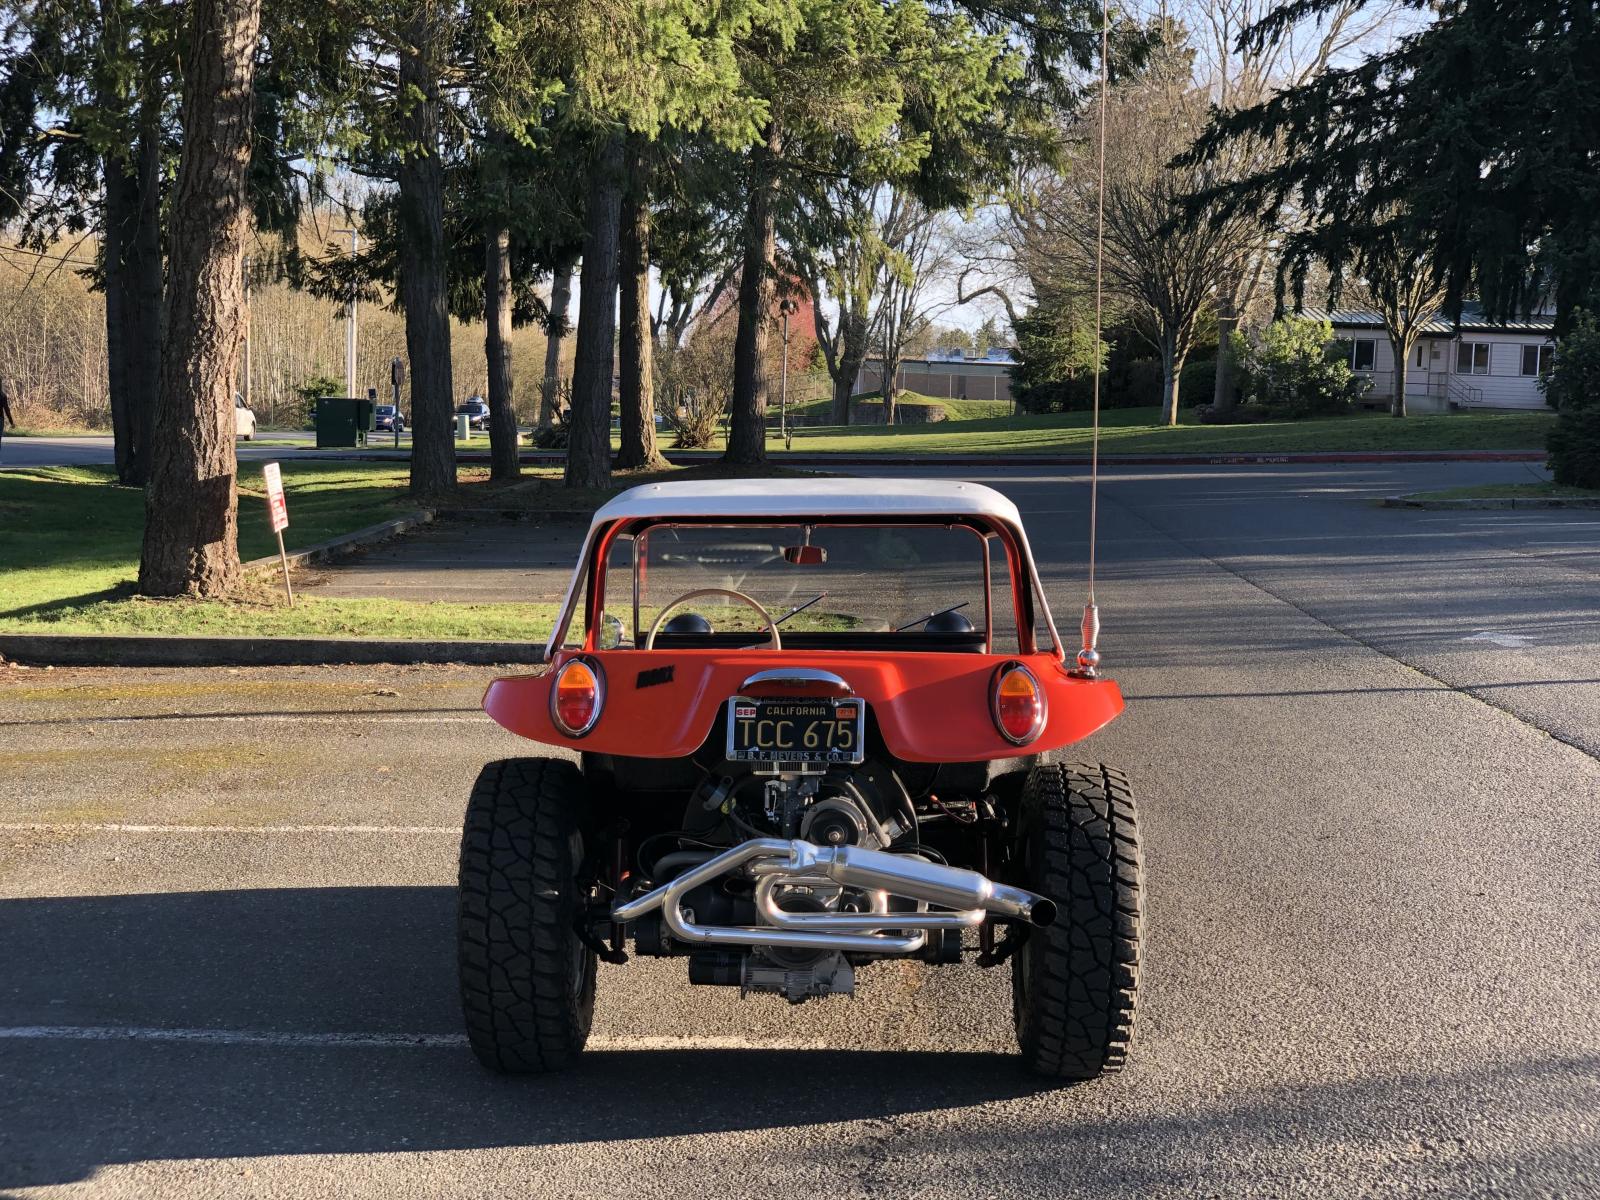
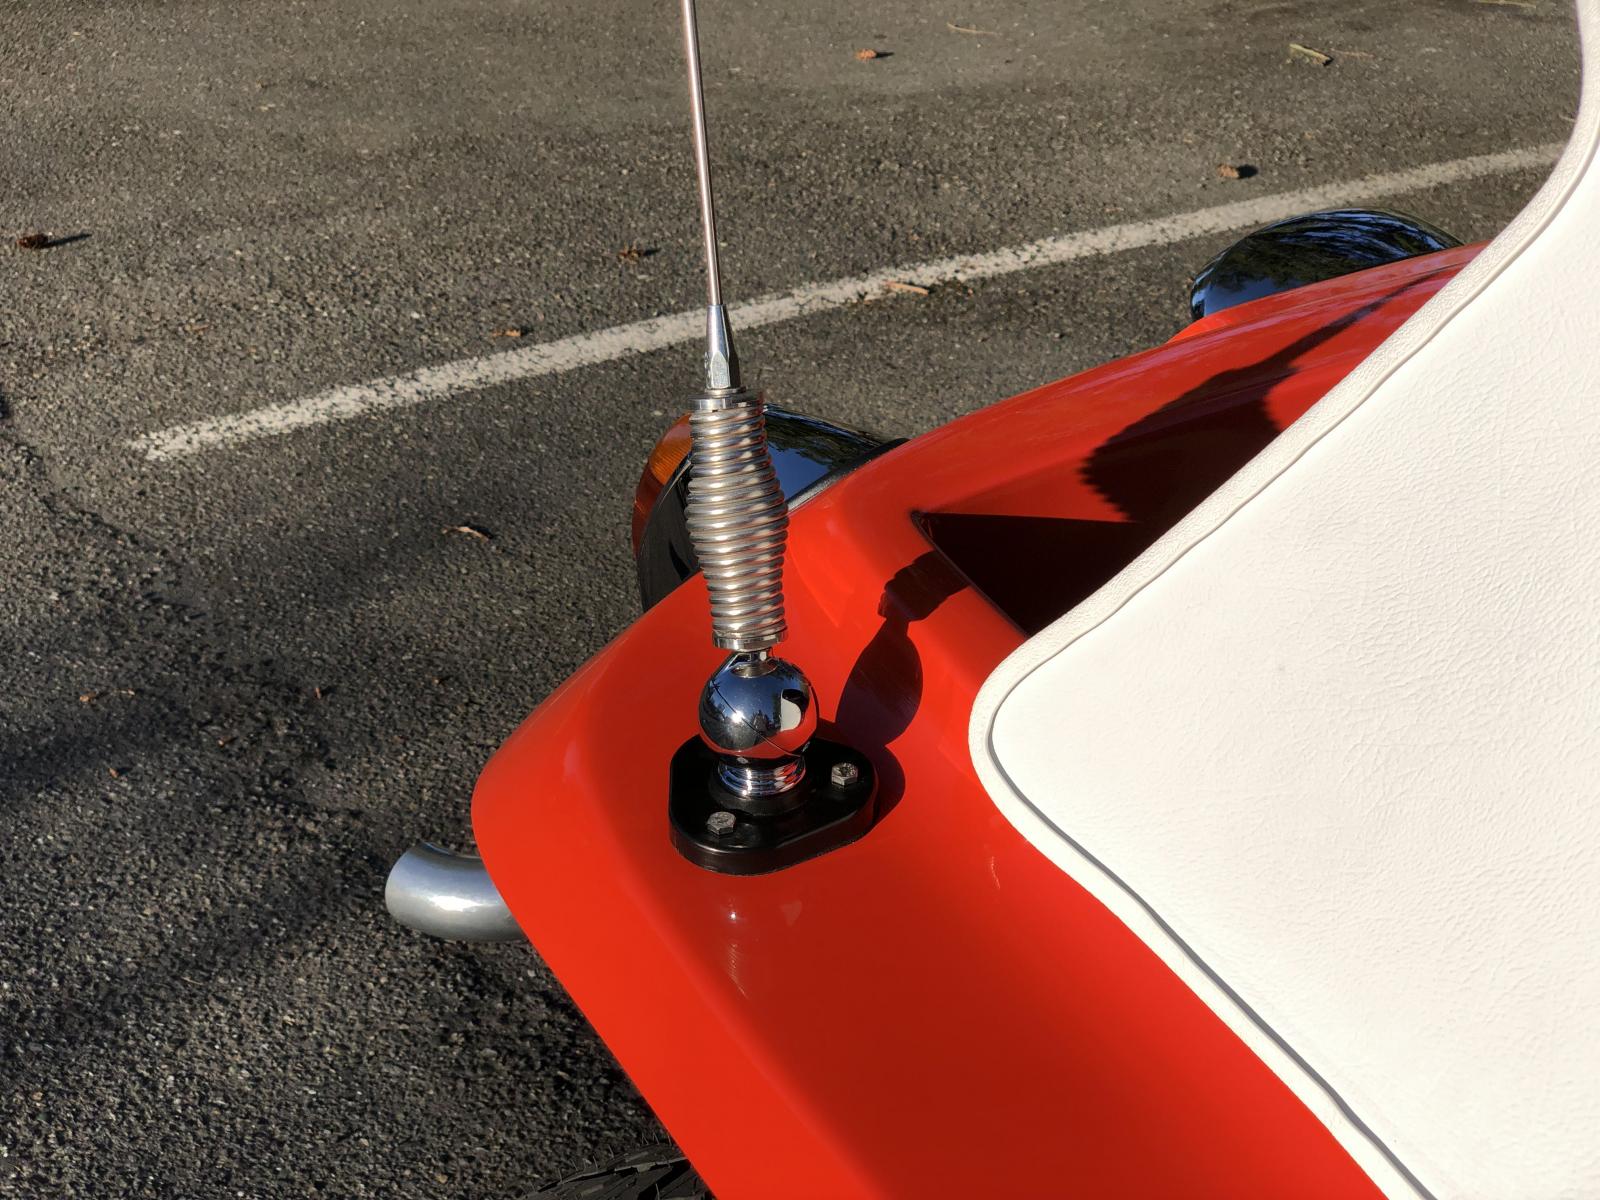
by 5150bossman
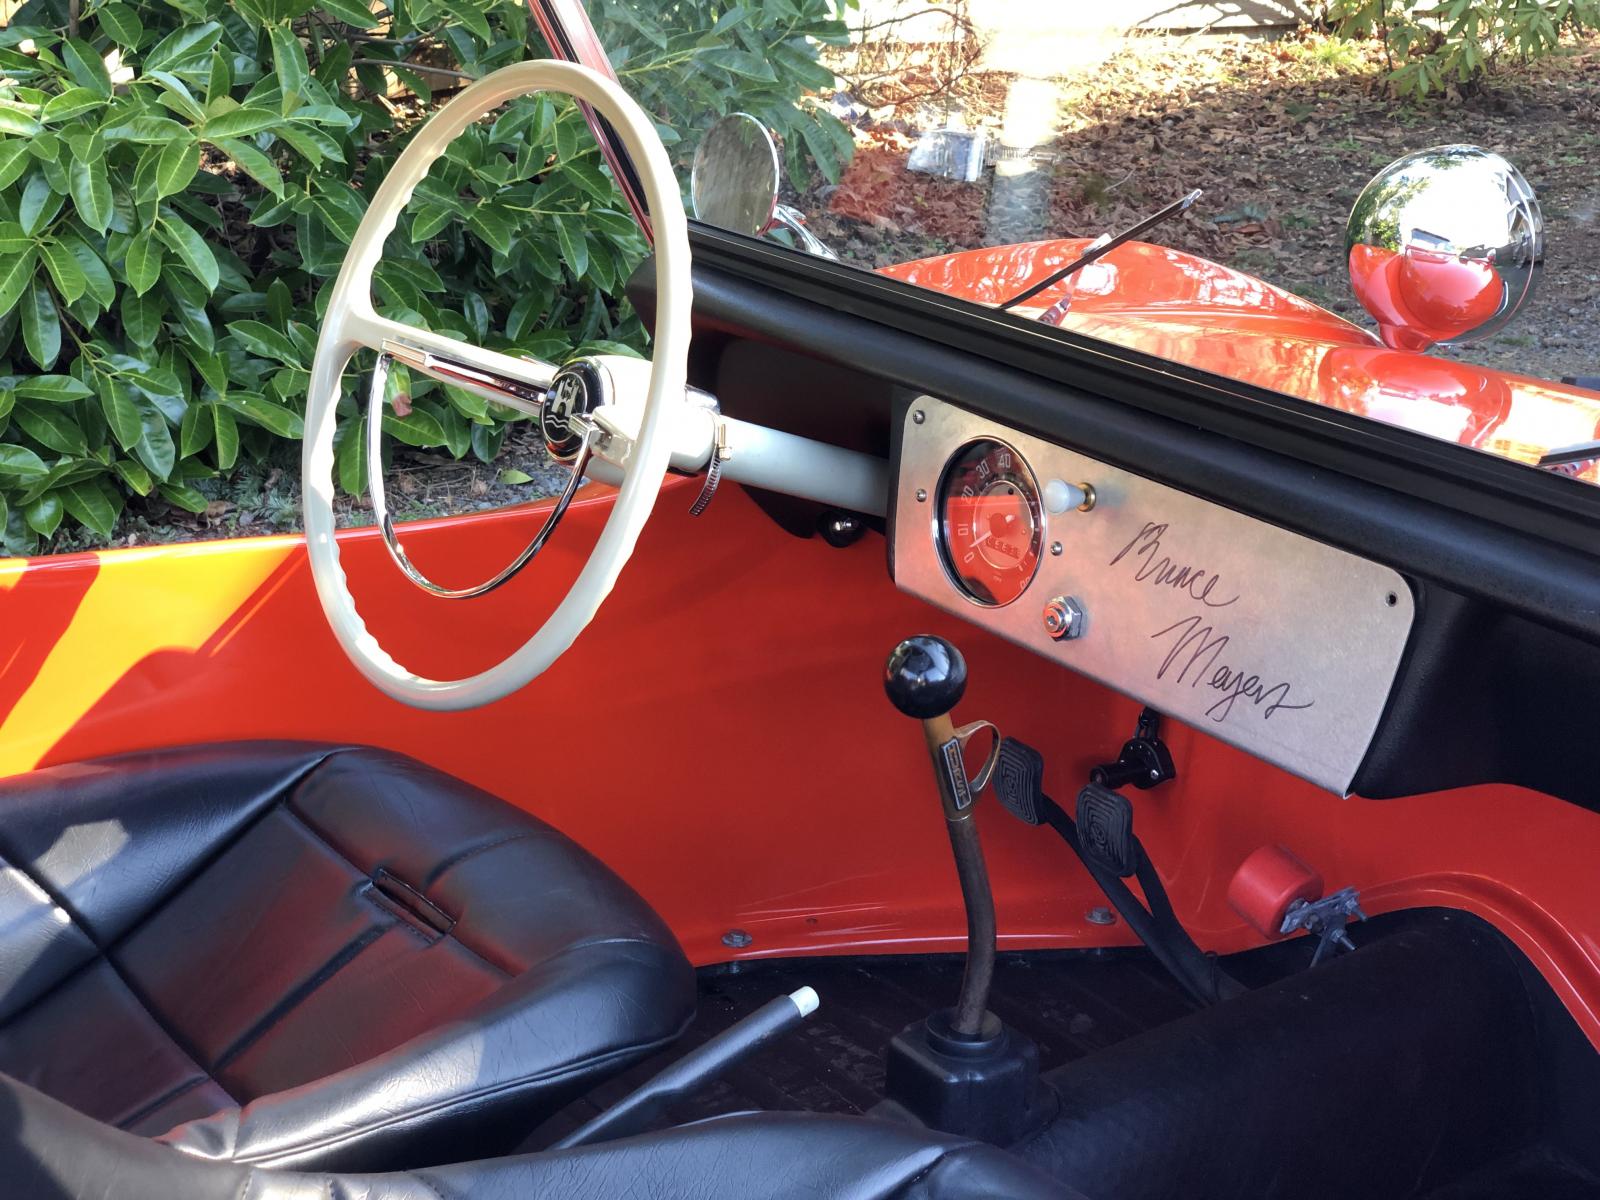
Lookin Good!!! With such a tall antenna, it will put a good amount of torque on the fiberglass as it whips back and forth. Make sure you have a good sized plate underneath on the back side of the fiberglass to attach the antenna to so the fiberglass doesn't fatigue and crack or fail completely and fall out.
Re: '66 Manx Period Build - Milo
Posted: Sun Apr 07, 2019 7:44 am
by calebmelvin
5150bossman wrote:Lookin Good!!! With such a tall antenna, it will put a good amount of torque on the fiberglass as it whips back and forth. Make sure you have a good sized plate underneath on the back side of the fiberglass to attach the antenna to so the fiberglass doesn't fatigue and crack or fail completely and fall out.
I was thinking about that! I need to fab up a bigger plate. There is one under there now but I am wanting some more real estate.
Re: '66 Manx Period Build - Milo
Posted: Sun Apr 07, 2019 7:44 am
by calebmelvin
Re: '66 Manx Period Build - Milo
Posted: Sun Apr 07, 2019 7:46 am
by calebmelvin
Sparkster wrote: I also started working on the top attachment. I have it attached to the roll bar now and have an idea for the front, but am waiting for parts. I'll post an update when I get it done.
I'm interested in what you are thinking about the front top attachment. What are the parts you plan to use?
Cool looking Manx!
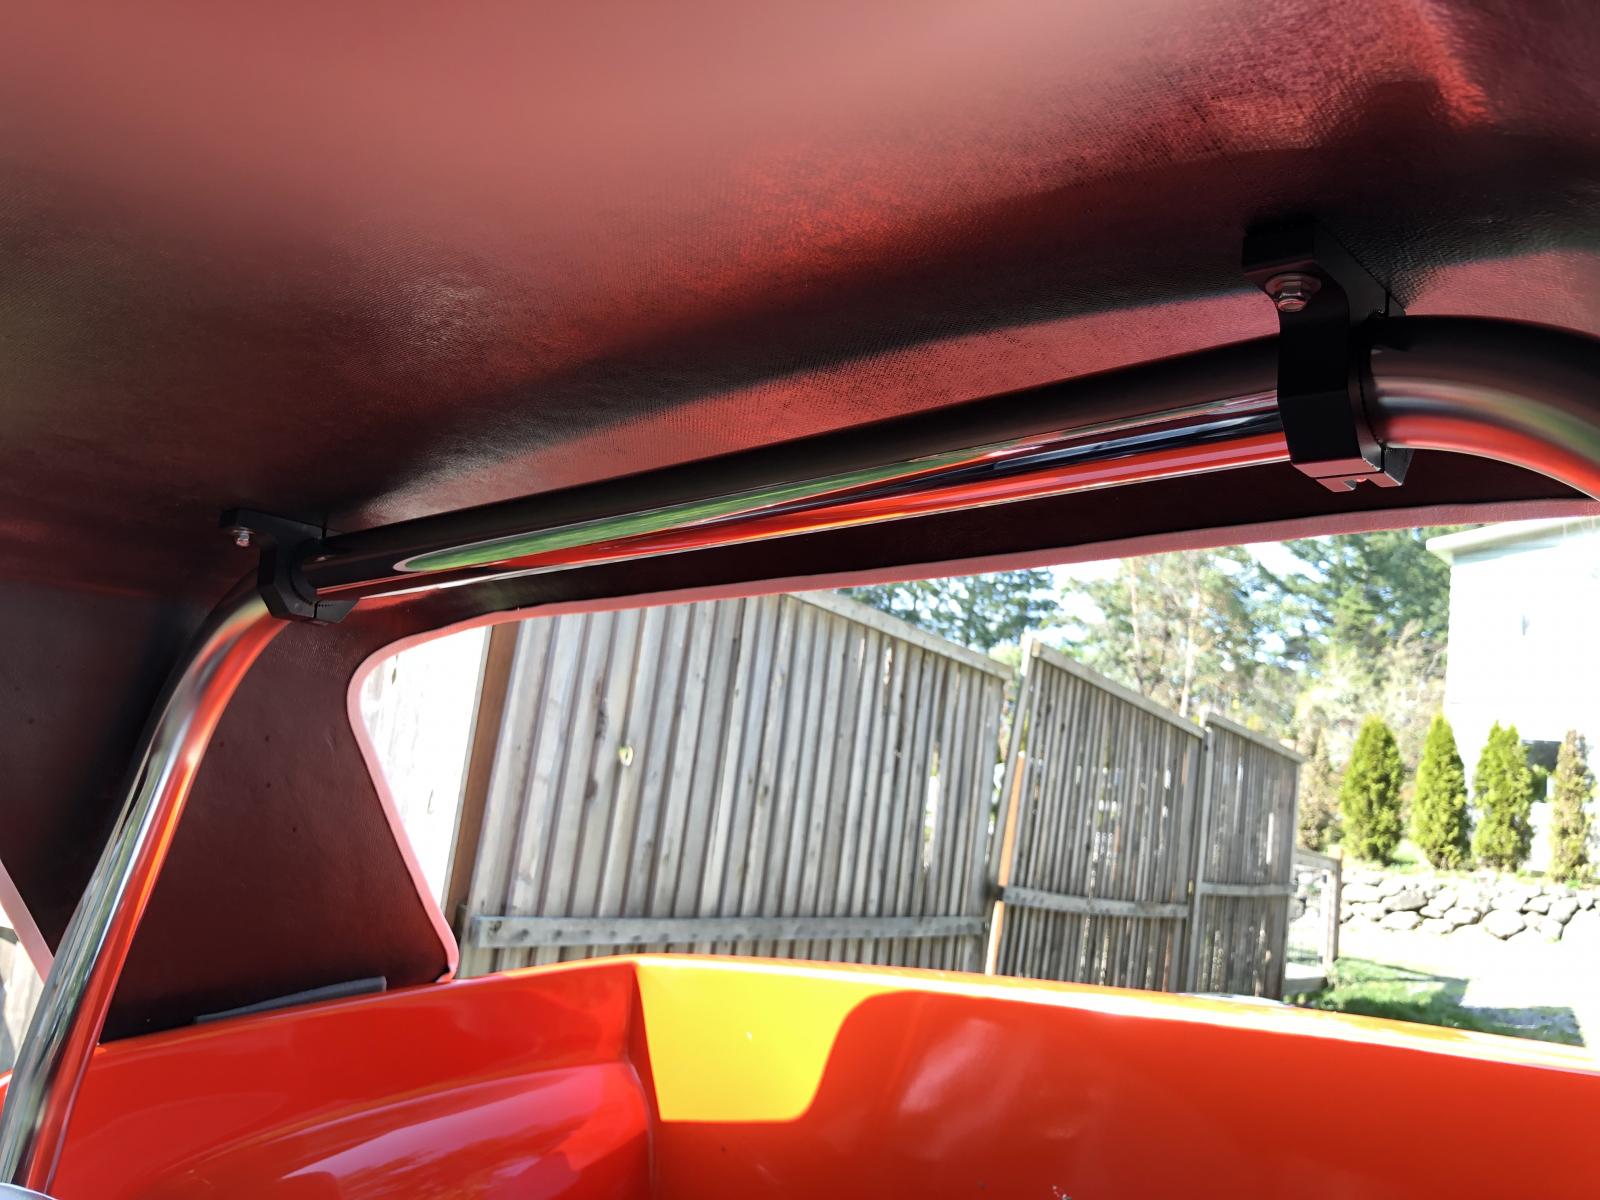
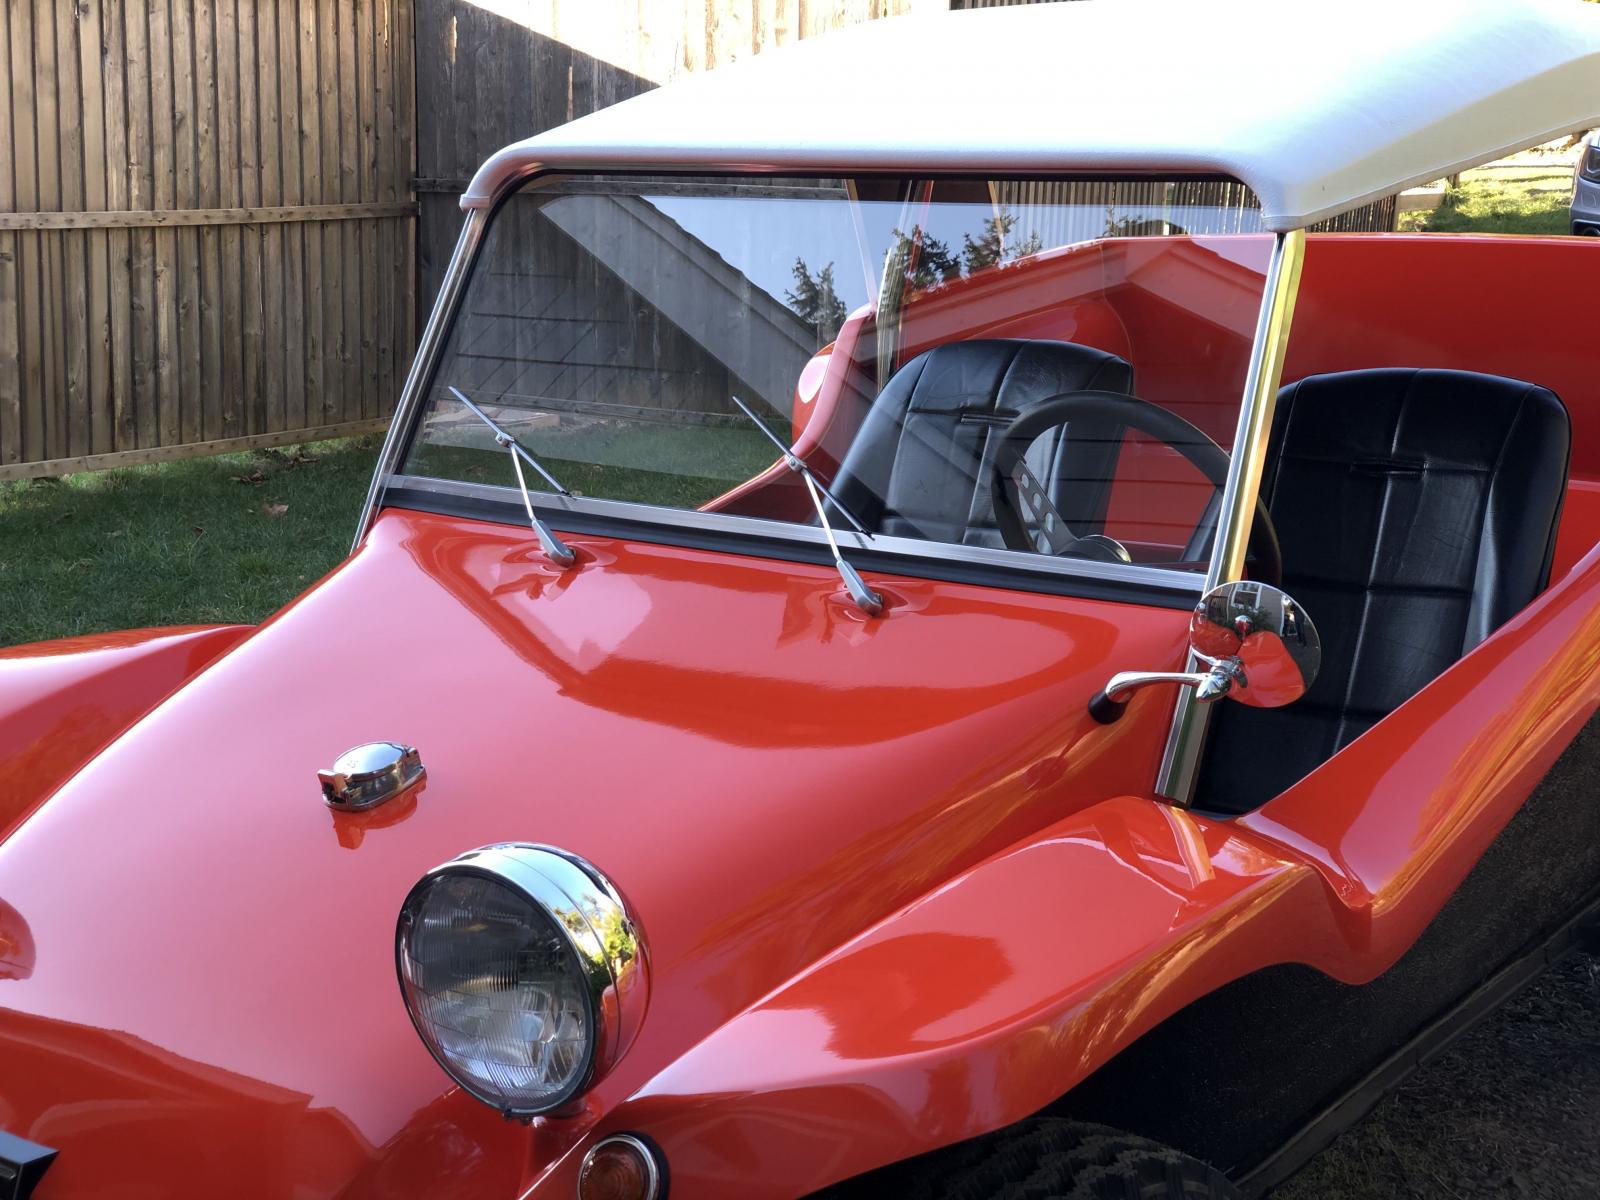
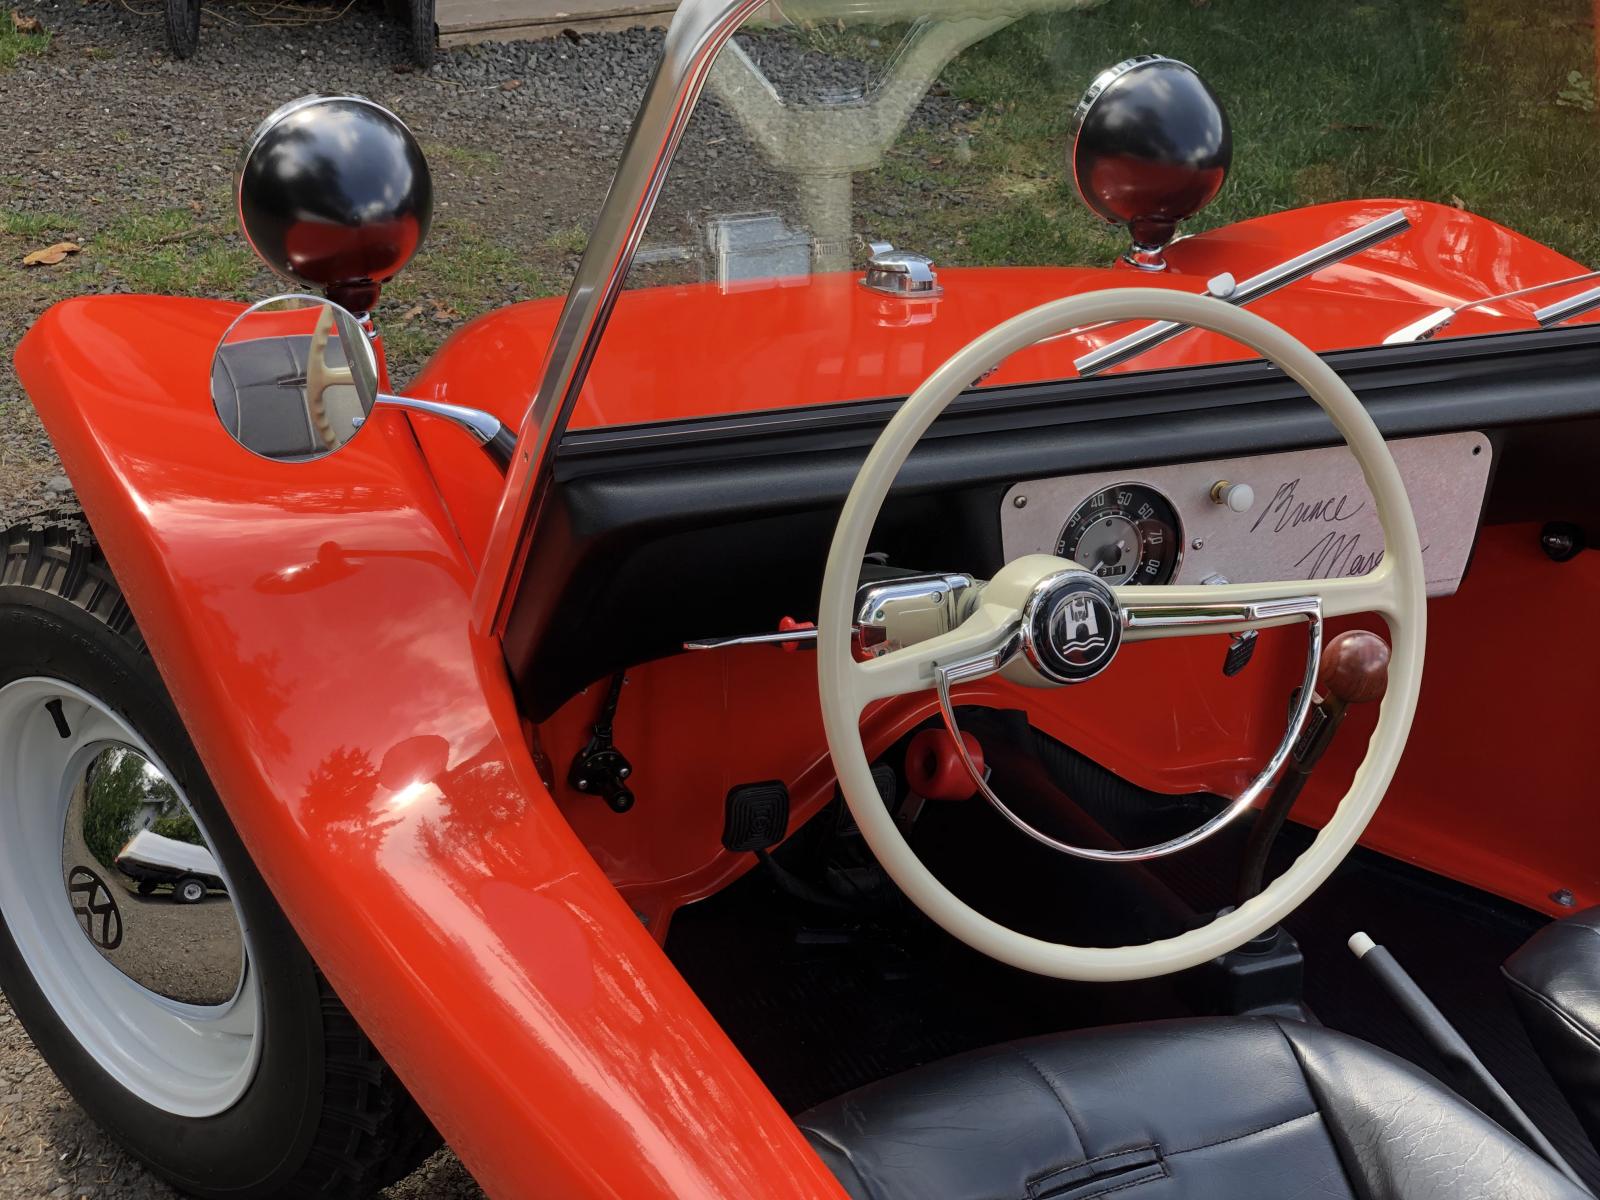
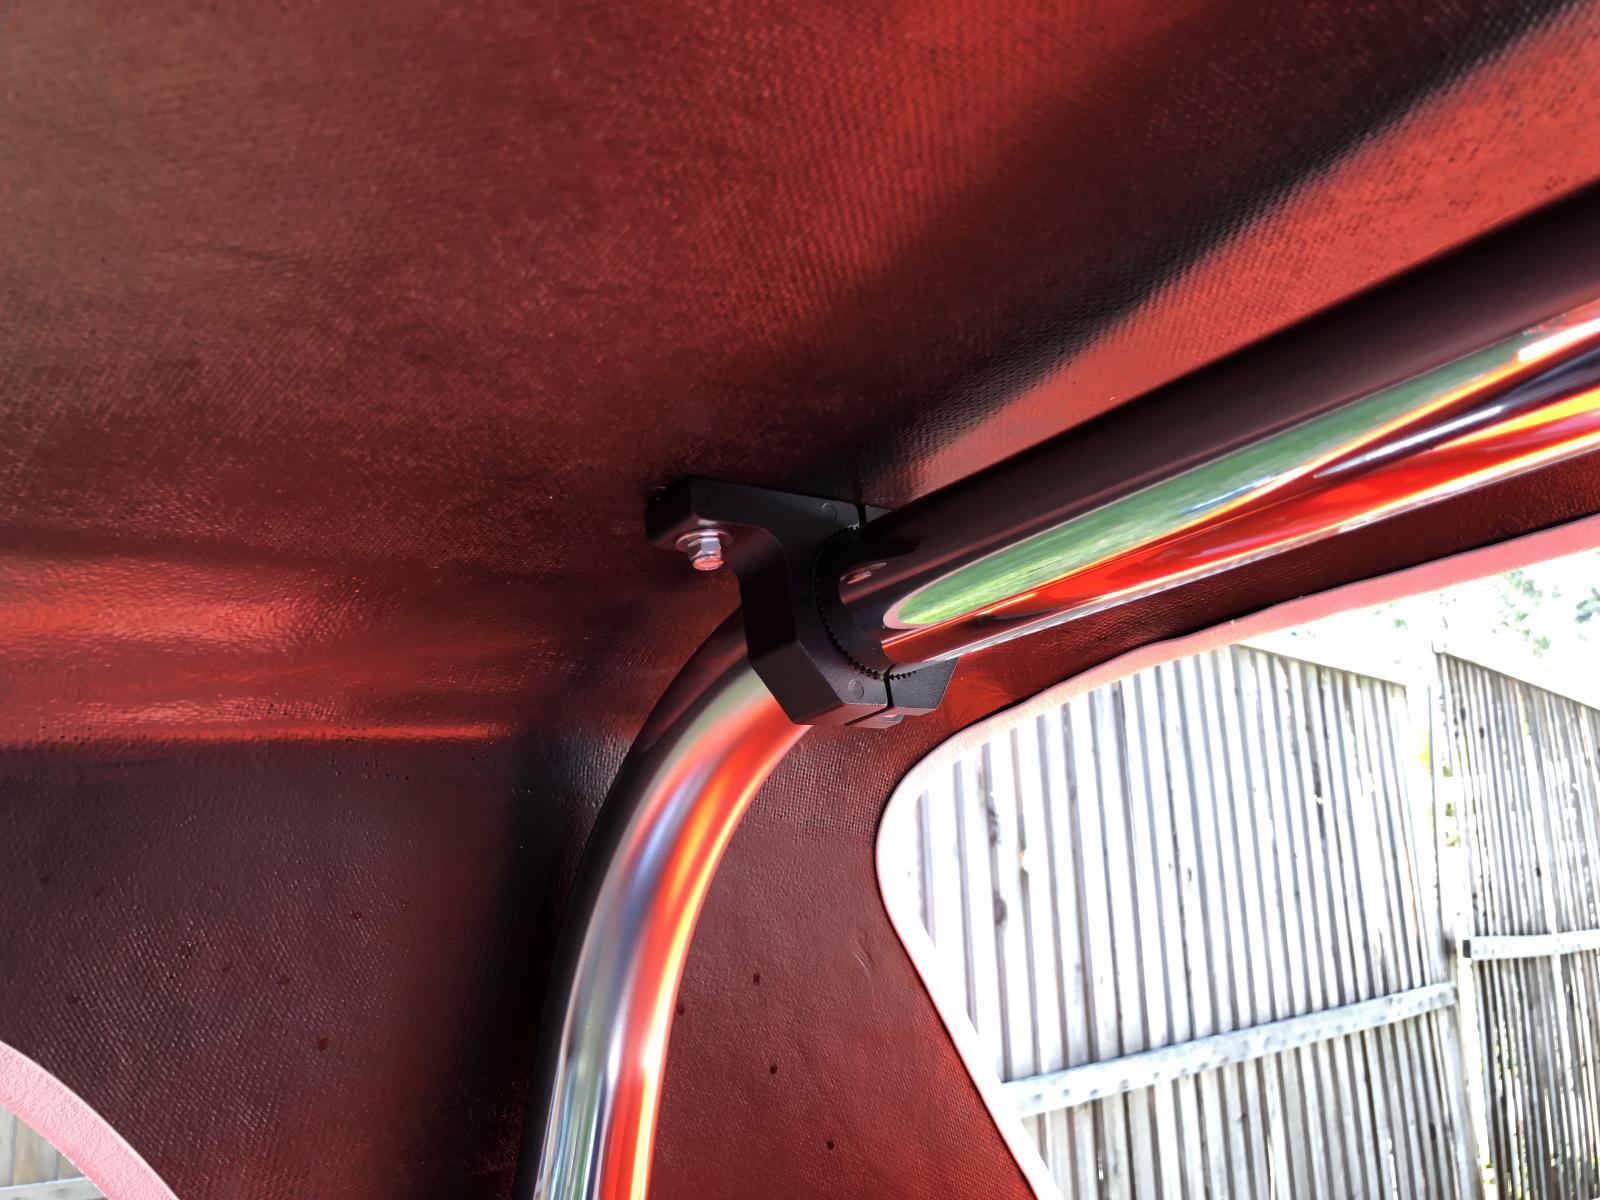
Here is what I came up with! As you know, the new windshield frames don’t match up with the Manx hardtop well and they have a tendency to lift and fly off at speed. Further, the spring mount doesn’t provide much tension to combat this either. I needed a new solution.
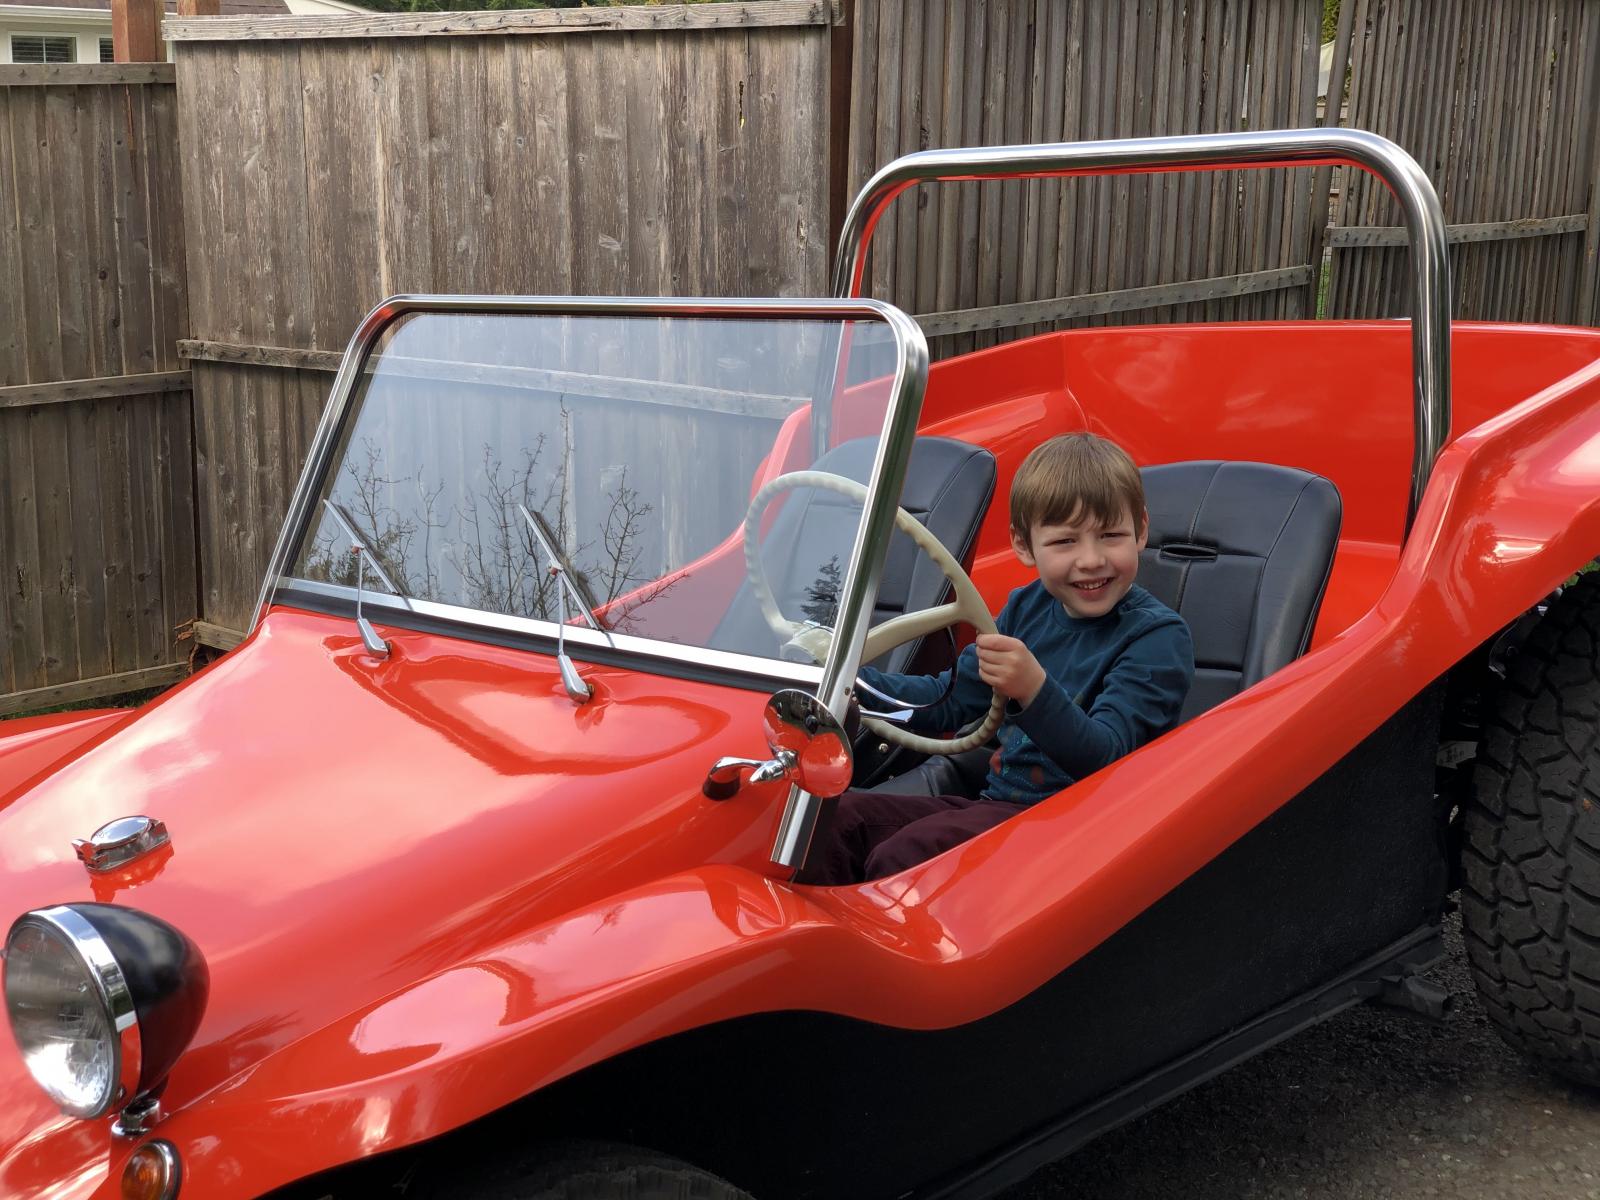
I first wanted a solid mount to the roll bar. I found these $10 mounts to be perfect. They are very solid and create the perfect gap between the roll bar and the top. I used felt inside the mount so they wouldn’t mark the bar over time.
https://www.amazon.com/gp/aw/d/B0714CYK ... b_pd_title
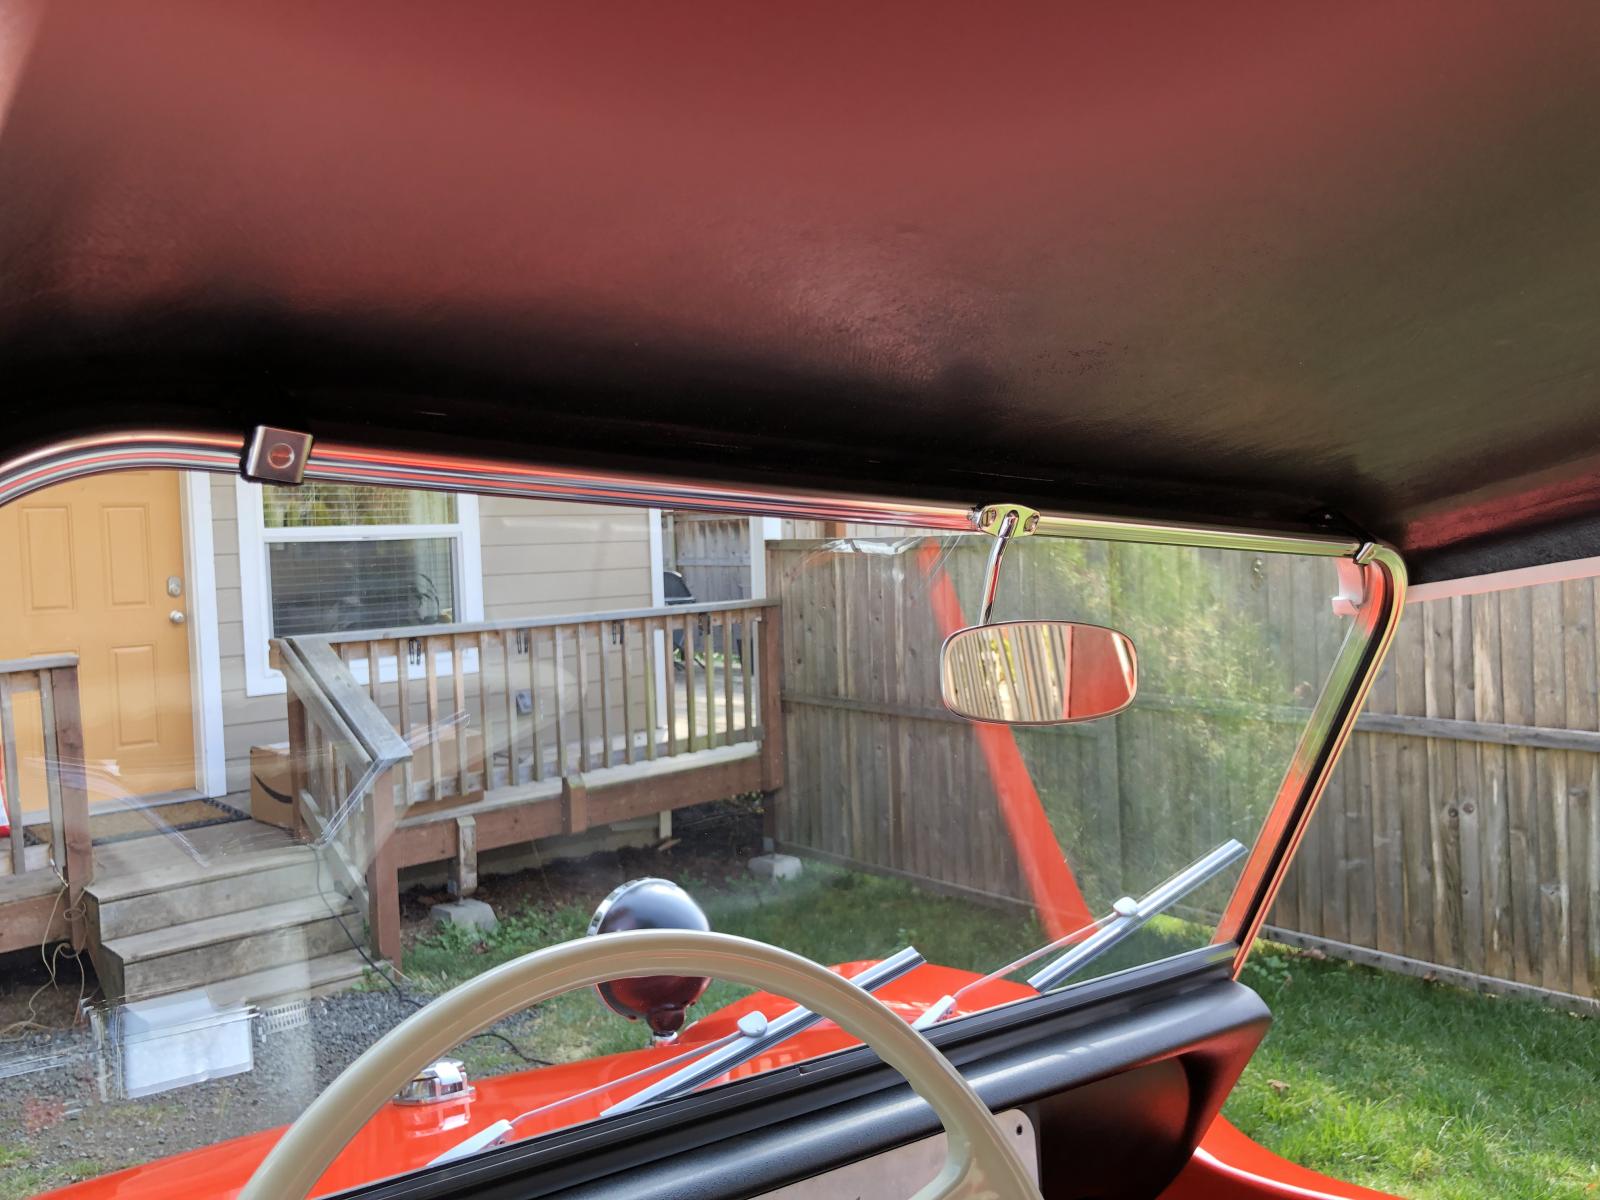
Next I needed to secure the front so it doesn’t lift. I looked a quite a few options but nothing off the shelf worked. I wanted to reuse VW parts if possible because that’s what they would have done in 1968.
What I ended up using was a $6 strap that holds down the rear seat of the ‘65-77 beetles, and a $4 set of brackets that attach the rubber strap which holds up the rear seat.
http://www.wolfsburgwest.com/cart/Detai ... 111885741A
http://www.wolfsburgwest.com/cart/Detai ... =111885589
I attached a piece of the strap to the top and then drilled and tapped a 8-32 hole into the windshield frame on each side. Finally I attached the other end of the strap and the bracket to the windshield. I cut off the excess and melted with a lighter to make a nice edge.
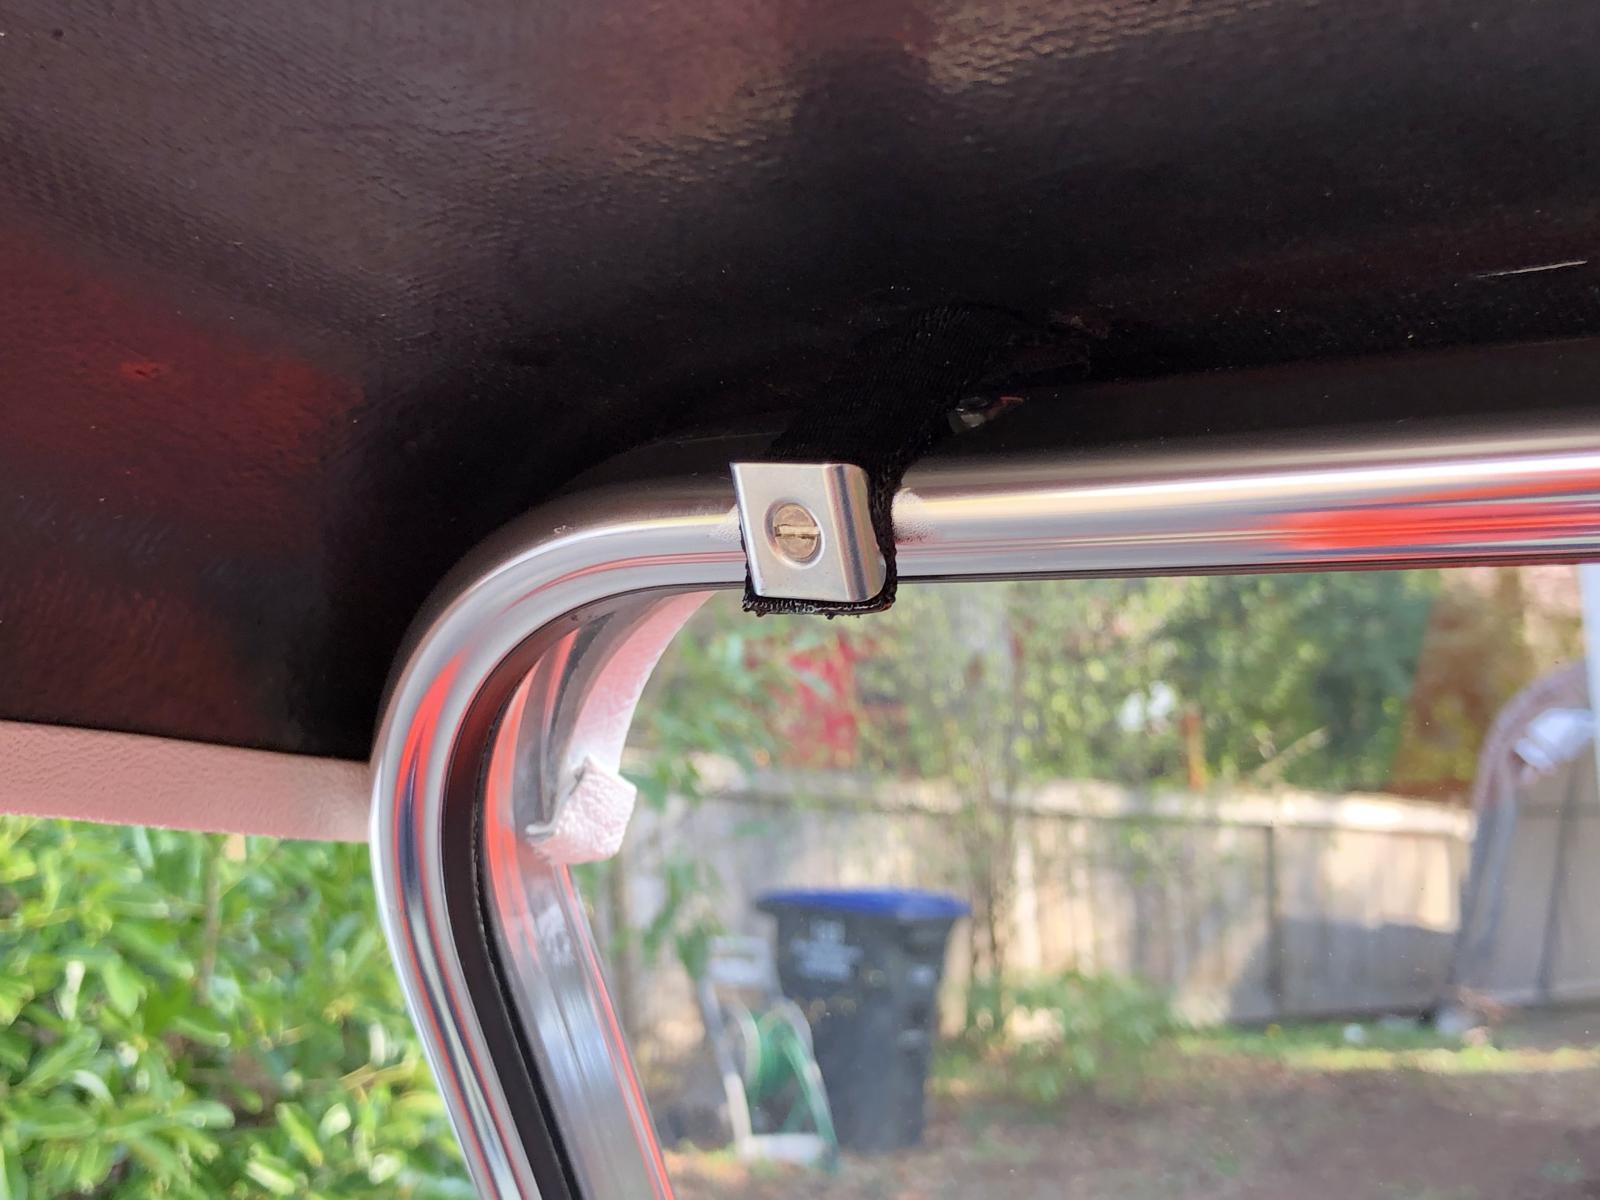
It turned out to be very clean and works well to keep the front of the top down. Best of all it was only $20 in parts!