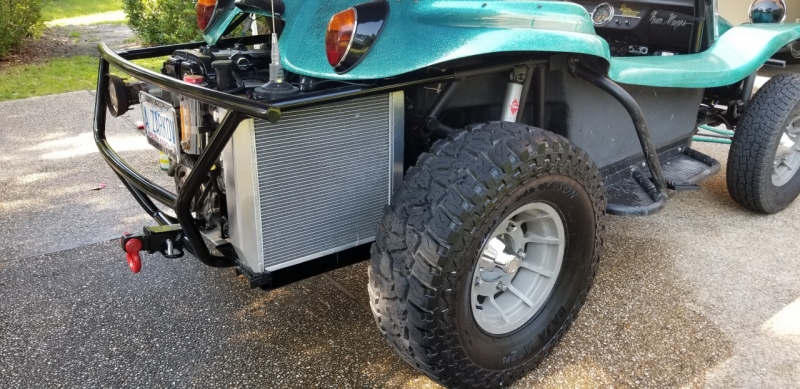
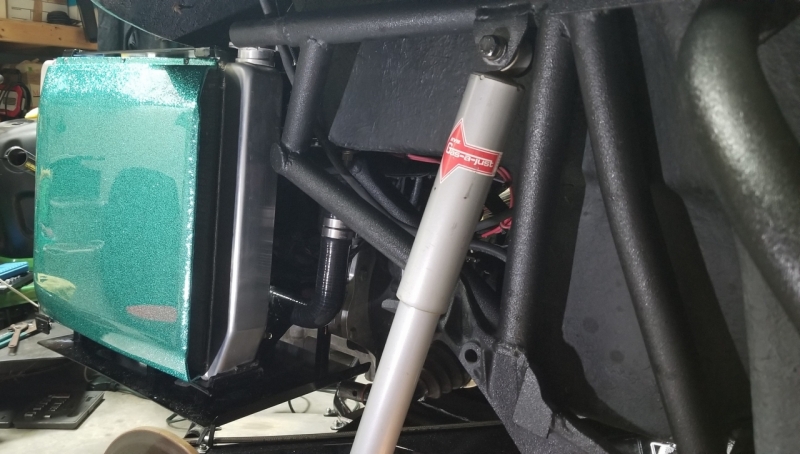
Here is a picture of the radiator to show what I was dealing with:
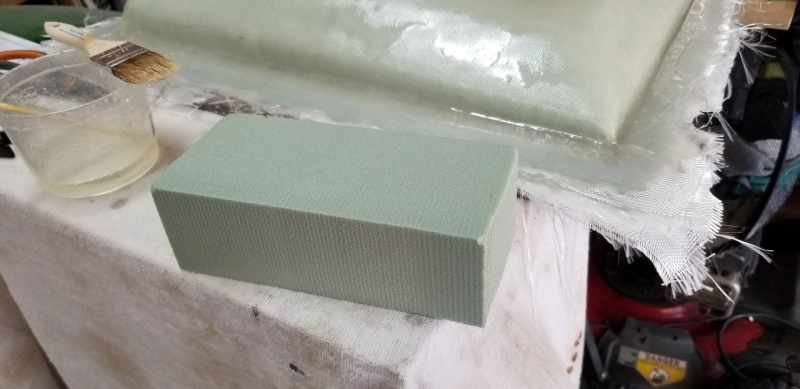
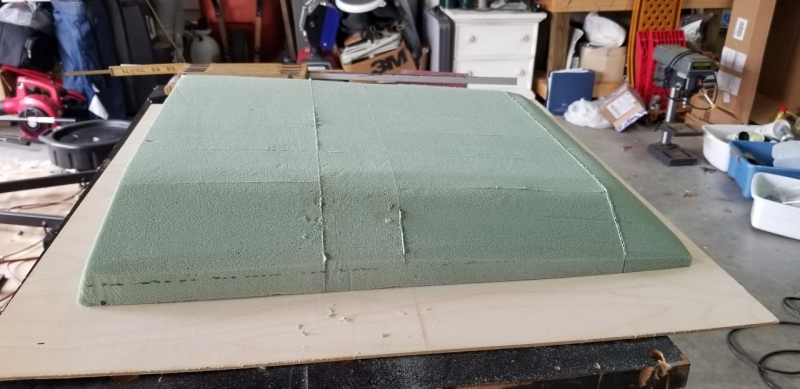
First thing was to measure the dimensions of the core and the lip on the top and bottom of the core. I subtracted about an 1/8 of inch all the way around and went about building a plug for my scoop. I should mention that having never done anything like this before I didn't know where to source proper materials (ie foam) to create the plug. Online sellers of foam wanted a small fortune for a block of foam the size I needed - approx. 20x20 inches - so off to the local hobby store I go. I chose floral foam blocks and went about the tedious task of gluing them together to make my plug. I used 3M spray-on glue - I'd probably try hot glue if I were to do it again. The glue created a bit of seam during the sanding/shaping process (more on that later).
Floral foam - word of warning, this foam is very soft so I had to be careful about denting it and sanding too deeply.
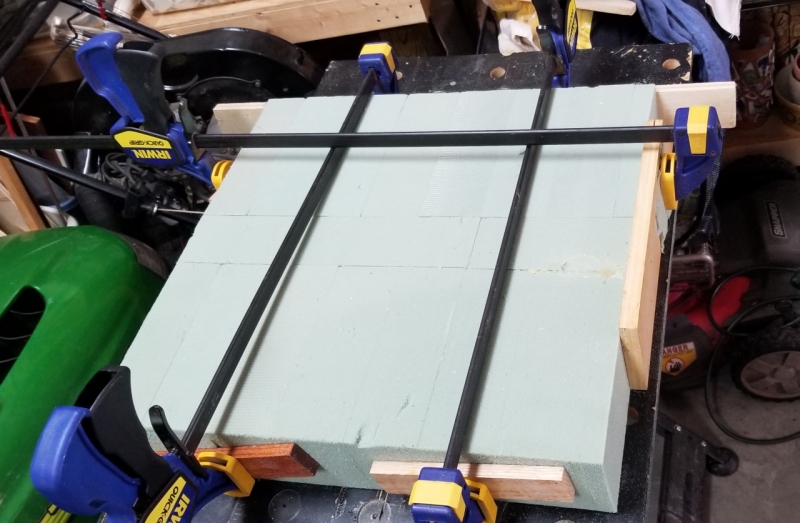
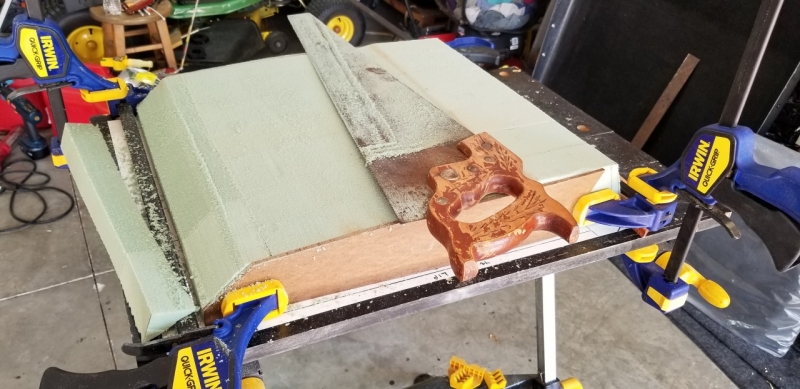
I used bar clamps to hold the MANY blocks of floral foam in-place while waiting for the glue to dry.
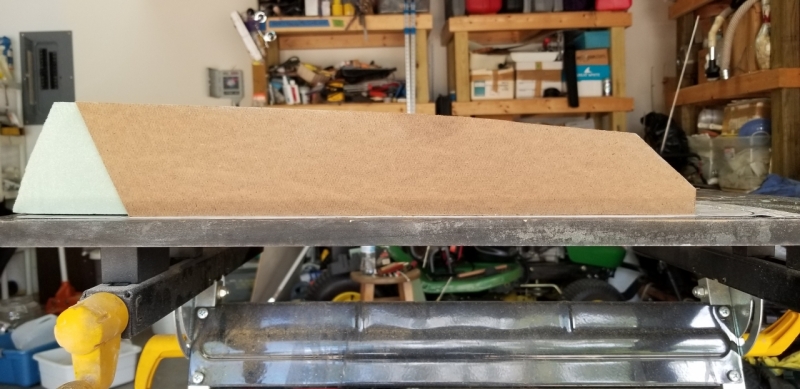
During the drying process I had to decide on the shape of the scoop before I started cutting and shaping. Knowing that I didn't want just a "box" scoop, I decided to mock up something.
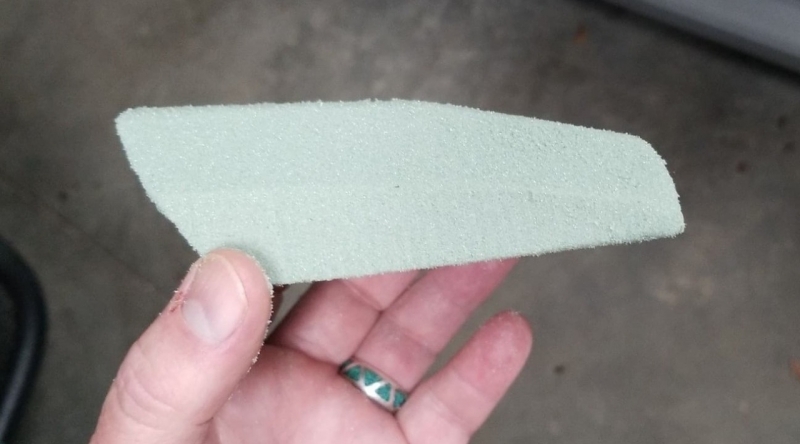
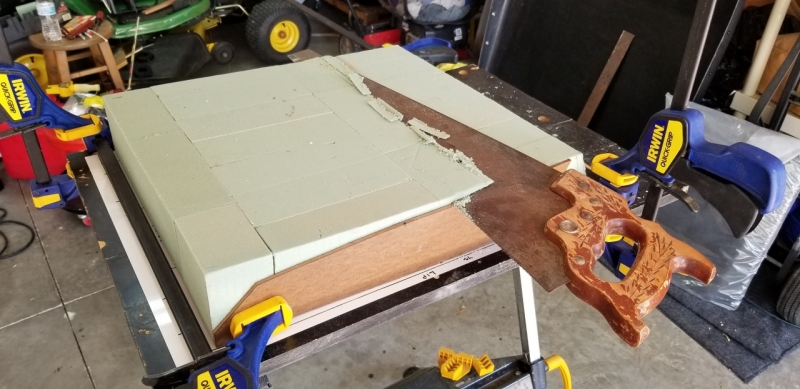
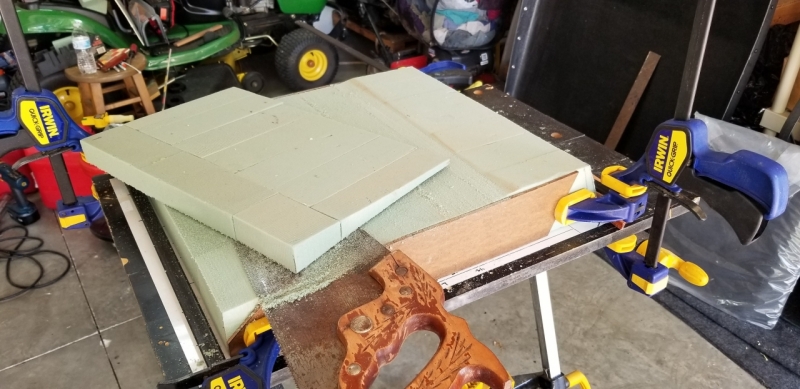
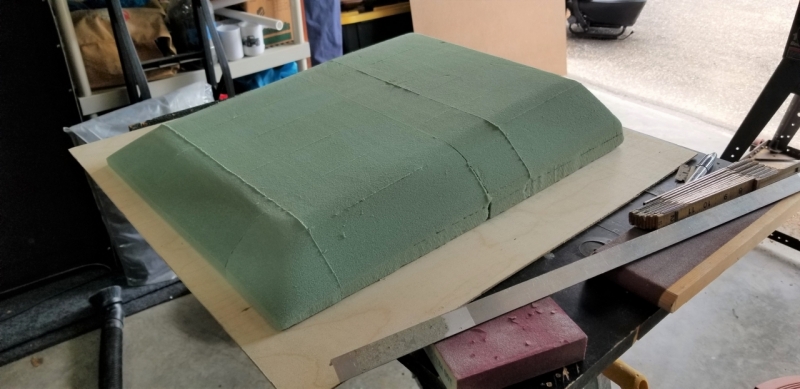
I cut out a side profile template to help me with the initial rough cuts. Again, never having done this before I don't have any specialized tools to cut foam so I used what I had. Also, you may notice the opening of the mock up and side template is/was intended to angle backward. During this process that end had to angle forward so that the wet fiberglass cloth wouldn't "fall away" from the plug. I owe this "pro tip" to a fiberglassing guru, Christopher Lewis.
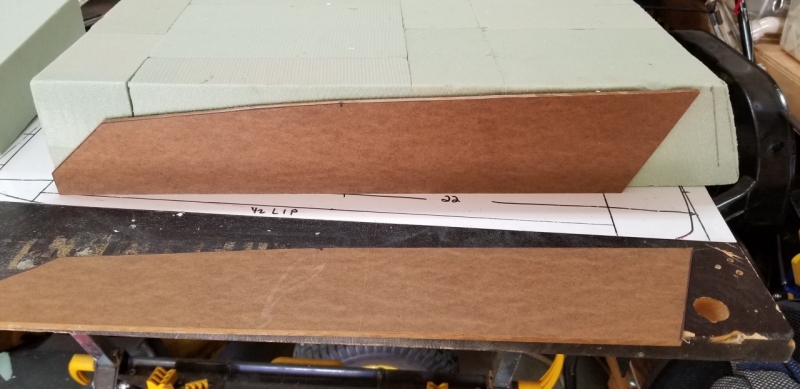
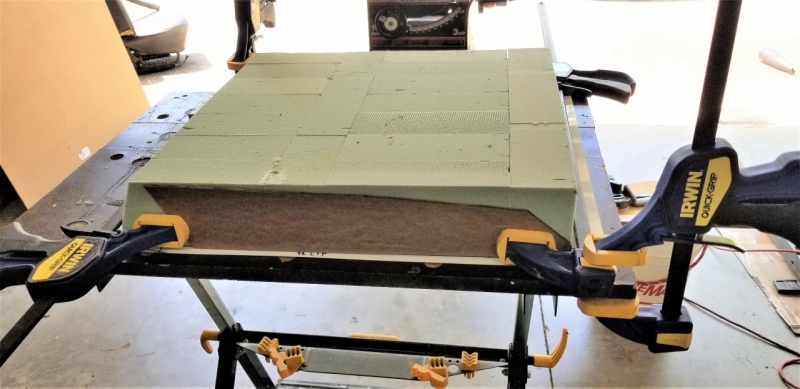
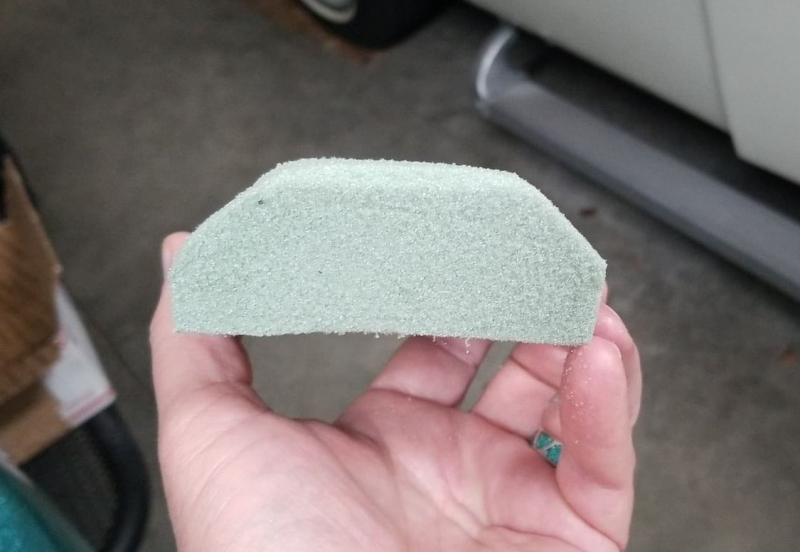
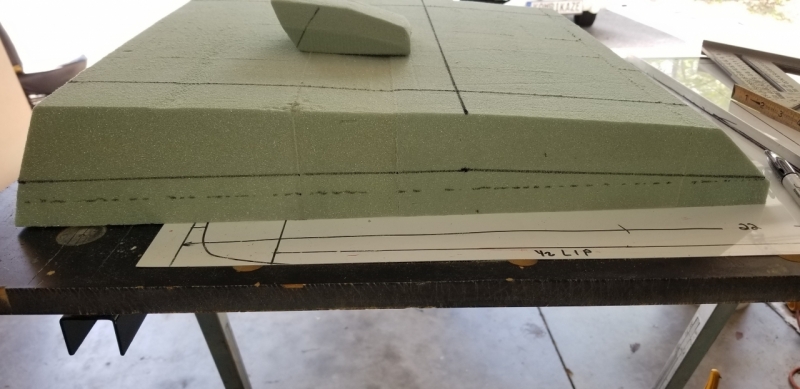
The sides were a little trickier in that I wanted a small straight edge from the lip up to the transition to the angled edge. So I took a little time and measured and marked lines to match (best I could) the mock up. Once again, I used the tools I have in my tool box.

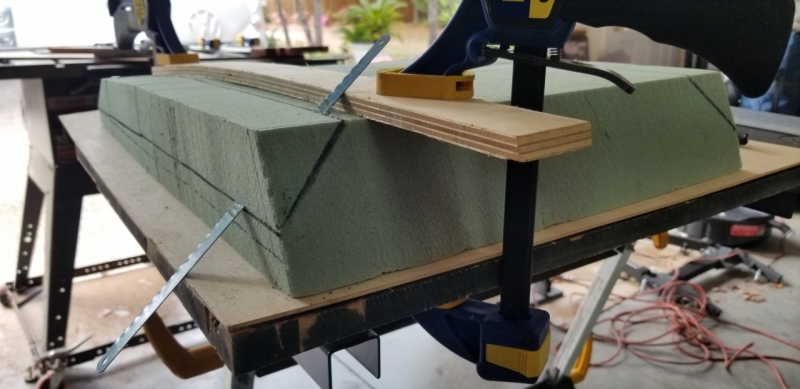

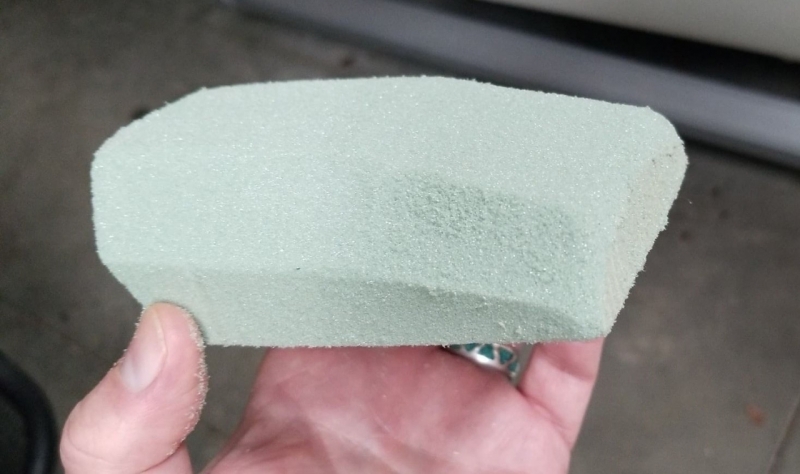
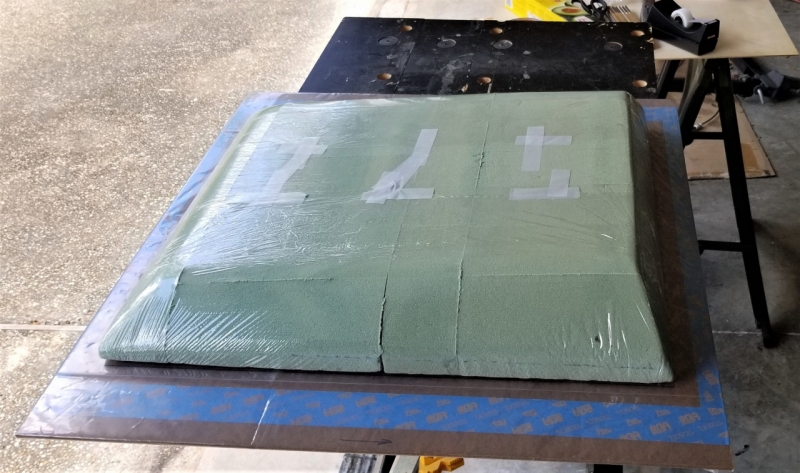
With the rough cutting done, I went about shaping. I didn't want to loose the edges, but my fiberglass guru explained how the cloth may not conform/stick to sharp lines/edges, so I smoothed them a little. I also mentioned an issue with the 3M glue. I found it doesn't sand/shape down very well and with the foam being very soft, I couldn't cut it with a razor blade for fear of digging into the foam. Knowing that I'd be covering the plug with saran wrap (to keep the fiberglass cloth from sticking to the foam), I decided it would be ok (and it was).

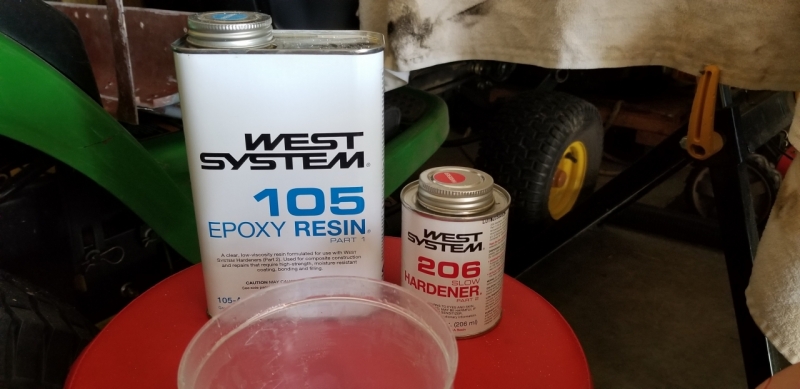
Time to fully commit. Not really knowing too much about resin, what I did learn/read was there are at least two types that are widely used. Polyester resin and epoxy resin. My decision on which resin to use was made based on what I could buy locally off the shelf (Ace Hardware), and it was epoxy resin. I've been told that epoxy resin is more expensive but there were some advantages over the polyester such as I wouldn't have to sand between layers (with the epoxy) if I was applying a layer over a dried layer. However, I ended up sanding after every 2nd or 3rd layer due to imperfections in the resin when it dried. Not a big deal. Also, I learned that epoxy resin will not melt foam if you want to glass directly onto the foam. I believe polyester will melt the foam.
Here is the resin I used and I decided on 6oz fiberglass cloth for this project (I ended up putting over 23 feet of cloth - 12 layers - on the plug.) because that's what they had on the roll at the store. Since I had never done this before I opt'ed for the "slow" hardener. Takes about 20 minutes for it to "kick" - a new term I learned
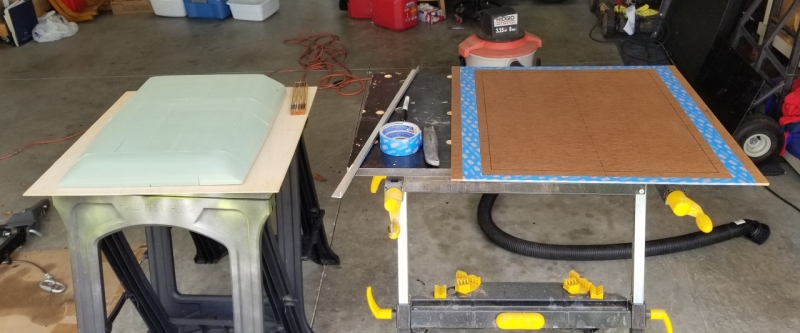
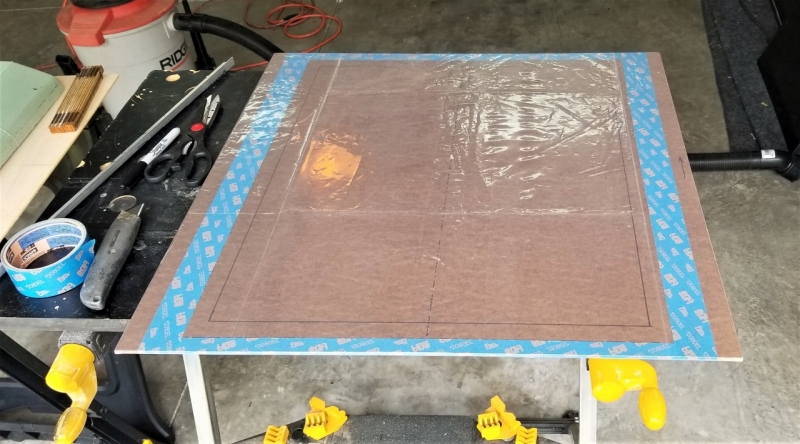
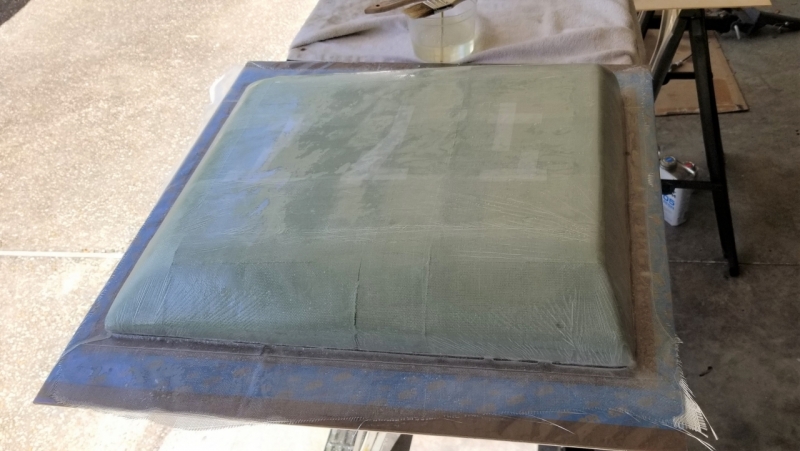
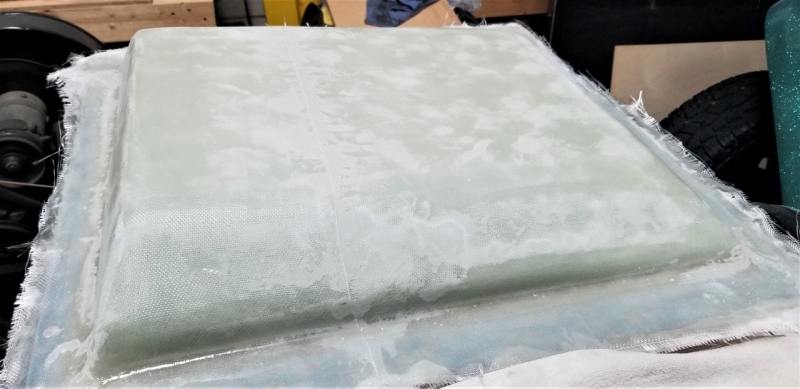
I covered the foam plug with saran wrap and taped the edges of the pieces to keep them tight (note the wrinkles in the saran wrap. These will show up on the inside of the finished scoop). I prepared a "building board" that had the outer lip indicated with painters tape so I could keep track of how big the lip would be that would eventually attach the scoop on the top and bottom of the radiator. I covered the building board with plastic and taped the plug down.

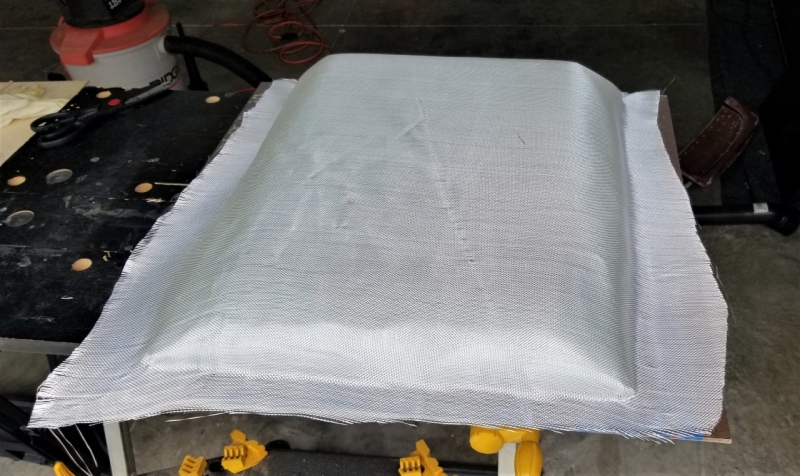
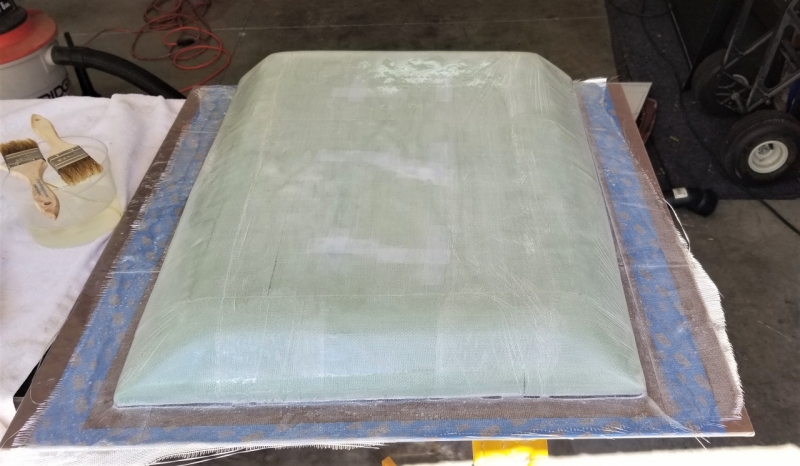
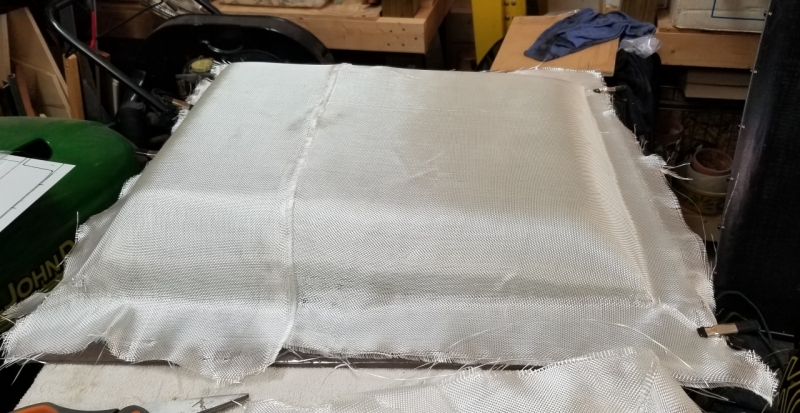
I laid out the first sheet of cloth and darted the corners to fit as tightly, without bubbles, as I could. This would be the pattern for all of the other layers that would eventually go on (except for two layers that consisted of multiple sheets).
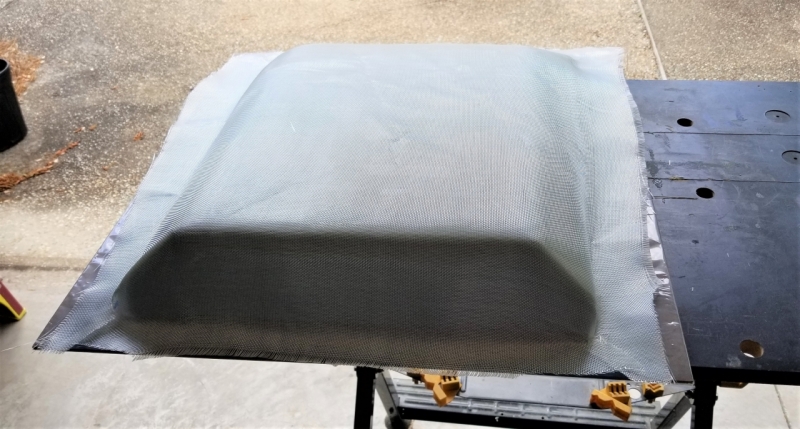
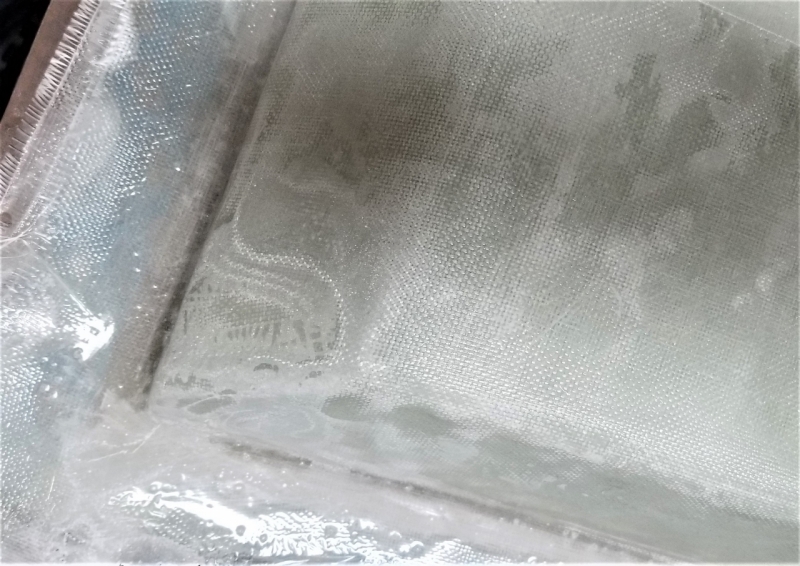
Mixed up the first batch of resin and hardener and started to paint/soak it on. My wife helped with every layer and we got pretty good at full coverage very quickly. Some helpful hints: use a brush to tuck the cloth into the edges (90 degree transitions) and continue to work it until just before it kicks. Also watch for bubbles as they will create voids between layers and should be sanded out before putting the next layer on. I found that "tapping" the bubbles with the point of the brush usually worked the air through the cloth and resin. I didn't have too many issues, but did have to sand a few spots - which created a divot that I filled with small pieces of scrap cloth to build it back up. A surprising thing to me was how translucent the fiberglass is when applying the resin and after it's dry.
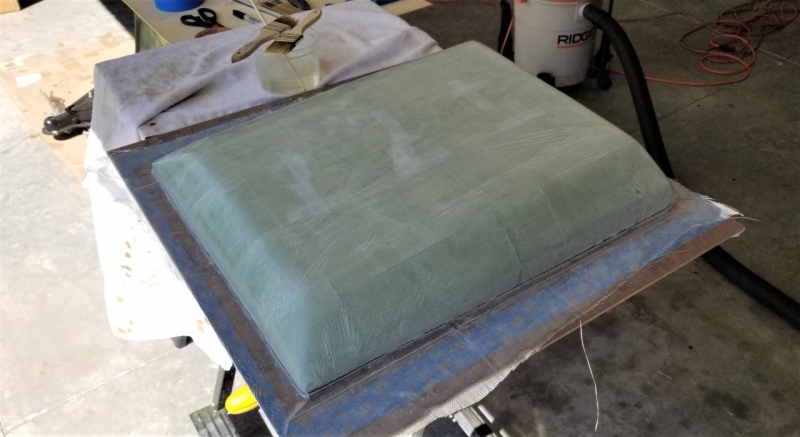
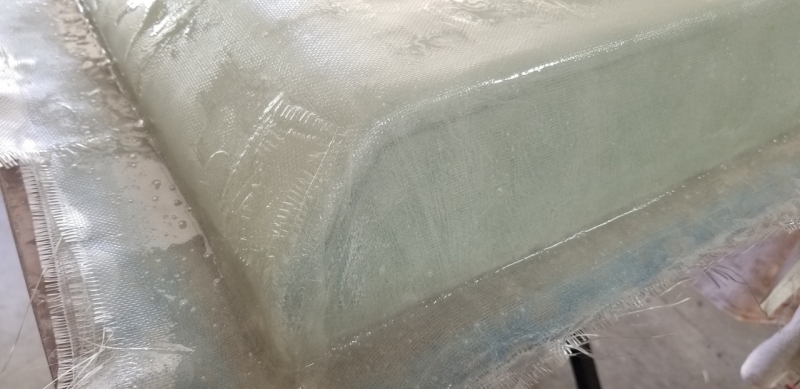
We added a layer every night (after curing of the pervious layer). All but two of the 12 layers are a single piece of cloth. I had a lot of waste so I decide to layer two pieces together as a single layer. I had to sand after doing this due to the seam.
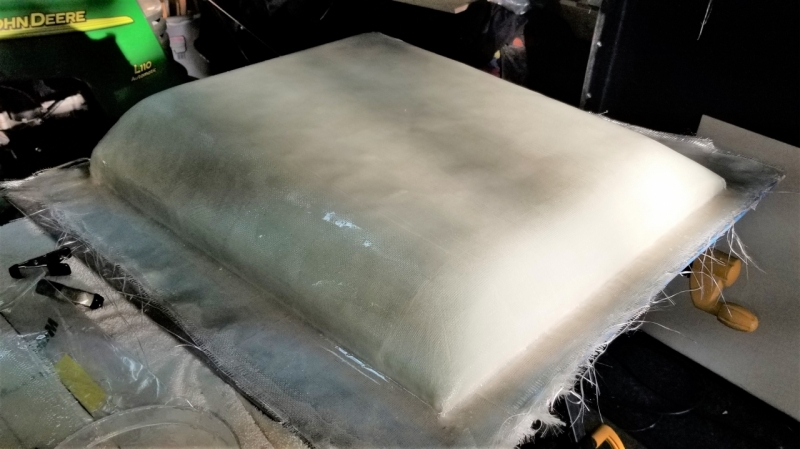
Another pro tip my guru gave me was to create a thickness gauge (not pictured) which was supposed to show me how thick the scoop was getting with each layer. All this gauge was, each time I put a layer on I would take a small scrap and put it on the previous small scrap. I'd number the scraps before I put resin on it. The only problem was, my resin layer on the scoop was much thicker than the resin layer on the gauge. I stopped at 12 layers and the gauge still looked pretty thin. As you'll see in the finished product, 12 layers is very thick. I could have stopped much sooner.
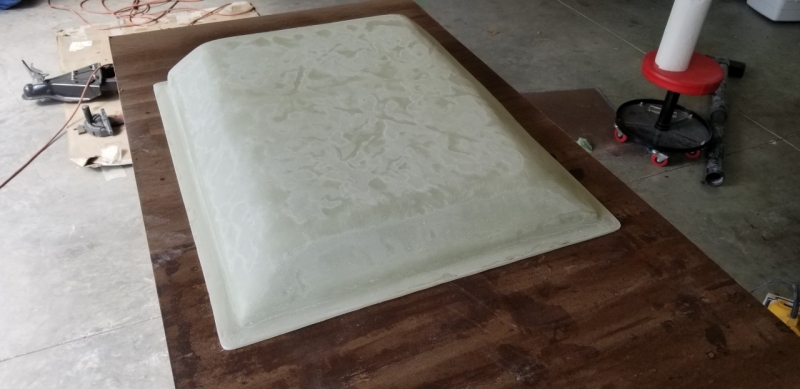
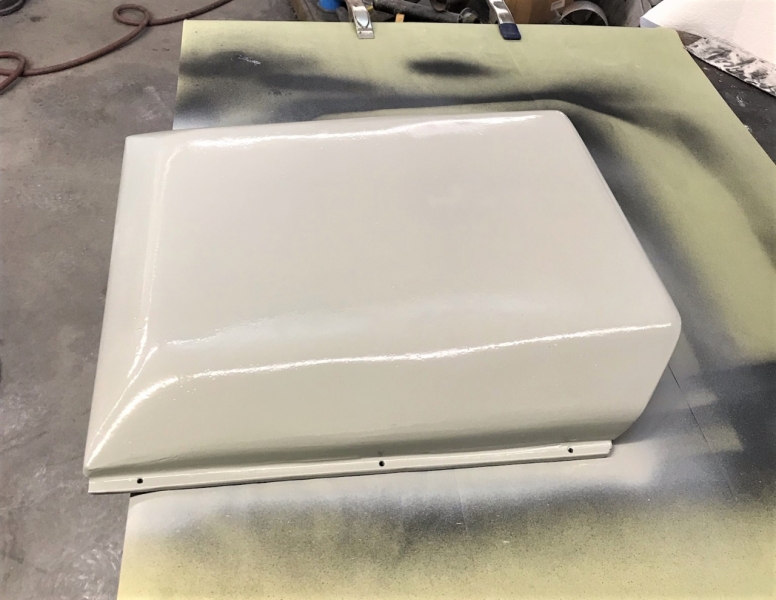
Time to trim the edges and prepare to sand and fill. Since I had a building board under the project I decided it was probably safe to use my table saw to trim the scoop and the building board at the same time. Worked like a champ. No chips or cracks.
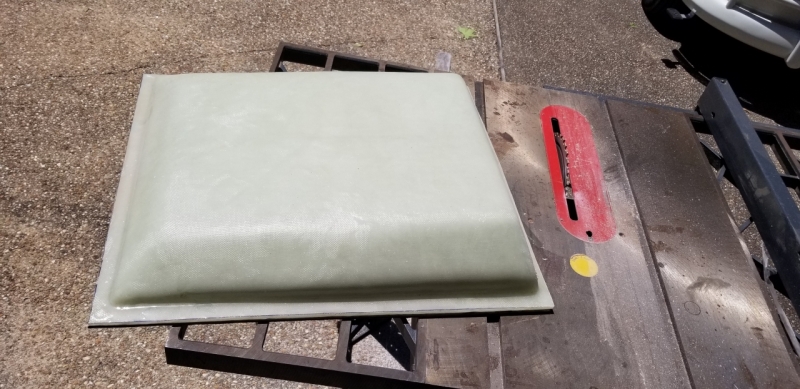

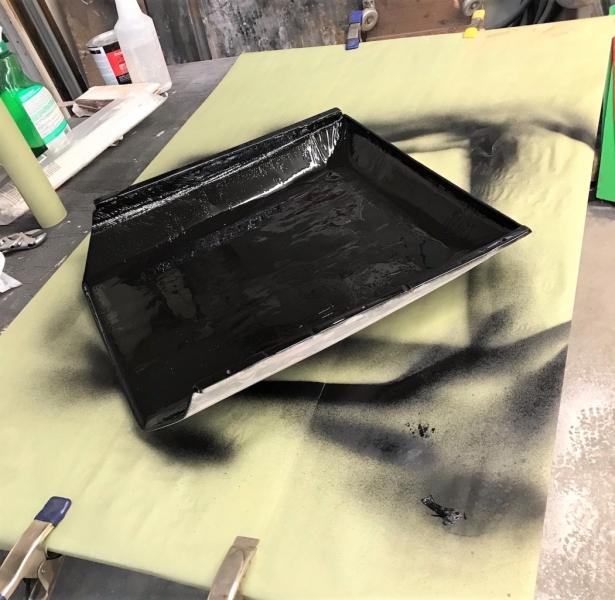
Time to pop the plug from the scoop. Moment of truth!!

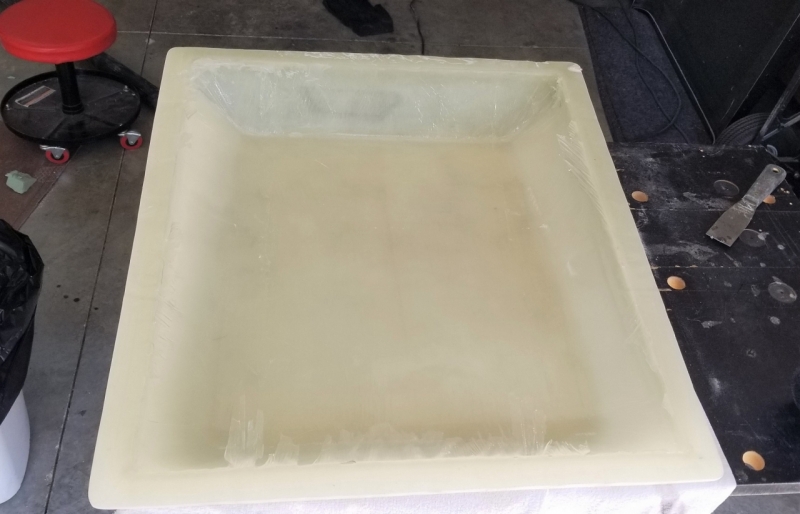
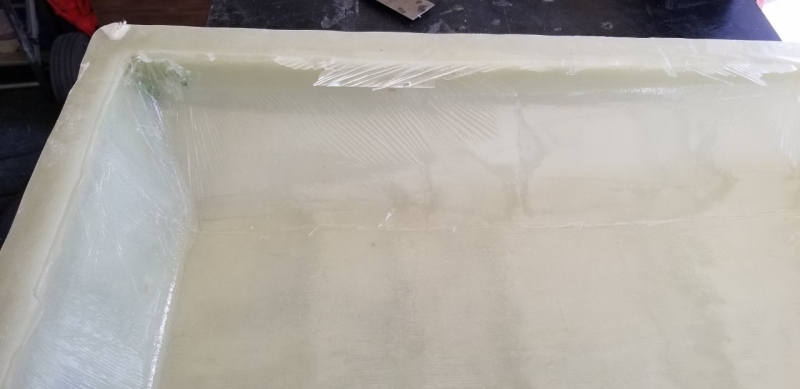
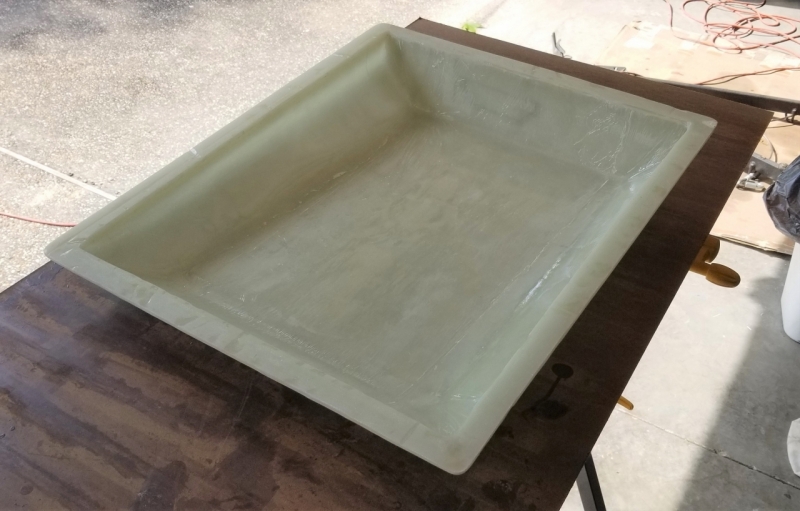
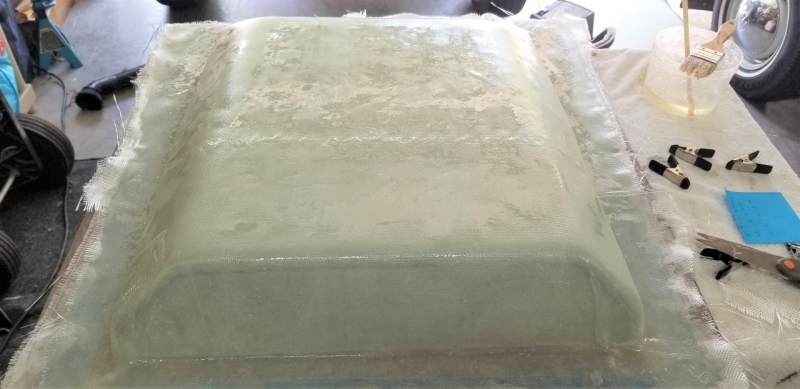
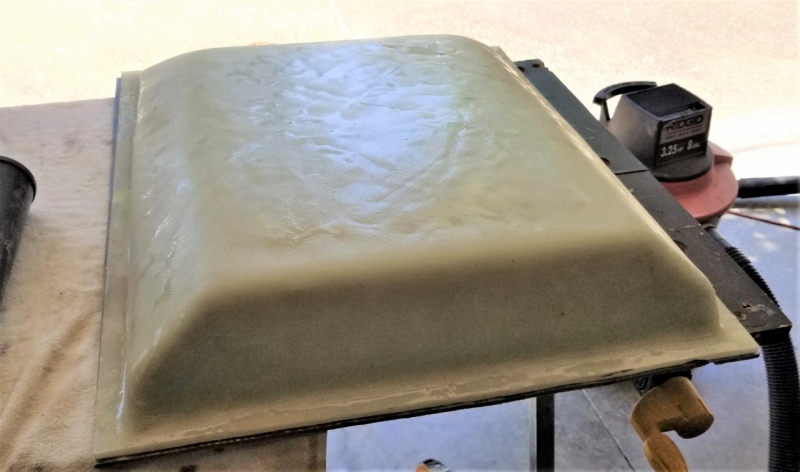
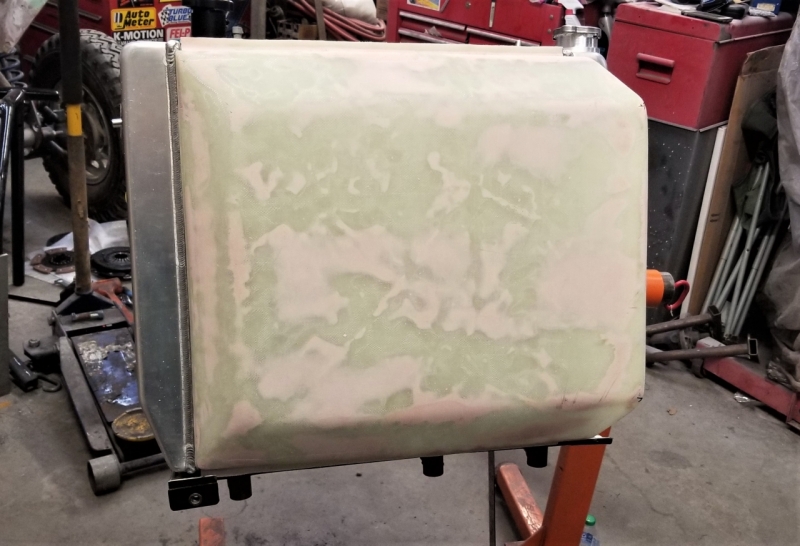
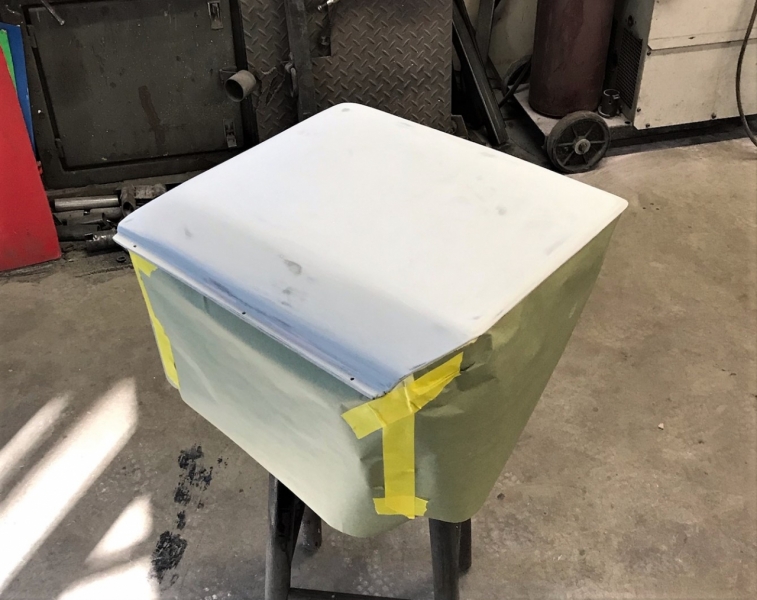
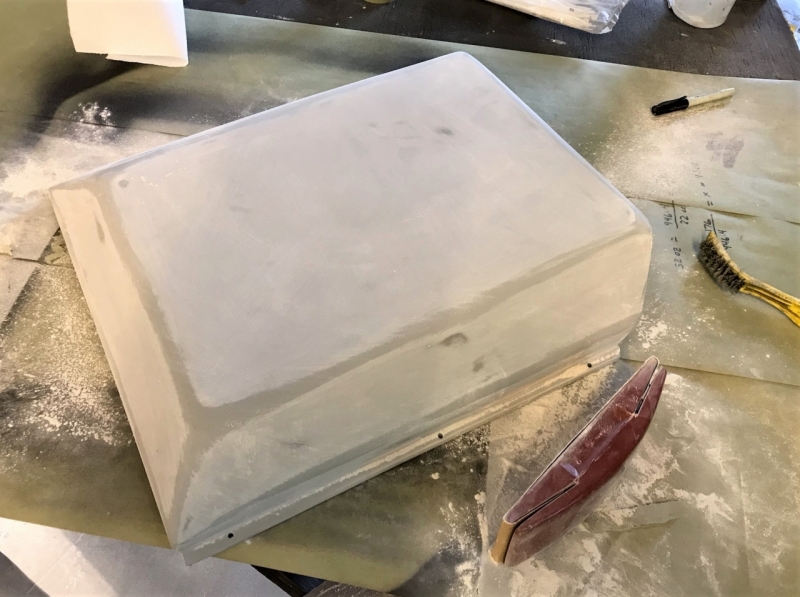
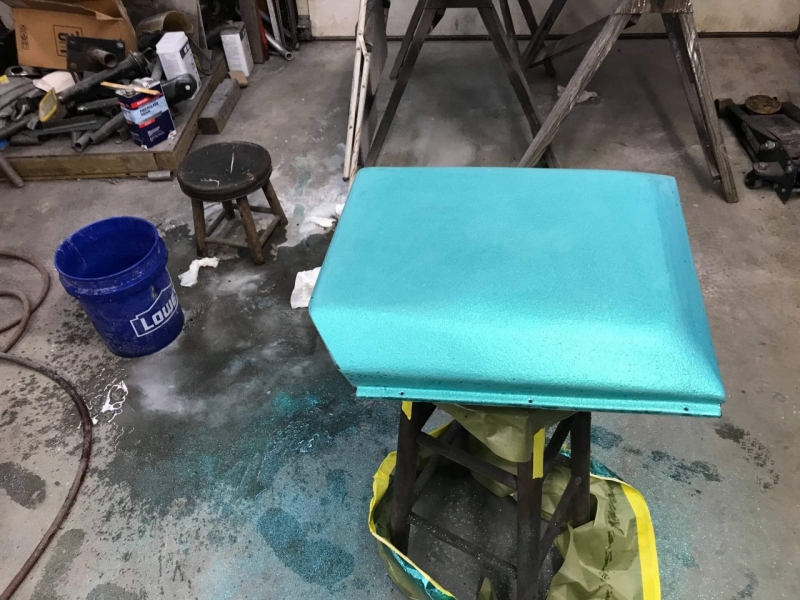
Sanding and filling in some of the low spots - using bondo. I also laid the scoop on the radiator to see how much of the lip would need to be trimmed.
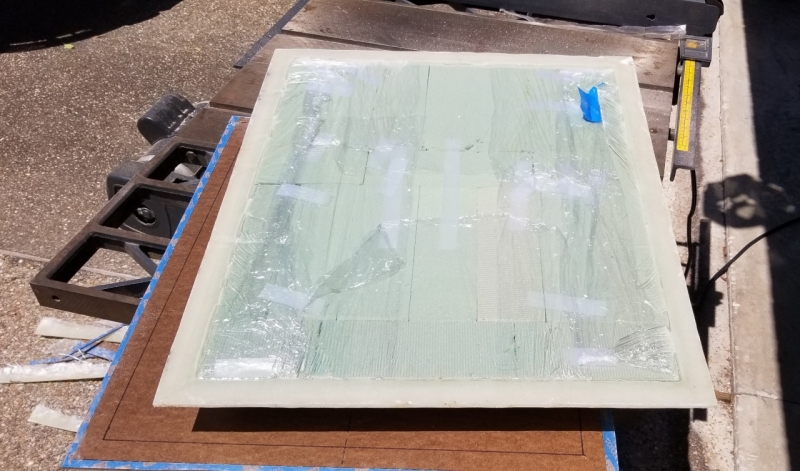
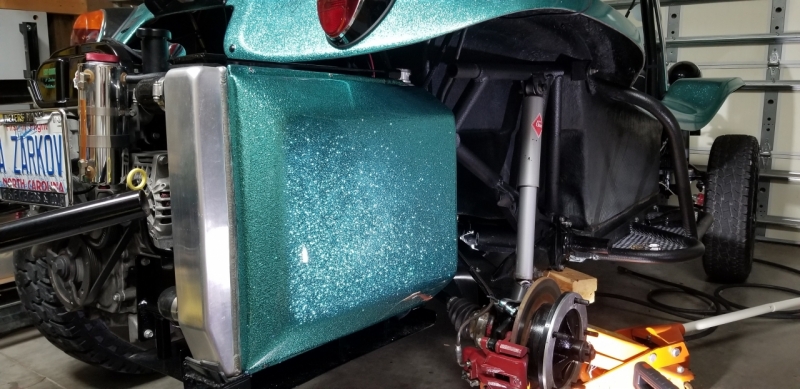
Now off to the secret facility in Saint Albans, WV where Dr. Zarkov and I mocked up the scoop to the radiator prior to final trimming.
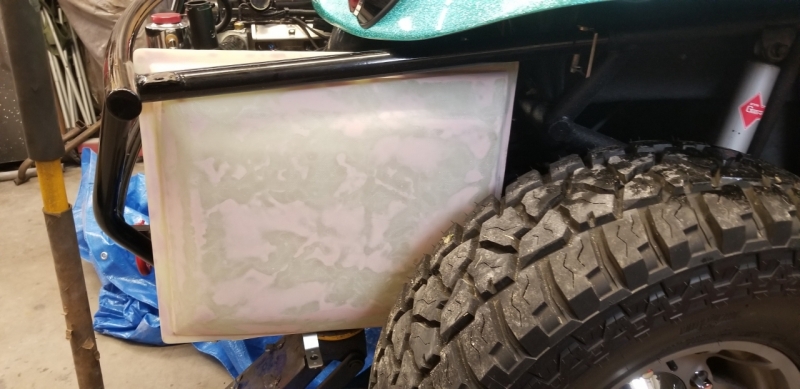
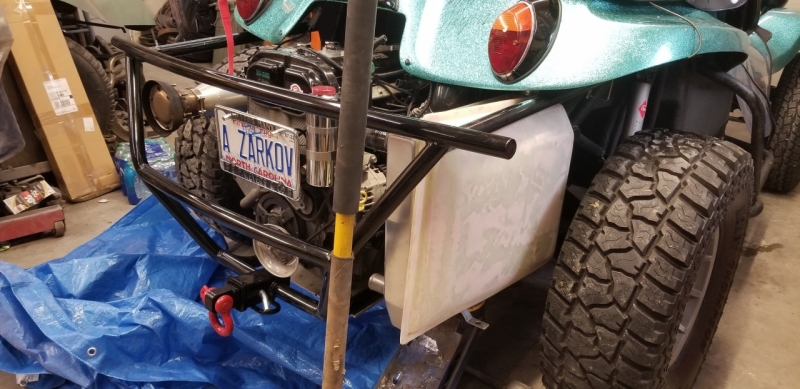
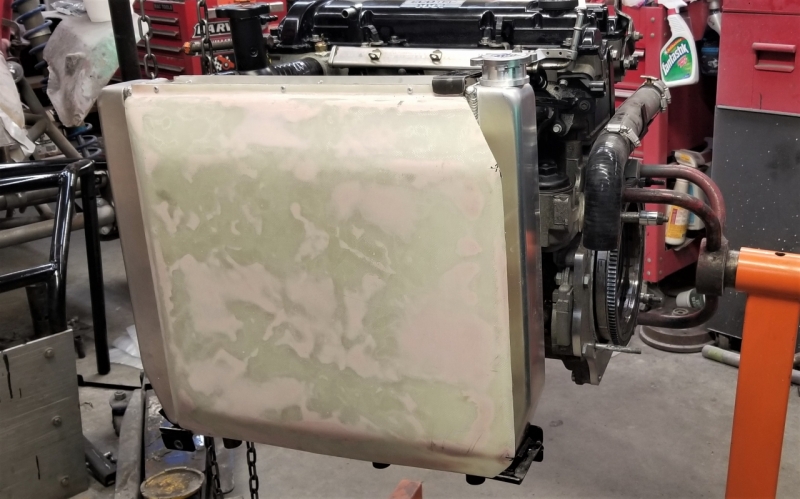
We pulled the engine out for ease of access to the radiator. Dr. Z cut the opening in the scoop to match my earlier model mock up. We attached the scoop to the radiator and went off testing.
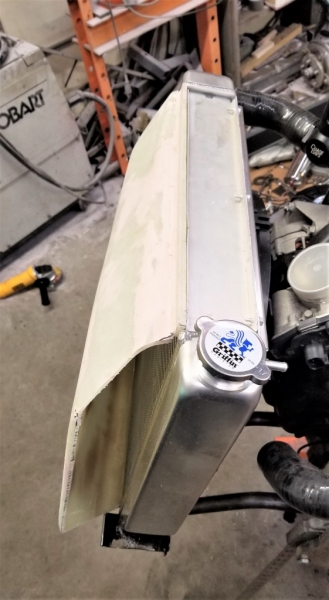

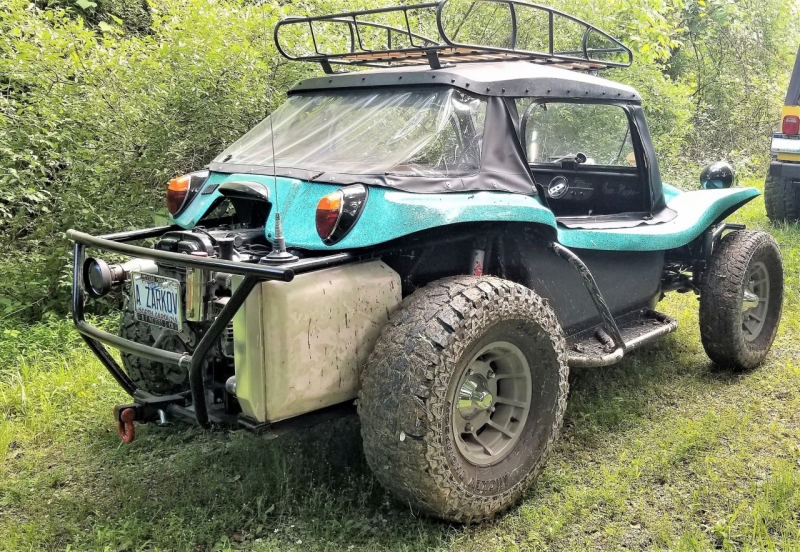
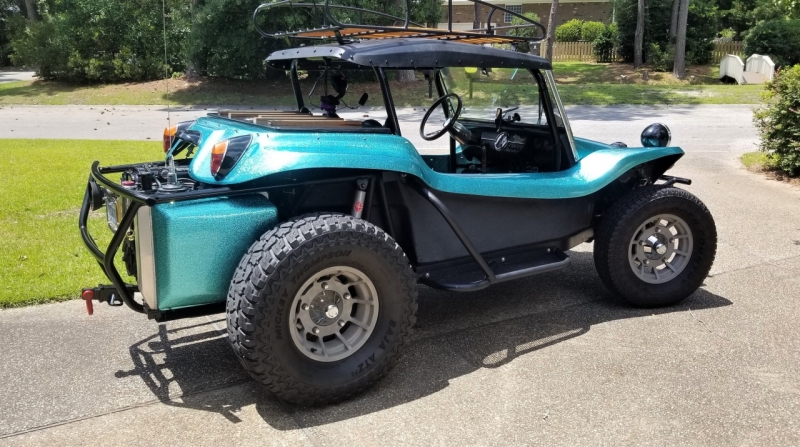
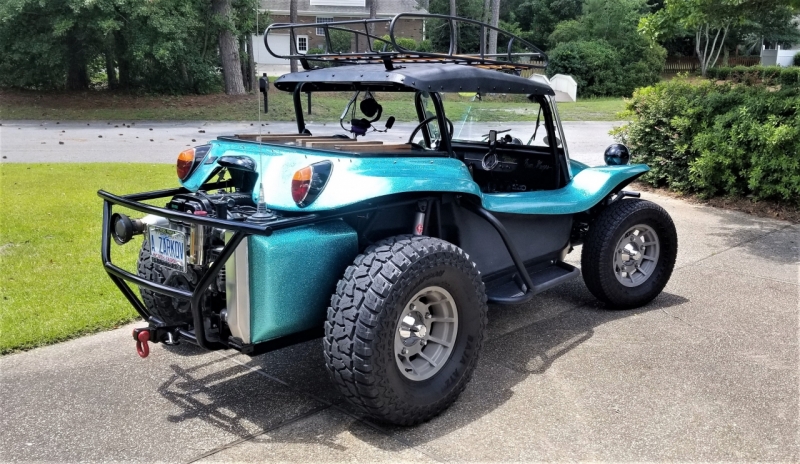
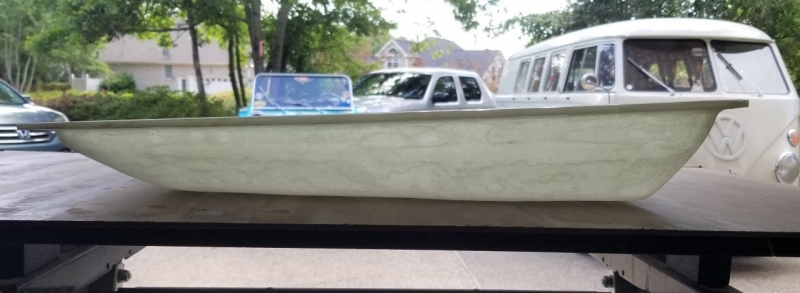
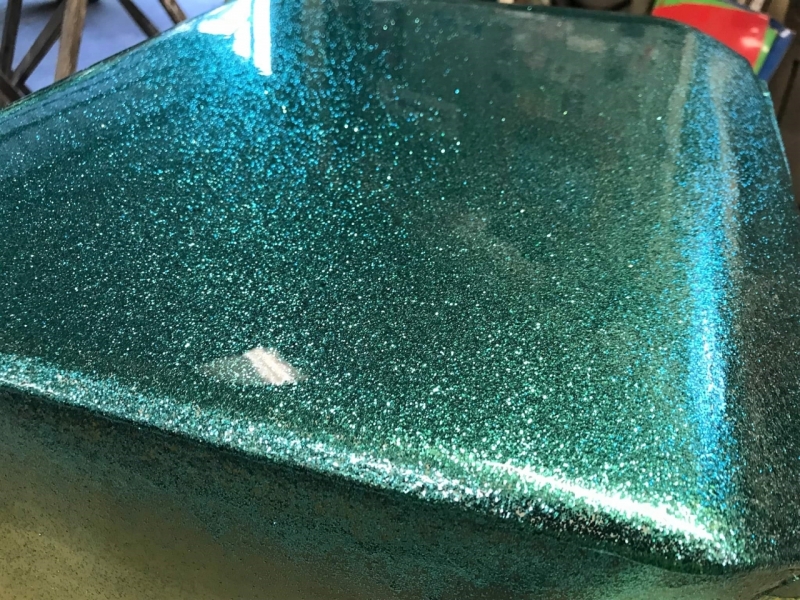
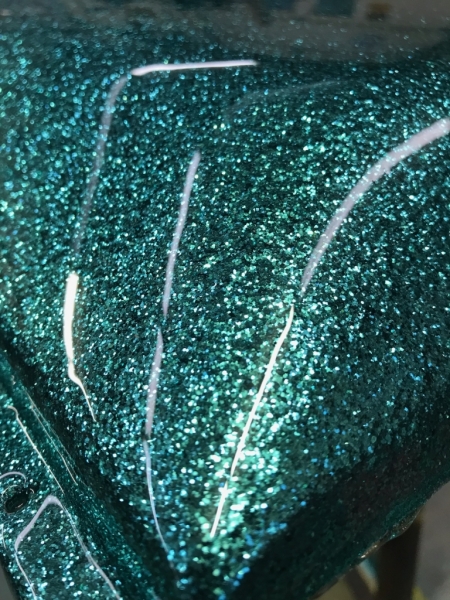
All systems passed with flying colors. Mission accomplished!! Time to match the scoop to the body color/flake. Dr. Zarkov (Joe Wheeler) is a master fabricator (he built this chassis for Sue and me) and master metal flaker. The final product/scoop looks like its covered with water with the depth he created (24 layers of clear).

Looking back at this project I wish I hadn't been so intimidated by other's examples of fiberglass repair and fabrication and tried to do this work sooner. The truth is, it's not hard. Like anything else you learn and improve your techniques as you do it more, and as the saying goes, if I can do it anyone can.
I have a lot more pictures of this project here: https://www.manxclub.com/forum/app.php/ ... /album/296 if your interested.
Here is the final product. I couldn't be happier with the out come. I am very grateful for the expertise and advice given to me by Christopher Lewis and Dr. Zarkov (Joe Wheeler).