Re: Roy's Ecotec Manx I build completion
Posted: Sun Mar 13, 2016 6:42 am
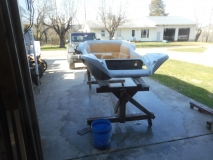
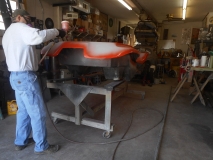
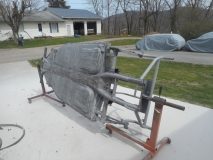
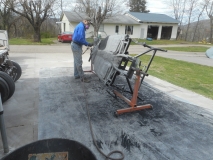
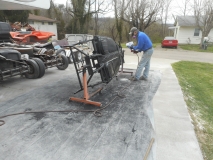
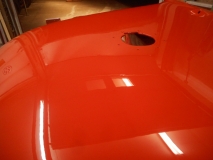
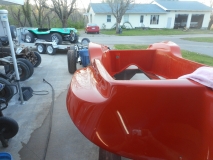
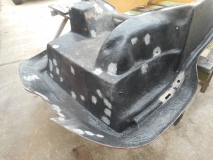
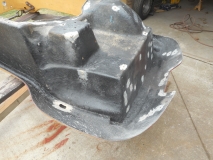
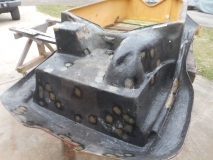
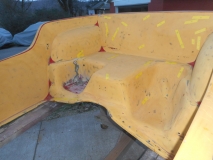
Now that the fabrication work is completed that involves the body being on, the body work and paint can start. I continued with stripping the body to the original Yuma Yellow gel coat. Best way to restore a old car/buggy. That way you can see exactly what you have, previous repairs, and some times a surprise will pop up.
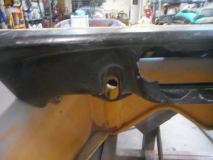
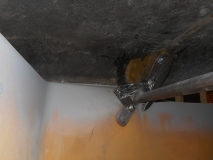
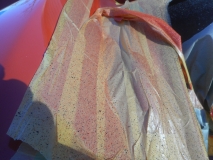
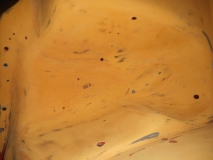
Upon stripping the spare tire well, I uncovered a trace of where the small piece of tape was used to cover over the air release hole in the mold. Pretty cool!
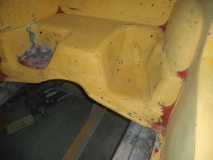
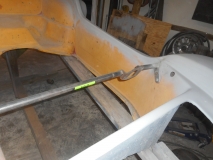
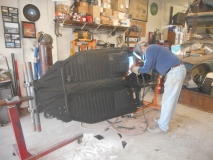
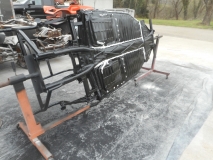
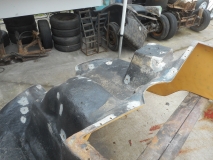
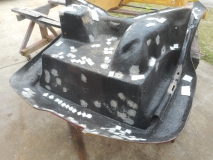
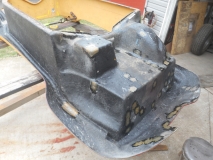
Now the the body is "clean", the needed fiberglass repairs can be performed. I like to back every hole that is over 1/8 inch diameter. To do this, the area on the outside of the tub needs to be cleaned and fresh glass opened up so the backing with fiberglass mat will properly bond. I initially counted 114 holes, turned out to be 132 total holes in the body and another 34 in the hood to be filled/repaired.
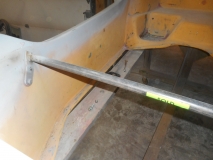
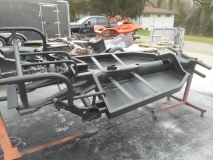
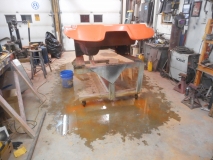
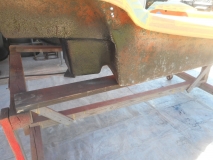
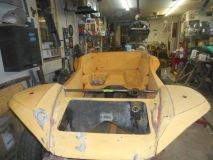
Makes it a little easier with the body flipped up side down.
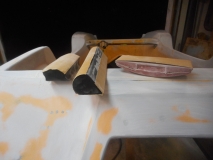
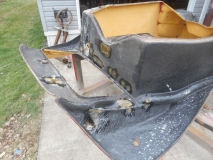
I cut and lay out all the pieces needed to repair each area so they are ready once the resin is mixed. It also keeps "sticky" fingers from ruining scissors with resin goo.
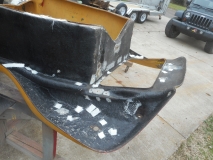
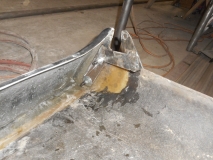
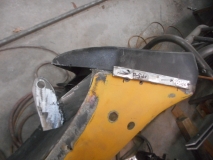
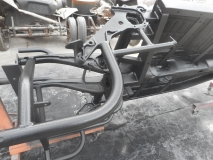
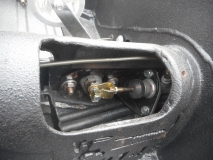
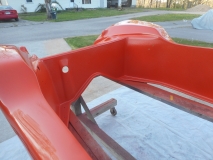
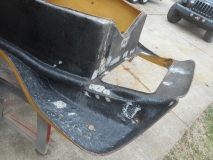
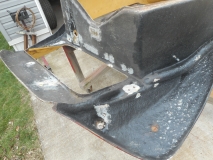
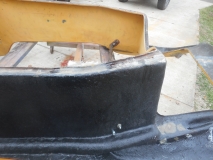
A small section of the mounting lip needed repaired too.
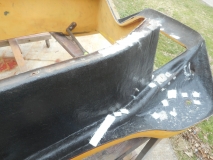
And all areas glassed in. Once the glass sets up well for several hours, I come back with a polishing sanding disc and dress any high points on the repairs. This takes away any "stabbing" spike points to catch and injure your hands later when working on the buggy. Something I learned the hard way.
To keep from making a mess on the inside of the body, I tape each hole so the resin does not run in on the clean surface and cause problems later with trying to remove newly set resin from a freshly sanded area.
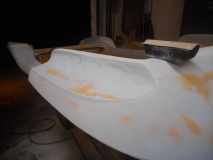
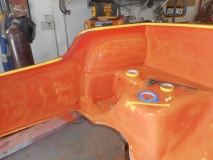
Now that all the holes have been backed, the exposed "pretty" side gets ground with a carbide burr in a drill to open up fresh glass. Then a mixture of Cabosil, (sometimes referred to as Fumed Silica) and resin with proper ratio of hardner mixed in is spread like body filler into the pretty side to fill the holes. The Cabosil/fumed silica is micro ground glass, so it is a mixture of glass and resin, just like what the body is made of.
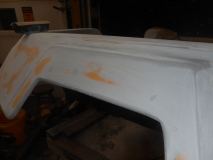
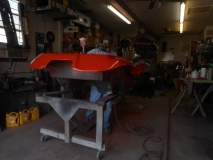
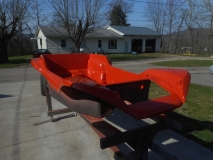
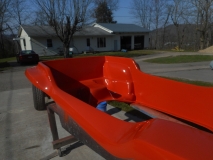
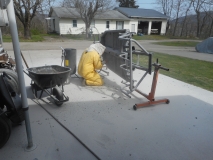
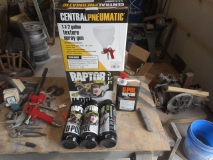
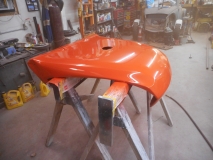
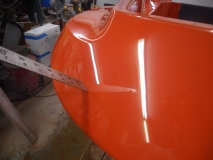
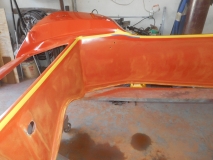
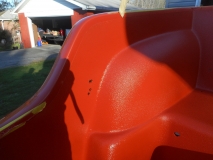
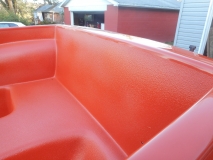
After several sanding and re-filling to get smooth, the entire body is hand sanded to clean the surface. The edges that were not sanded with a DA sander, was hand sanded to ensure to maintain the original contour of the edges and curves of the body. Then 1/2 gallon of Slick Sand was applied. Slick Sand is Polyester based and the same MEPK hardner is used in it just like resin. This gives a Polyester top coat over a Polyester based body keeping everything the same for temperature expansion and contraction ratios and help prevent future showing of body work.
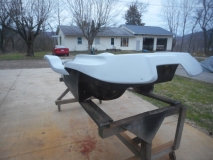
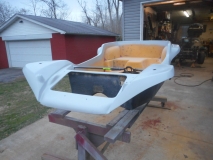
Next comes the hours of block sanding to get the body absolutely straight.
Upon stripping the spare tire well, I uncovered a trace of where the small piece of tape was used to cover over the air release hole in the mold. Pretty cool!
Now the the body is "clean", the needed fiberglass repairs can be performed. I like to back every hole that is over 1/8 inch diameter. To do this, the area on the outside of the tub needs to be cleaned and fresh glass opened up so the backing with fiberglass mat will properly bond. I initially counted 114 holes, turned out to be 132 total holes in the body and another 34 in the hood to be filled/repaired.
Makes it a little easier with the body flipped up side down.
I cut and lay out all the pieces needed to repair each area so they are ready once the resin is mixed. It also keeps "sticky" fingers from ruining scissors with resin goo.
A small section of the mounting lip needed repaired too.
And all areas glassed in. Once the glass sets up well for several hours, I come back with a polishing sanding disc and dress any high points on the repairs. This takes away any "stabbing" spike points to catch and injure your hands later when working on the buggy. Something I learned the hard way.
To keep from making a mess on the inside of the body, I tape each hole so the resin does not run in on the clean surface and cause problems later with trying to remove newly set resin from a freshly sanded area.
Now that all the holes have been backed, the exposed "pretty" side gets ground with a carbide burr in a drill to open up fresh glass. Then a mixture of Cabosil, (sometimes referred to as Fumed Silica) and resin with proper ratio of hardner mixed in is spread like body filler into the pretty side to fill the holes. The Cabosil/fumed silica is micro ground glass, so it is a mixture of glass and resin, just like what the body is made of.
After several sanding and re-filling to get smooth, the entire body is hand sanded to clean the surface. The edges that were not sanded with a DA sander, was hand sanded to ensure to maintain the original contour of the edges and curves of the body. Then 1/2 gallon of Slick Sand was applied. Slick Sand is Polyester based and the same MEPK hardner is used in it just like resin. This gives a Polyester top coat over a Polyester based body keeping everything the same for temperature expansion and contraction ratios and help prevent future showing of body work.
Next comes the hours of block sanding to get the body absolutely straight.