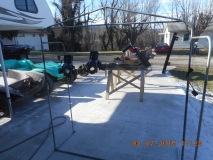
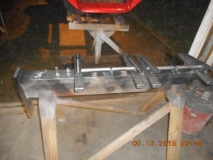
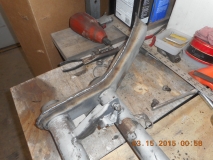
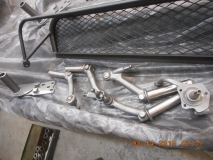
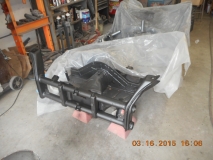
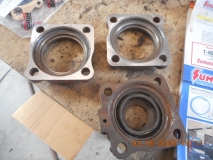
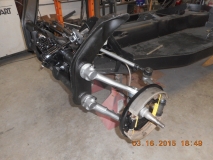
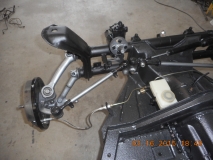
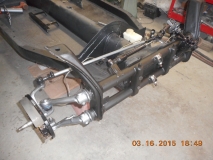
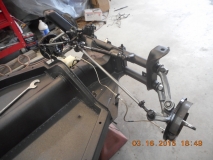
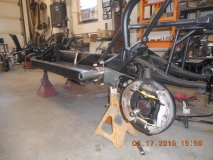
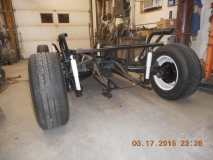
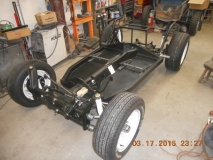
Finished off the small items on the chassis and it is now complete. Ready for a engine and transmission. Have I said how much I would like to keep this one for myself?
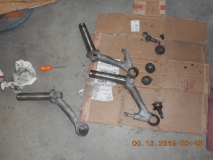
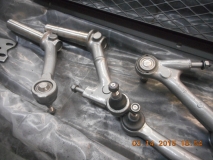
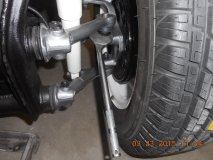
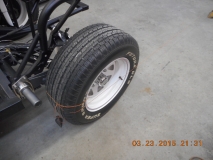
Since all the front suspension is new, it will need to be aligned before Brian makes it home, or it will chew the tires off of it. The Ball Joint front suspension is much easier to align than the Link Pin and King Pin front suspension. It does take just one special tool that can be substituted by some creative juggling around. (channel locks)
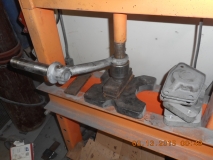
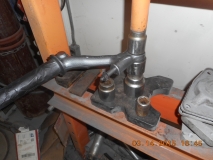
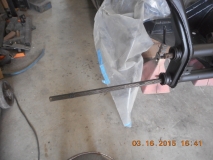
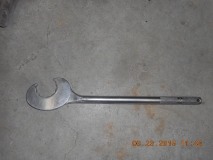
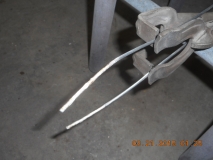
A Eccentric bushing wrench.. It is thin to slide in the tight space and is used to move the eccentric bushing to set caster and camber.
Aligning a suspension on a VW/Buggy is actually easy if you have some very common tools and take your time. I have been aligning my VW's since 1981 like this and it works very well. I get good tire wear and they handle to 100 + MPH.
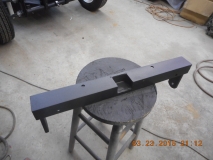
I use a common carpenters level to set the camber. I made a piece of steel flat stock that sits on the rim bead and comes out far enough to put a level on and set them to 0.5* positive camber, (top of tire further out than bottom), which is close to 1/16 inch in 24 inches, or the top out 1/16 inch further than the bottom. (you have to check and ensure the rim is straight, or go by the side wall of the tire, but a little forward of the bottom bulge where it touches the ground.
I also use about a 100 pound slug of steel to help set ride height when doing this.
To set toe in, I use another simple method. I put masking tape on the tread of the tire so I can see where I hook my tape measure, record the measurement.
Roll the car forward/rearward until the tape is now on the backside of the tire, measure and compare, adjust until I get between 1/16 and 1/8 inch toe in. What the tape does, is mark a spot on the tread, so if the tread wobbles, it does not matter because I am measuring the same spot over and over again and that takes the variable out of the tread pattern.
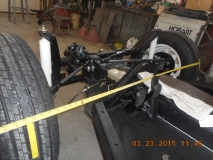
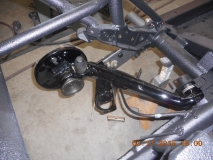
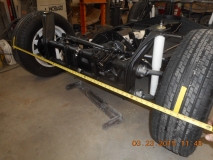
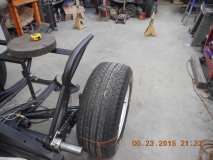
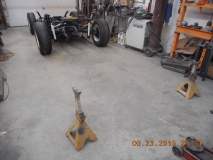
I also use a very basic approach to align the rear wheels, for both IRS and Swing Axle. Tie a string to the tire at the front, run it toward the rear to a jack stand at 10 foot behind the tire. Do it for both sides. Once your string is in place, move the jack stand in/out until the string just touches the tire side wall. This is the plane the tire is pointing in.
Then measure the distance between the strings right behind the tire and back at 10 foot. The rear should be between 1/4 and 1/2 inch wider to hit the VW spec's on rear toe in. Loosen the spring plate bolts to move the wheel forward/rearward to make the changes.
I was able to get Loretta's set at 0.119* of toe in, which is spot on to the VW Spec.
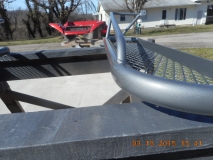
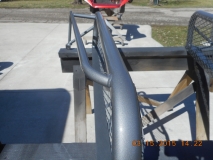
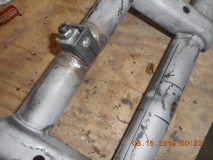
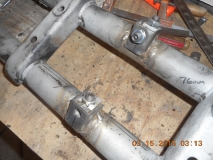
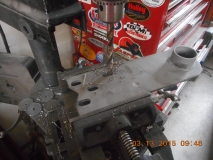
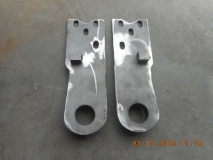
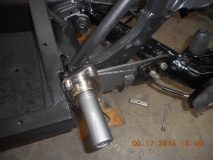
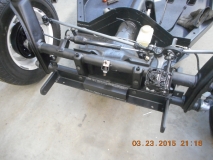
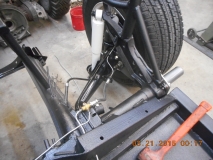
Altered the tow bar mount to clear the lower adjuster and still use the cool custom tow set up Brian got with Loretta when he bought her.
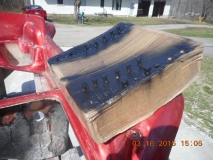
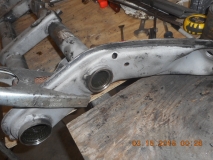
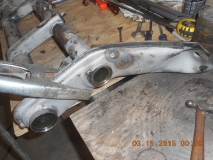
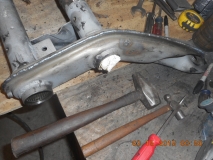
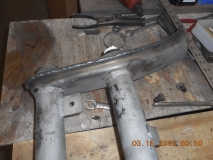
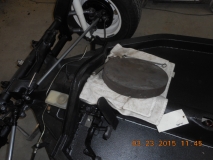
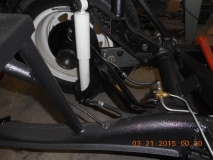
Vincent P had asked if I put any baffles in the fuel tank when I modified it. For those who do not know, Vincent enjoys High end racing like F1 and knows some cool things about cars. So, it got me thinking, then I went and studied up on fuel tank design. With how the tank has a flat floor, it is possible when the fuel gets low, it can move away from the pickup easily and starve the engine. A pickup needs a baffle/blockage or sump that helps keep fuel at the pick up even during low fuel times. So, I cut the tank open and built in a little sump.
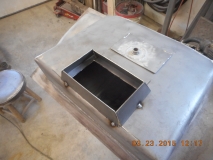
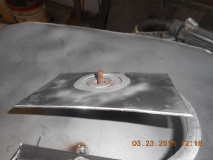
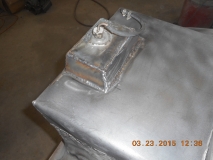
When I had the tank in the body and on the chassis, I measured to ensure I had room for this additional sump. So, now to seal the inside and coat the outside of the tank and it is finished.
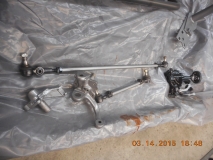
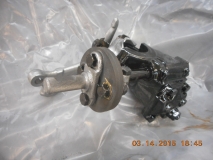
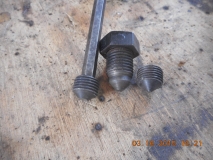
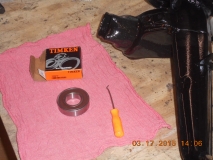
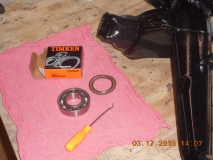
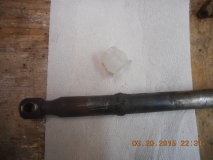
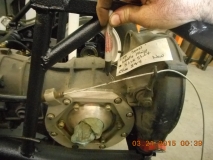
When I removed the shift rod at tear down time, it did not have a shift rod bushing. No wonder, the weld prevented it for being about to slide through the bushing.
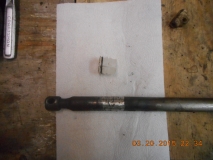
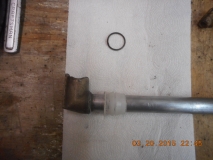
New bushing installed and it should shift like a dream now.
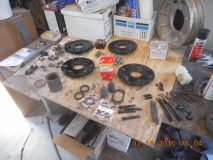
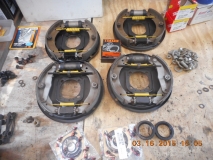
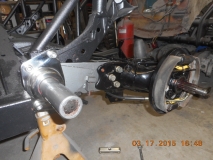
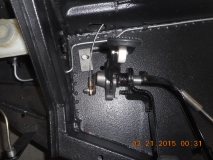
All brake lines finished and brakes bled and adjusted. A trick that David C taught me is to clean up the small parts, leave natural and clear coat with a satin clear. It gives color to the chassis, and protects the parts.
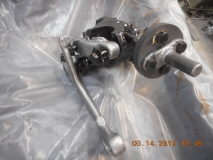
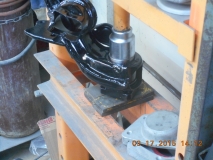
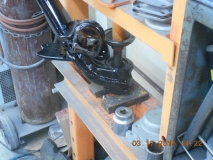
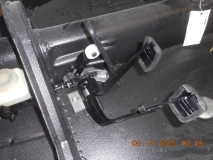
Another shot of the Unique Parts Clutch setup. It provides a new pivot shaft that has a threaded stud with a brass bushing to reduce friction. Then captured with a nyloc nut and washer. Smooth operation. Maintains original geometry to keep from undo wear and utilized the stock clutch cable.
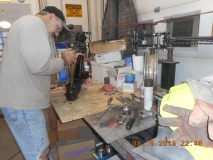
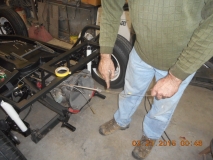
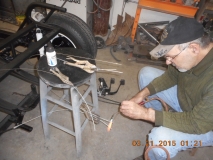
On to cable shortening. There are several ways to shorten cables for buggy's, and most work really well. This is how I have been doing it for a lot of years and it works for a long service life.
Mark where the cable needs cut. Sometimes I use masking tape or a sharpie pen.
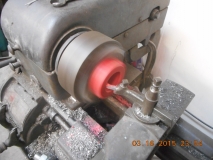
I cut them with a cut off wheel so it makes a clean cut. Then use Solder to wick into the cable strands and bind them, which keeps them from unraveling. The solder is Silver Brazing solder, not the solder used on copper pipes or your wiring.
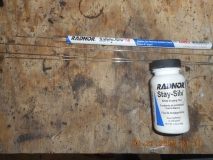
The acid flux helps the silver wick into the strands and flow better. But, being Acid Flux, it has to be cleaned off so it does not cause early corrosion of the cables.
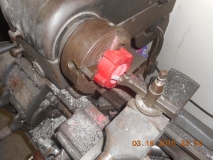
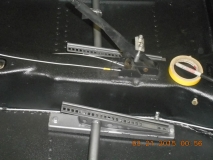
I use several clamps to hold the cables, but not so tight to distort the cables and ruin them. And solder the ends.
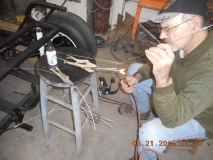
My old "Pres-to-lite" acetylene torch set up I use for plumbing work come in handy.

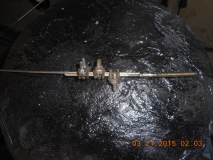
It makes for a very nice and clean cable end. And since it will not crush and unravel, the cable can be taken out and back in with ease.
For the clutch, I use three cable clamps. They now can dig into the silver solder and get good grip without ruining the cables. Also note in the picture, the solder does not go all the way up to the threaded portion of the clutch cable. This will allow the cable to flex and move as needed without being stiff and breaking.
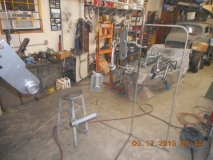
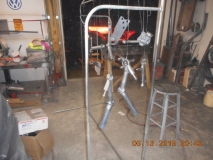
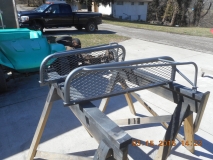
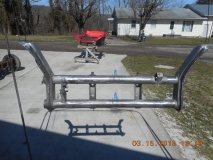
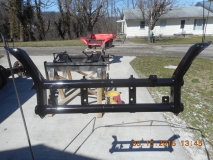
And that is the end of the chassis part of Brian's rebuild of Loretta. I have some cosmetic work to do on the body, and then Brian will pick up the complete package and on to the next chapter of the build. As I get the bumpers from the chrome shop and the roll cage from the powder coater, I will post up those pictures.